
Install Nest
INFO
To learn about Nest and its components, see Nest.
The Nest installer is a terminal-based wizard that guides you through configuring and installing the management appliance. It runs in 7 steps.
Prerequisites
- A physical or virtual machine with at least 200 GiB disk space
- Boot the machine from the Nest installer ISO
- Have the following information ready:
- 3 free IP addresses in your network for the load balancer VIPs
- A domain (or wildcard domain) resolving to the Foundry VIP
- For airgapped installations using your own registry, reach out to us for options.
1. Naming
Set the Nest cluster name and the name for this specific instance.
TIP
These names are informational only and do not affect the installation.
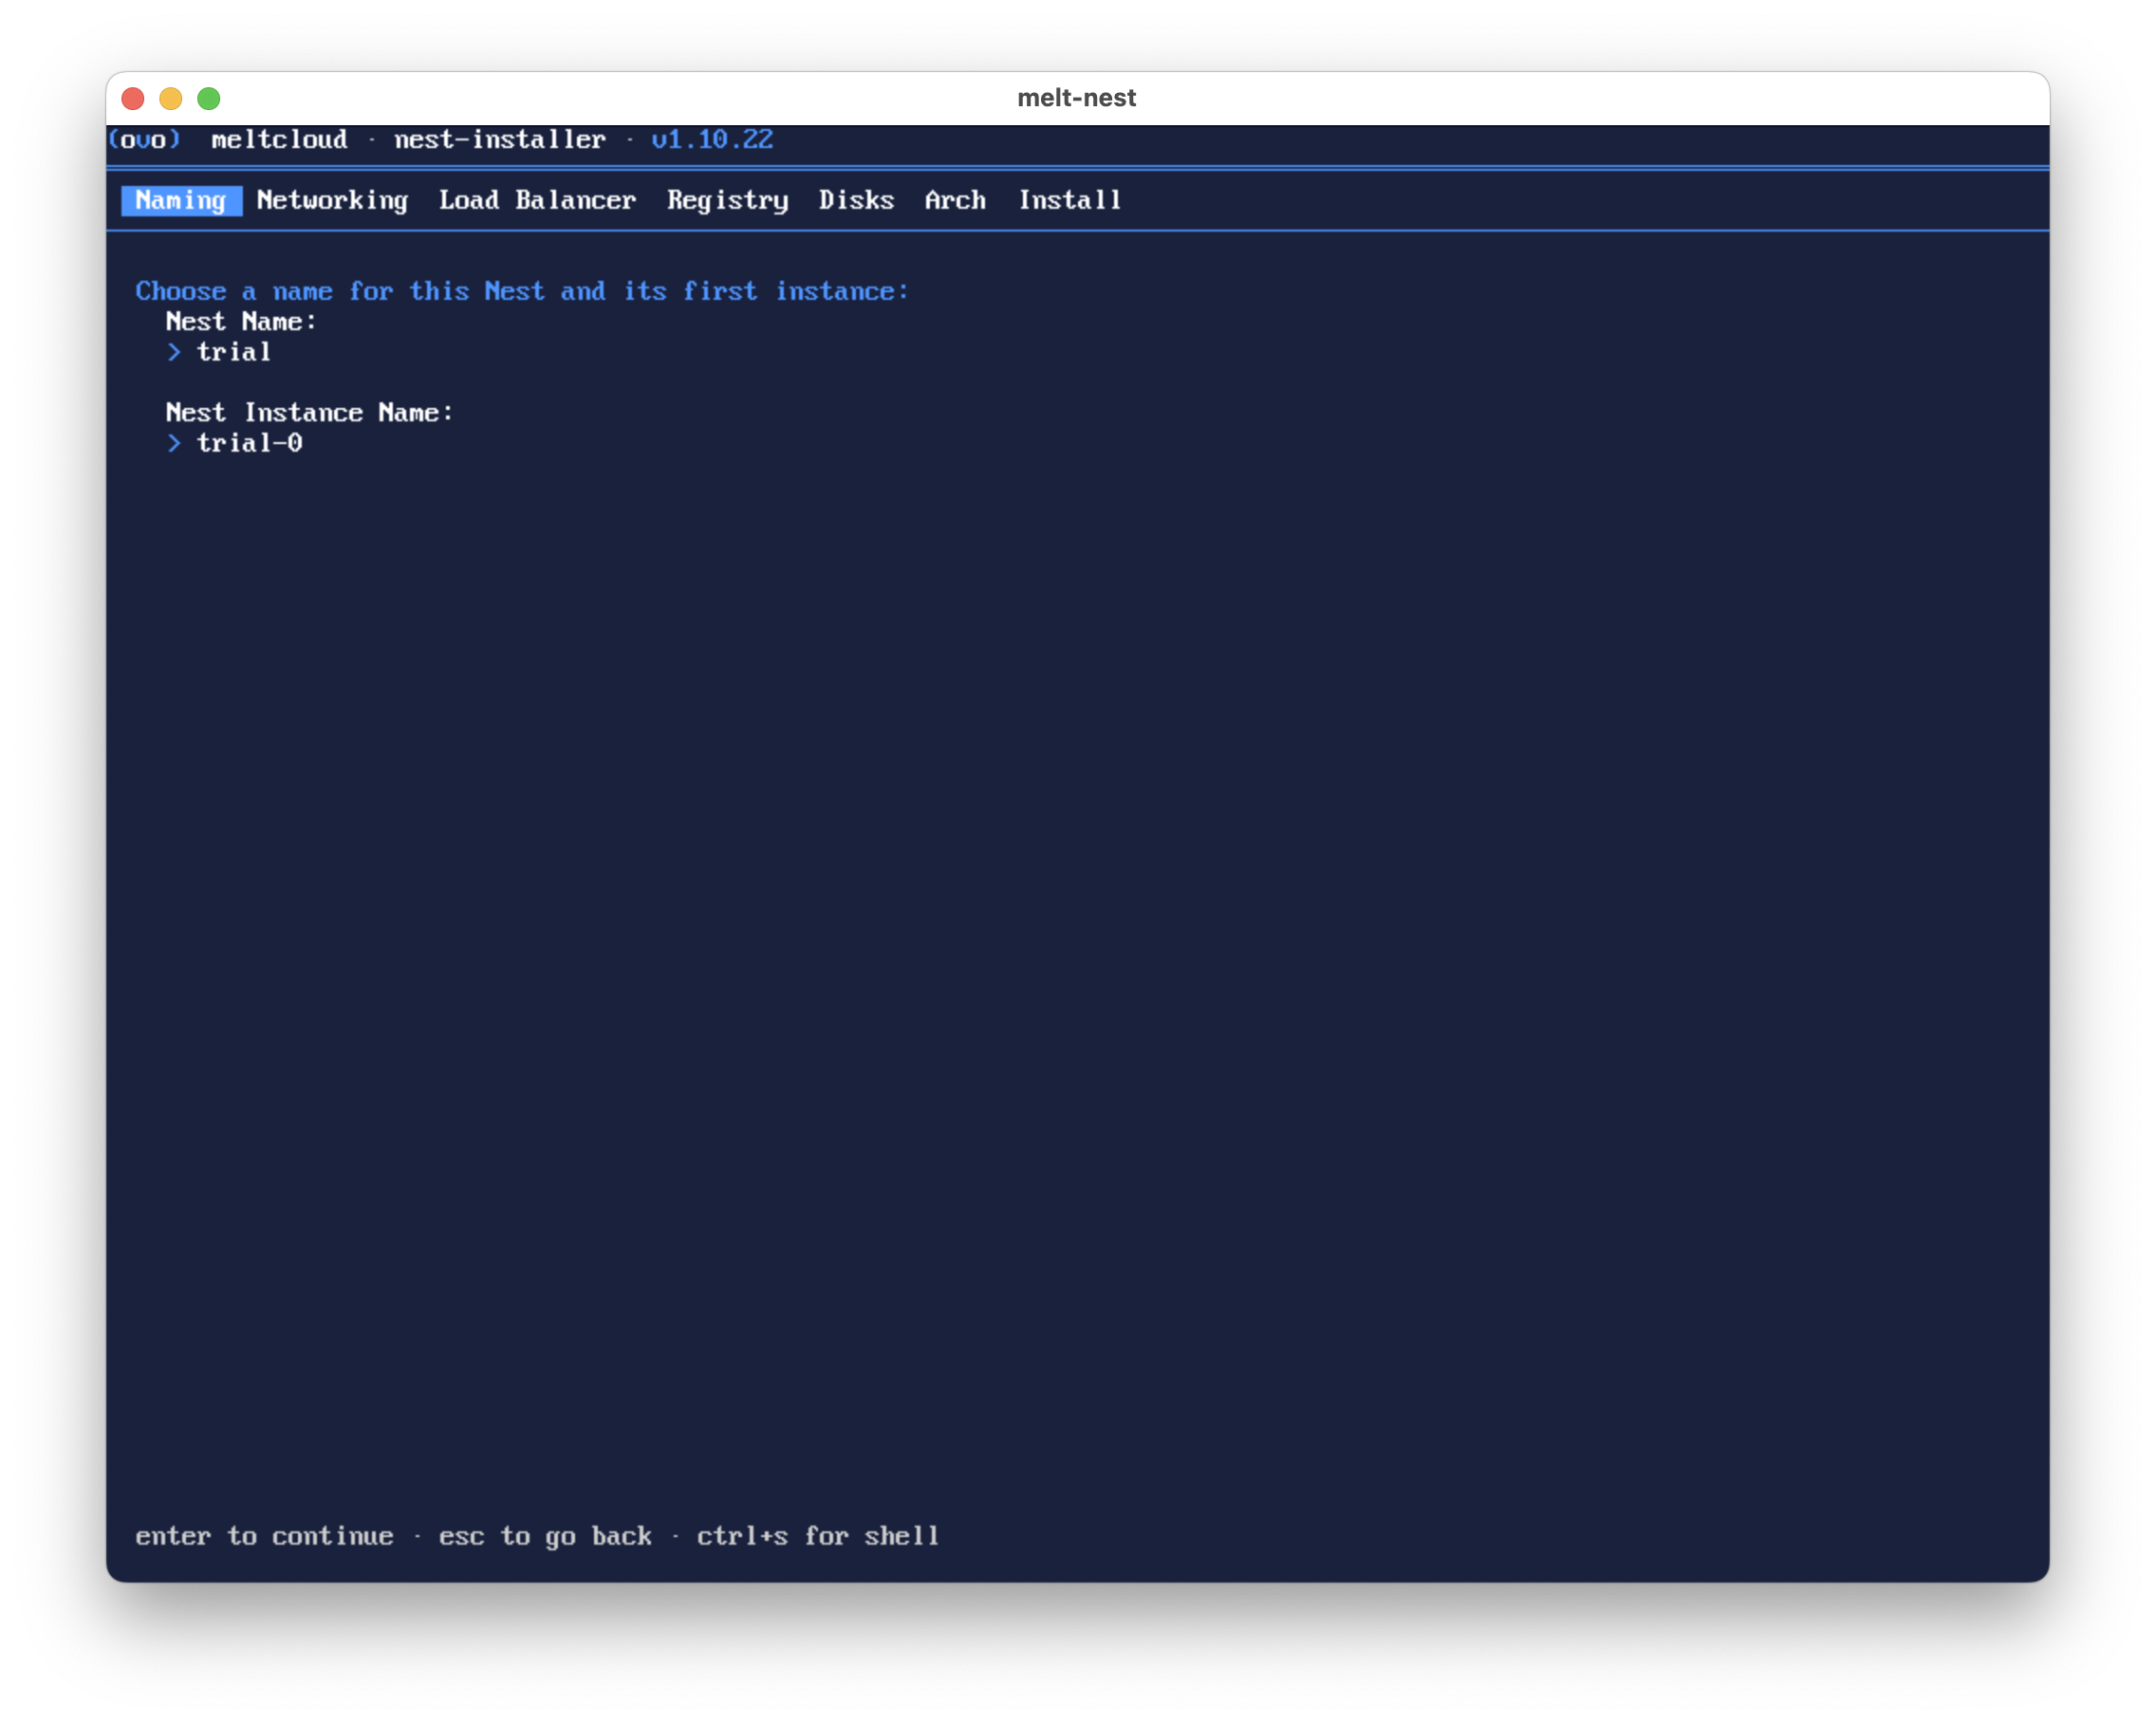
| Property | Description | Default | Required |
|---|---|---|---|
| Nest Name | Identifier for the Nest cluster | trial | Yes |
| Nest Instance Name | Identifier for this specific Nest host | trial-0 | Yes |
2. Host Networking
Configure how the Nest appliance connects to your network.
Interface Selection
Choose the interface the Nest uses. The installer lists all available interfaces with their MAC address and link state.
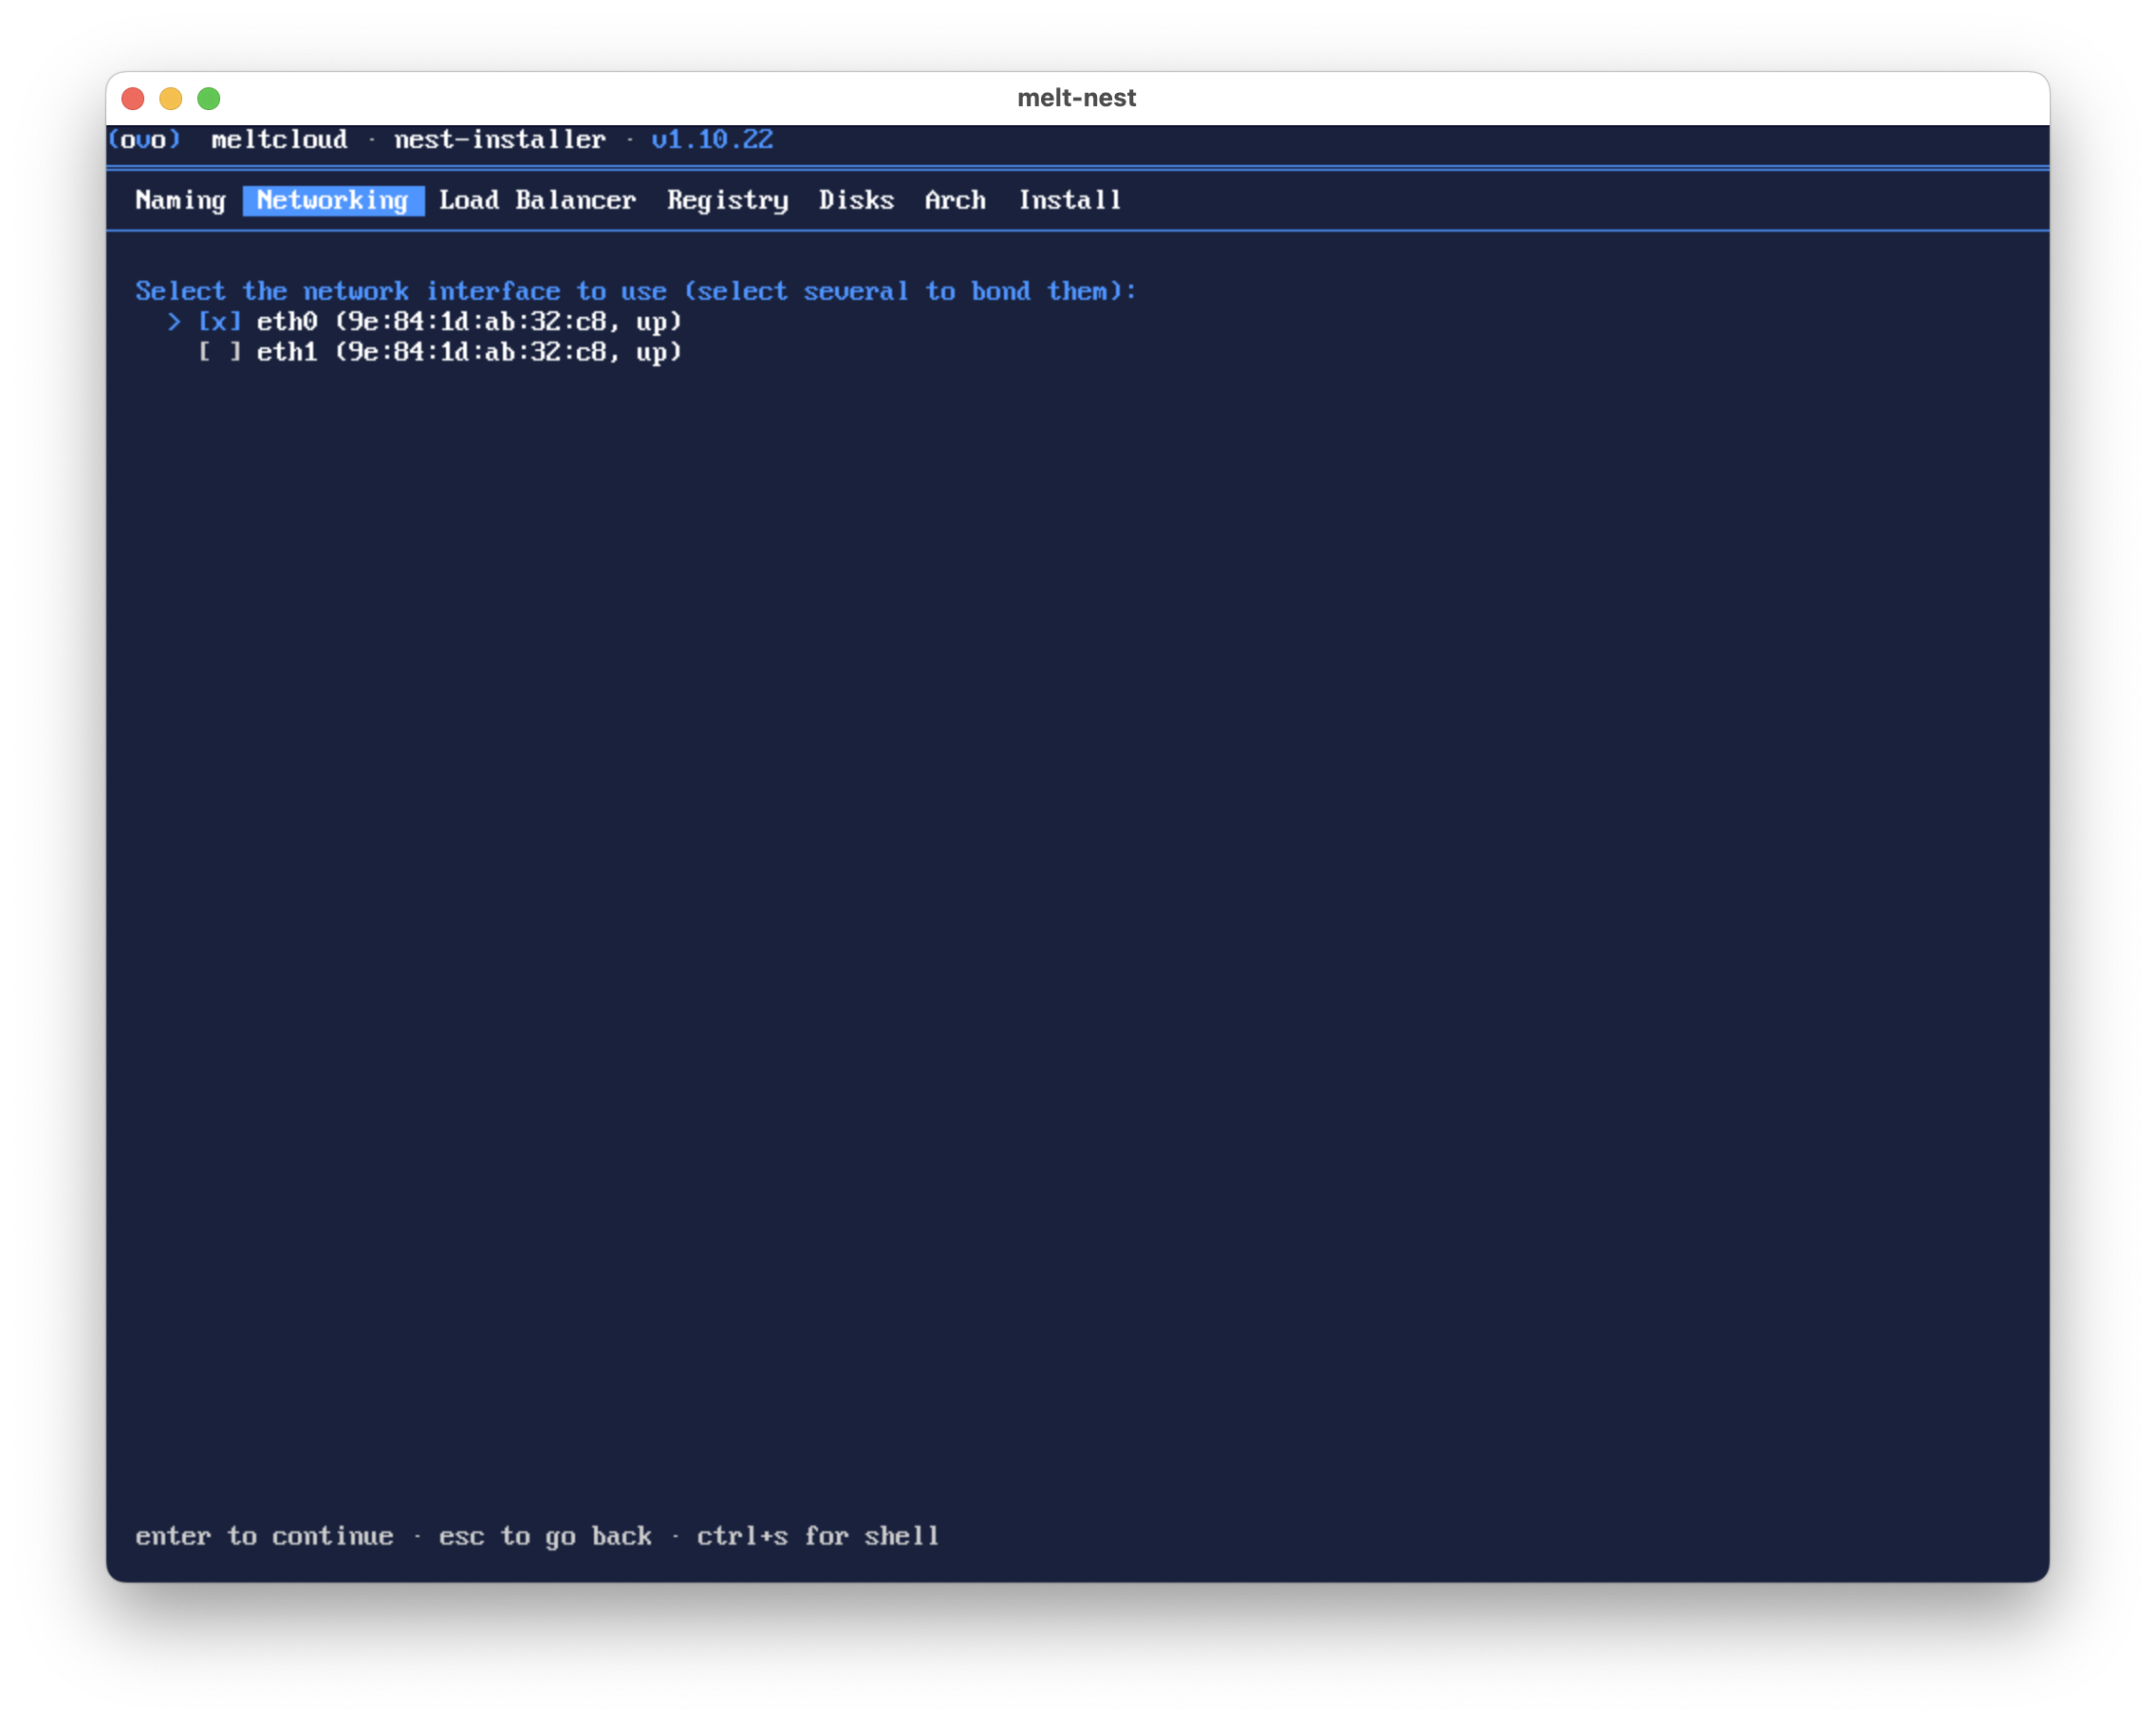
Select several to bond them. The installer then asks whether the bond runs active-backup (one link at a time, no switch configuration) or LACP / 802.3ad (both links, the switch needs a port channel).
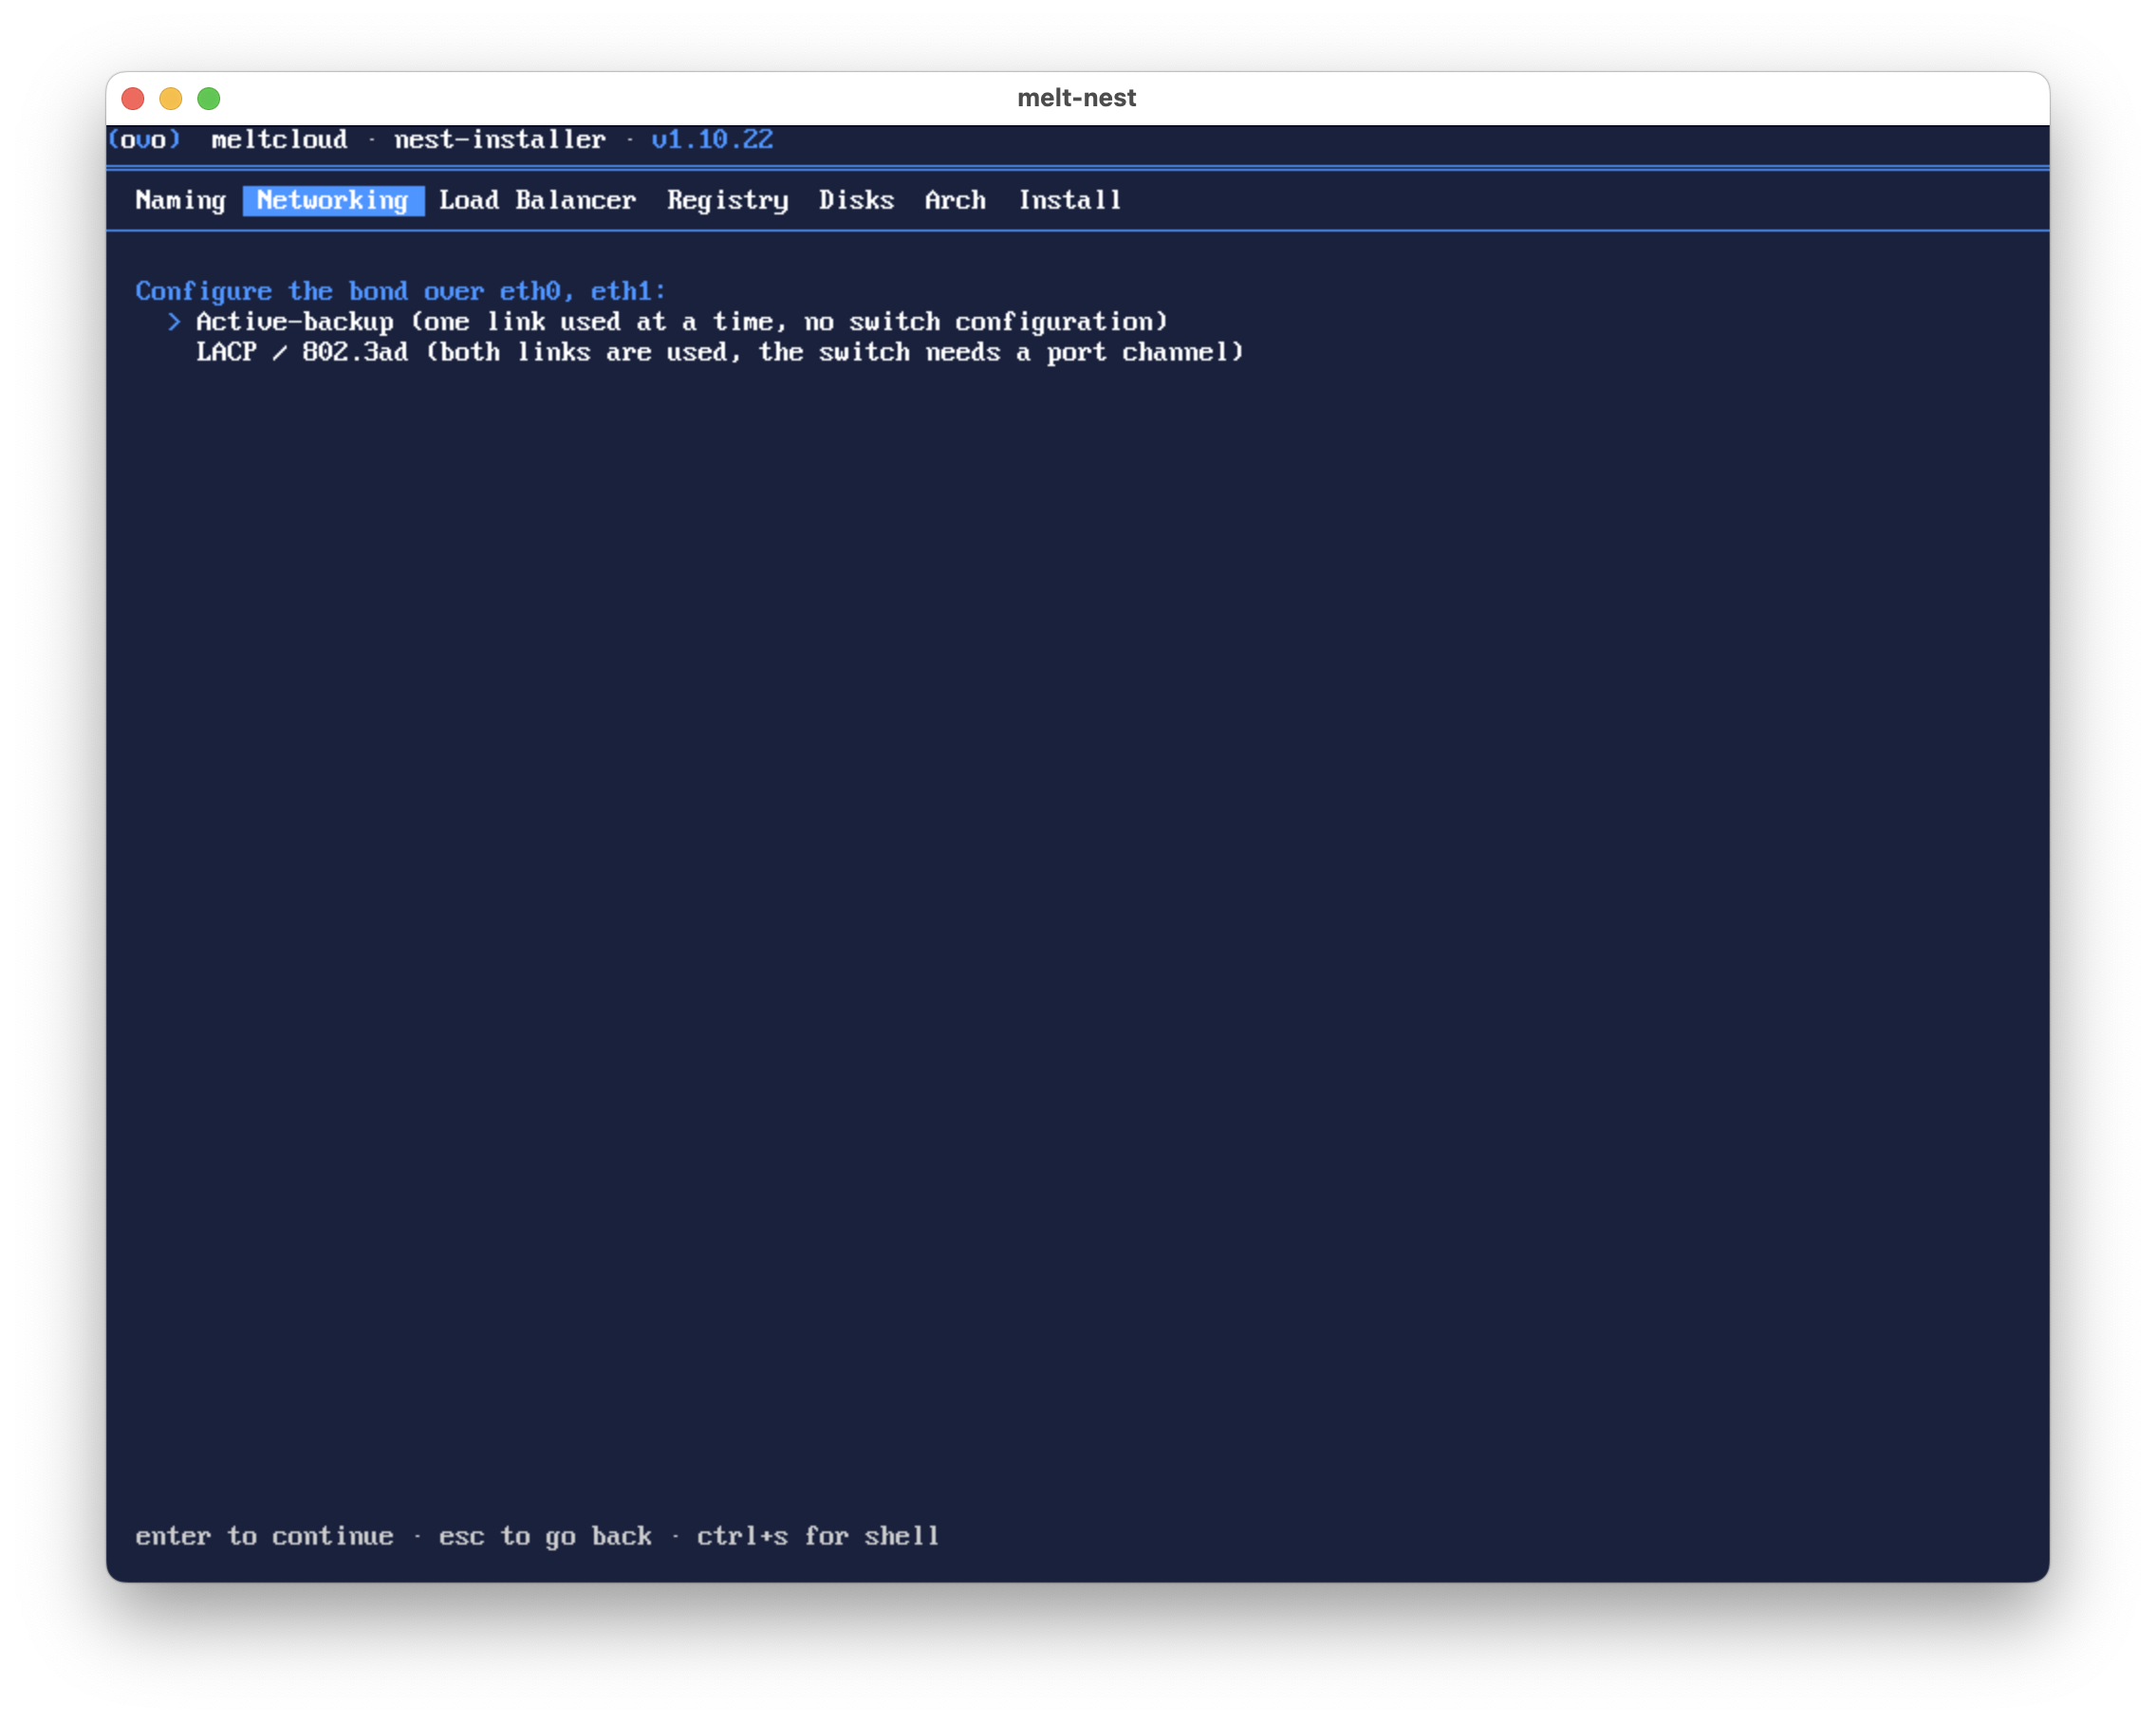
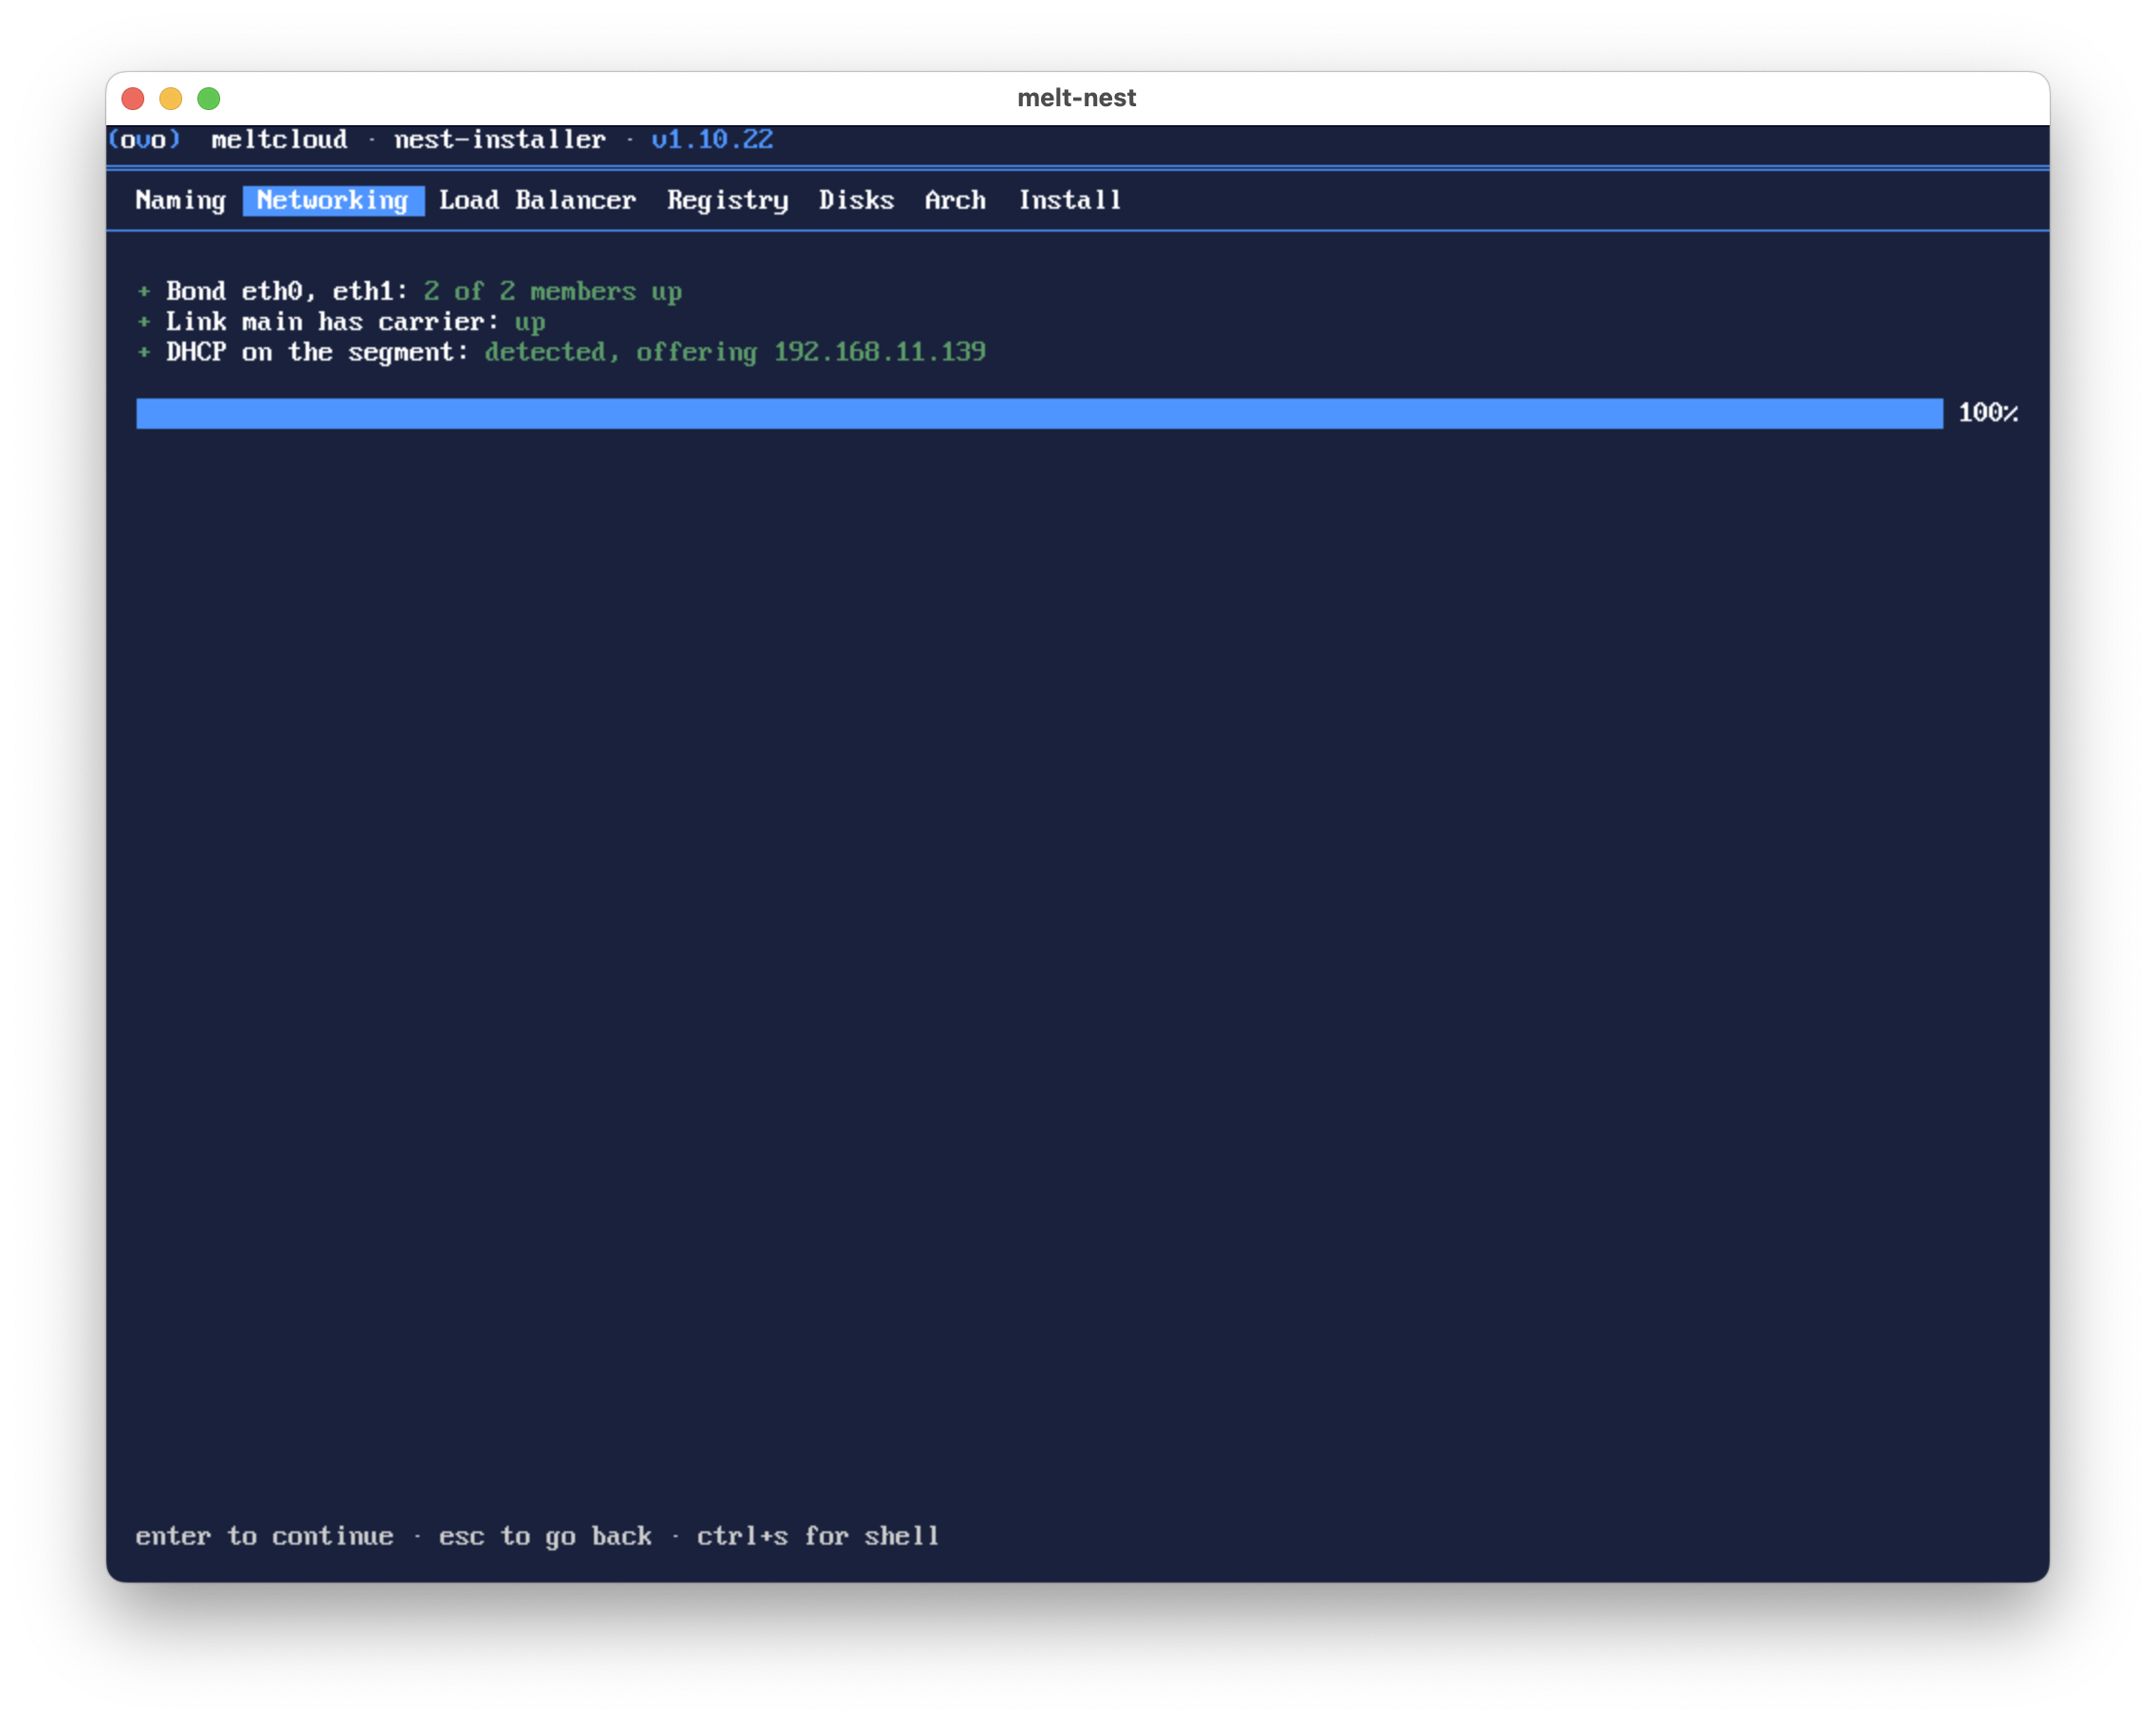
It then tries to get the link and optionally bond up.
Static IP Configuration
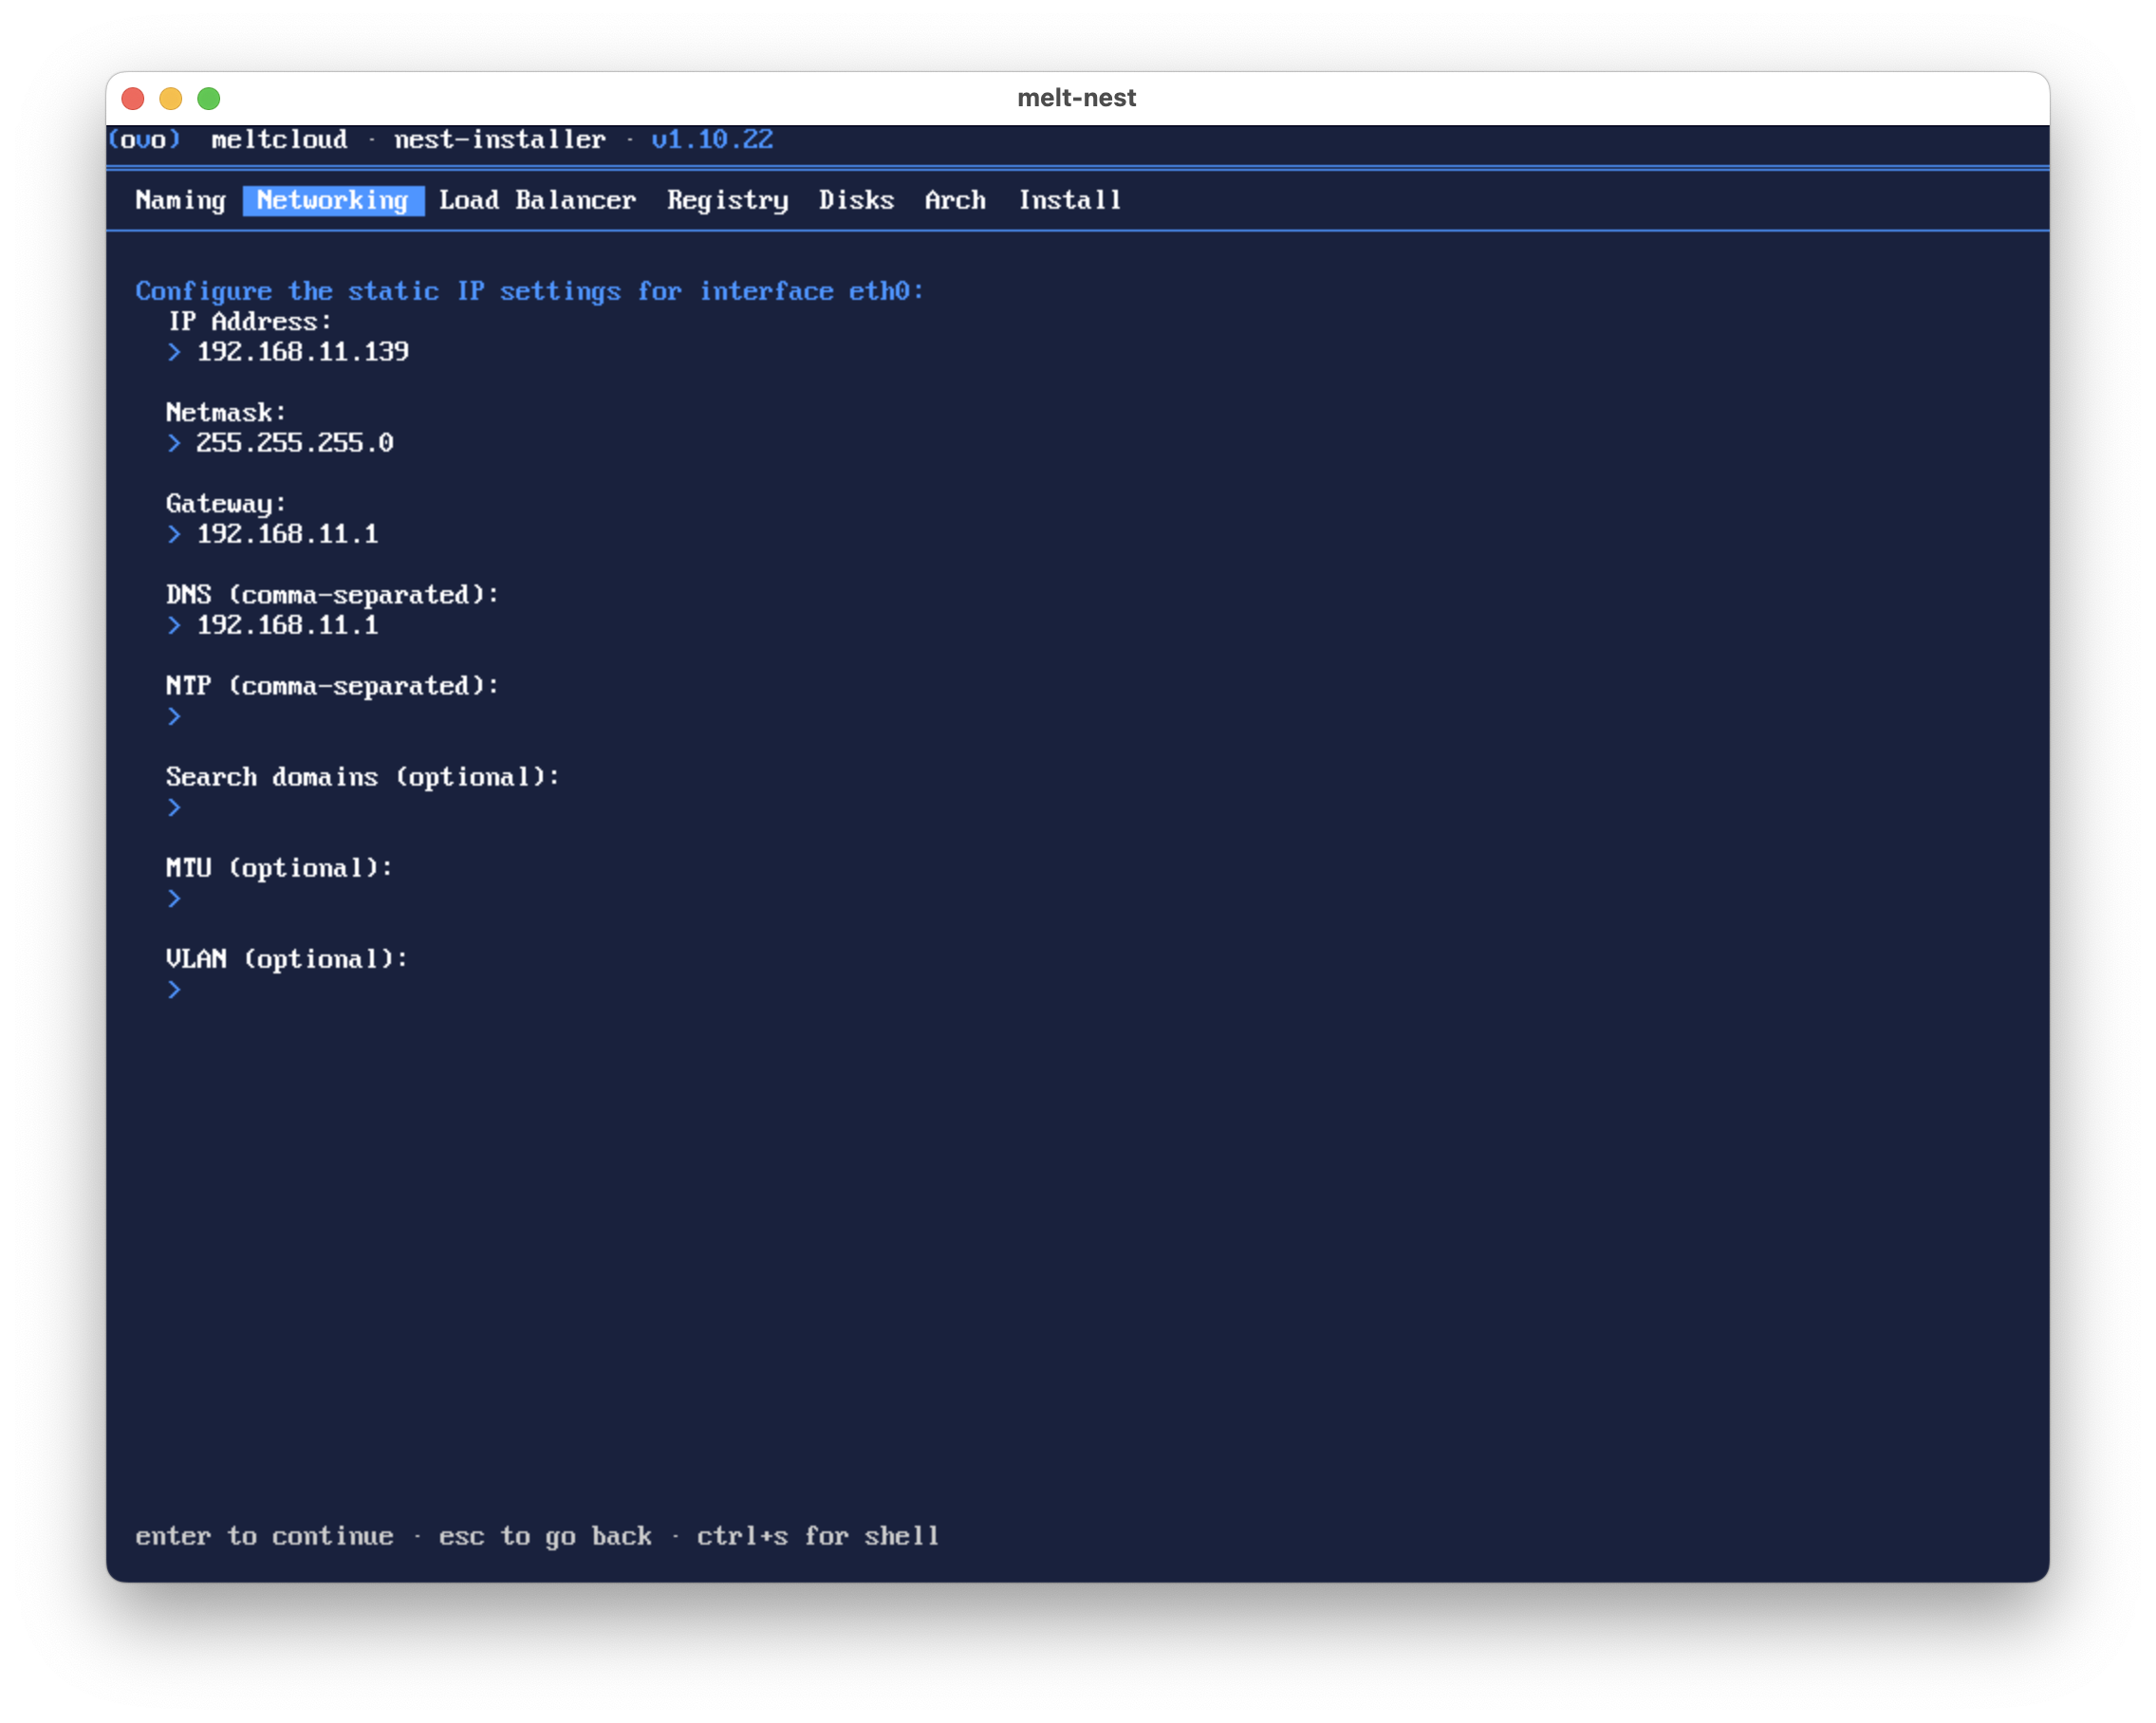
Configure the networking for this Nest host. If a DHCP server is available, it suggests the values from the lease.
| Property | Description | Default | Required |
|---|---|---|---|
| IP Address | IPv4 address for the Nest host | From the DHCP lease, if one was offered | Yes |
| Netmask | Subnet mask | From the lease | Yes |
| Gateway | Default gateway | From the lease | Yes |
| DNS | DNS servers, comma-separated | From the lease | Yes |
| NTP | NTP servers, comma-separated | From the lease | No |
| Search domains | DNS search domains | From the lease | No |
| MTU | MTU of the segment | No | |
| VLAN | VLAN ID (1-4094) for a tagged interface | No |
Network Validation
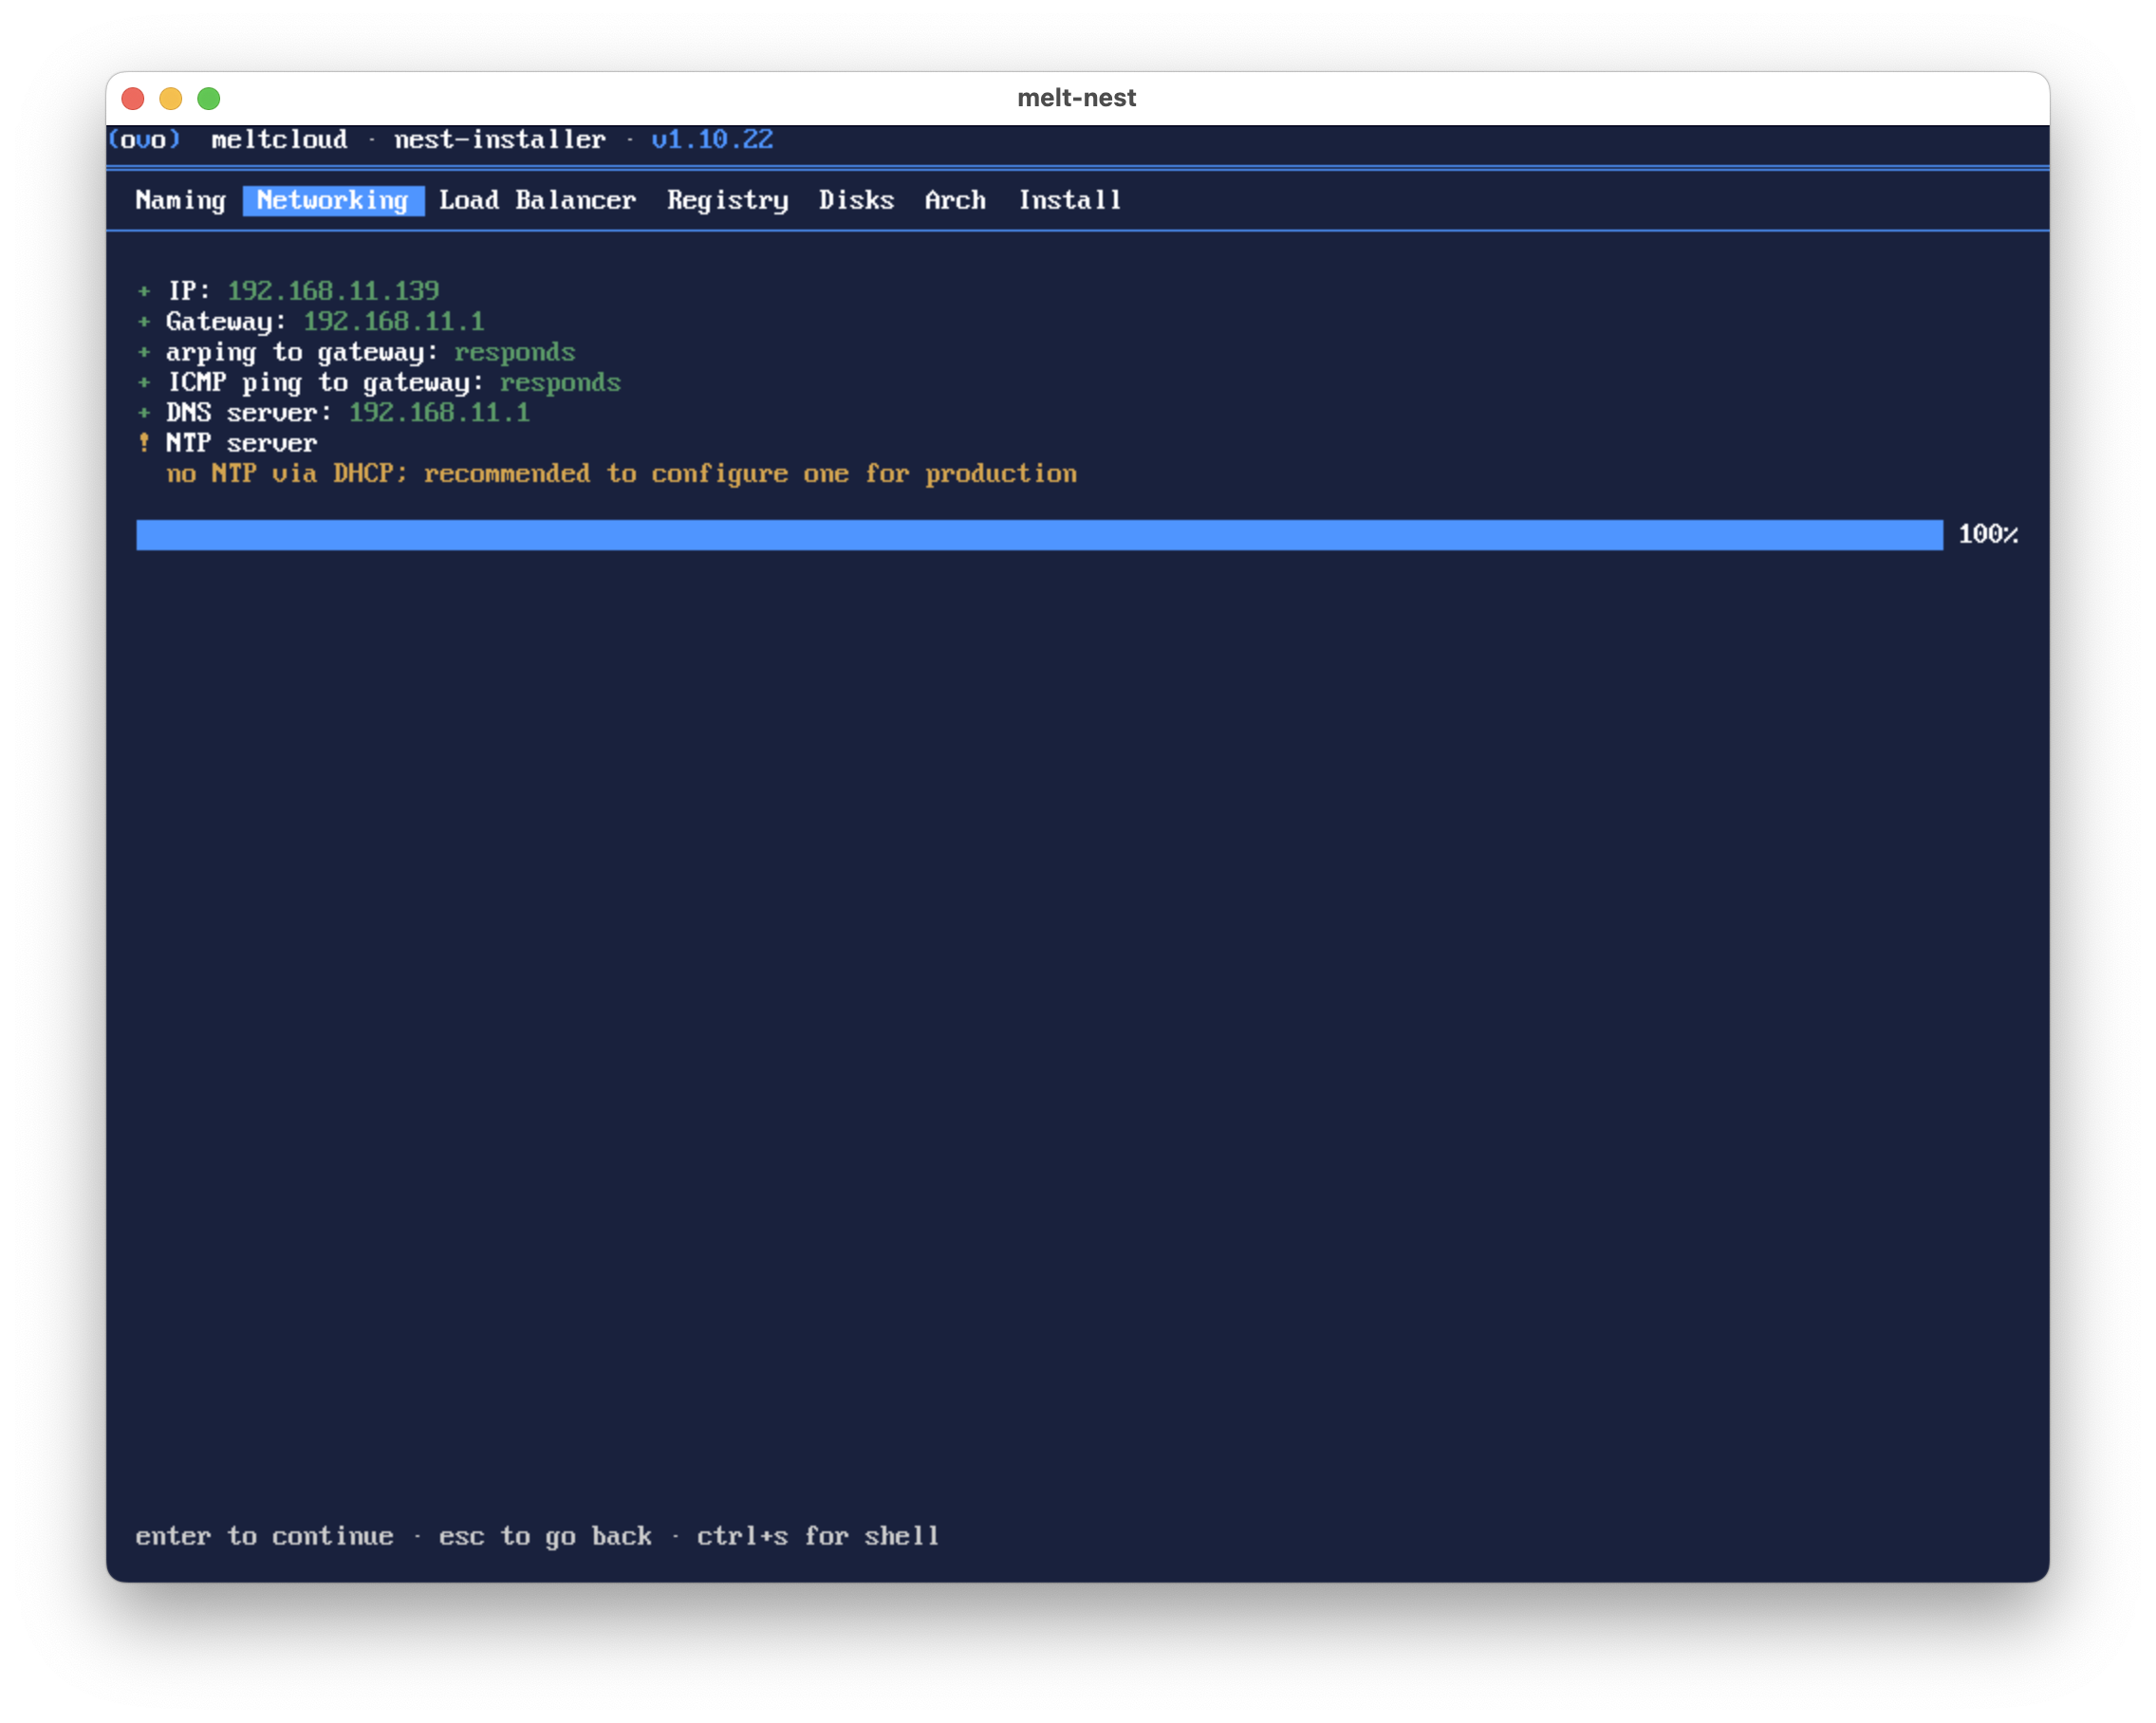
The installer then validates network connectivity:
Checks:
- IP address is configured on the interface
- Gateway is reachable (ARP and ICMP)
- DNS server is configured
- NTP server is accessible
TIP
Many environments do not distribute NTP via DHCP, so the validation may show a warning with a fallback NTP server that might not be reachable. This is fine for trials; for production, set a reachable NTP server.
TIP
Some environments (e.g. Hyper-V) do not respond to ICMP pings on the primary gateway. If the ICMP ping check shows a warning but ARP succeeds, this can be safely ignored.
3. Load Balancer
Configure the load balancer VIPs and domain for the Nest services.
Announcement Mode
| Option | Description |
|---|---|
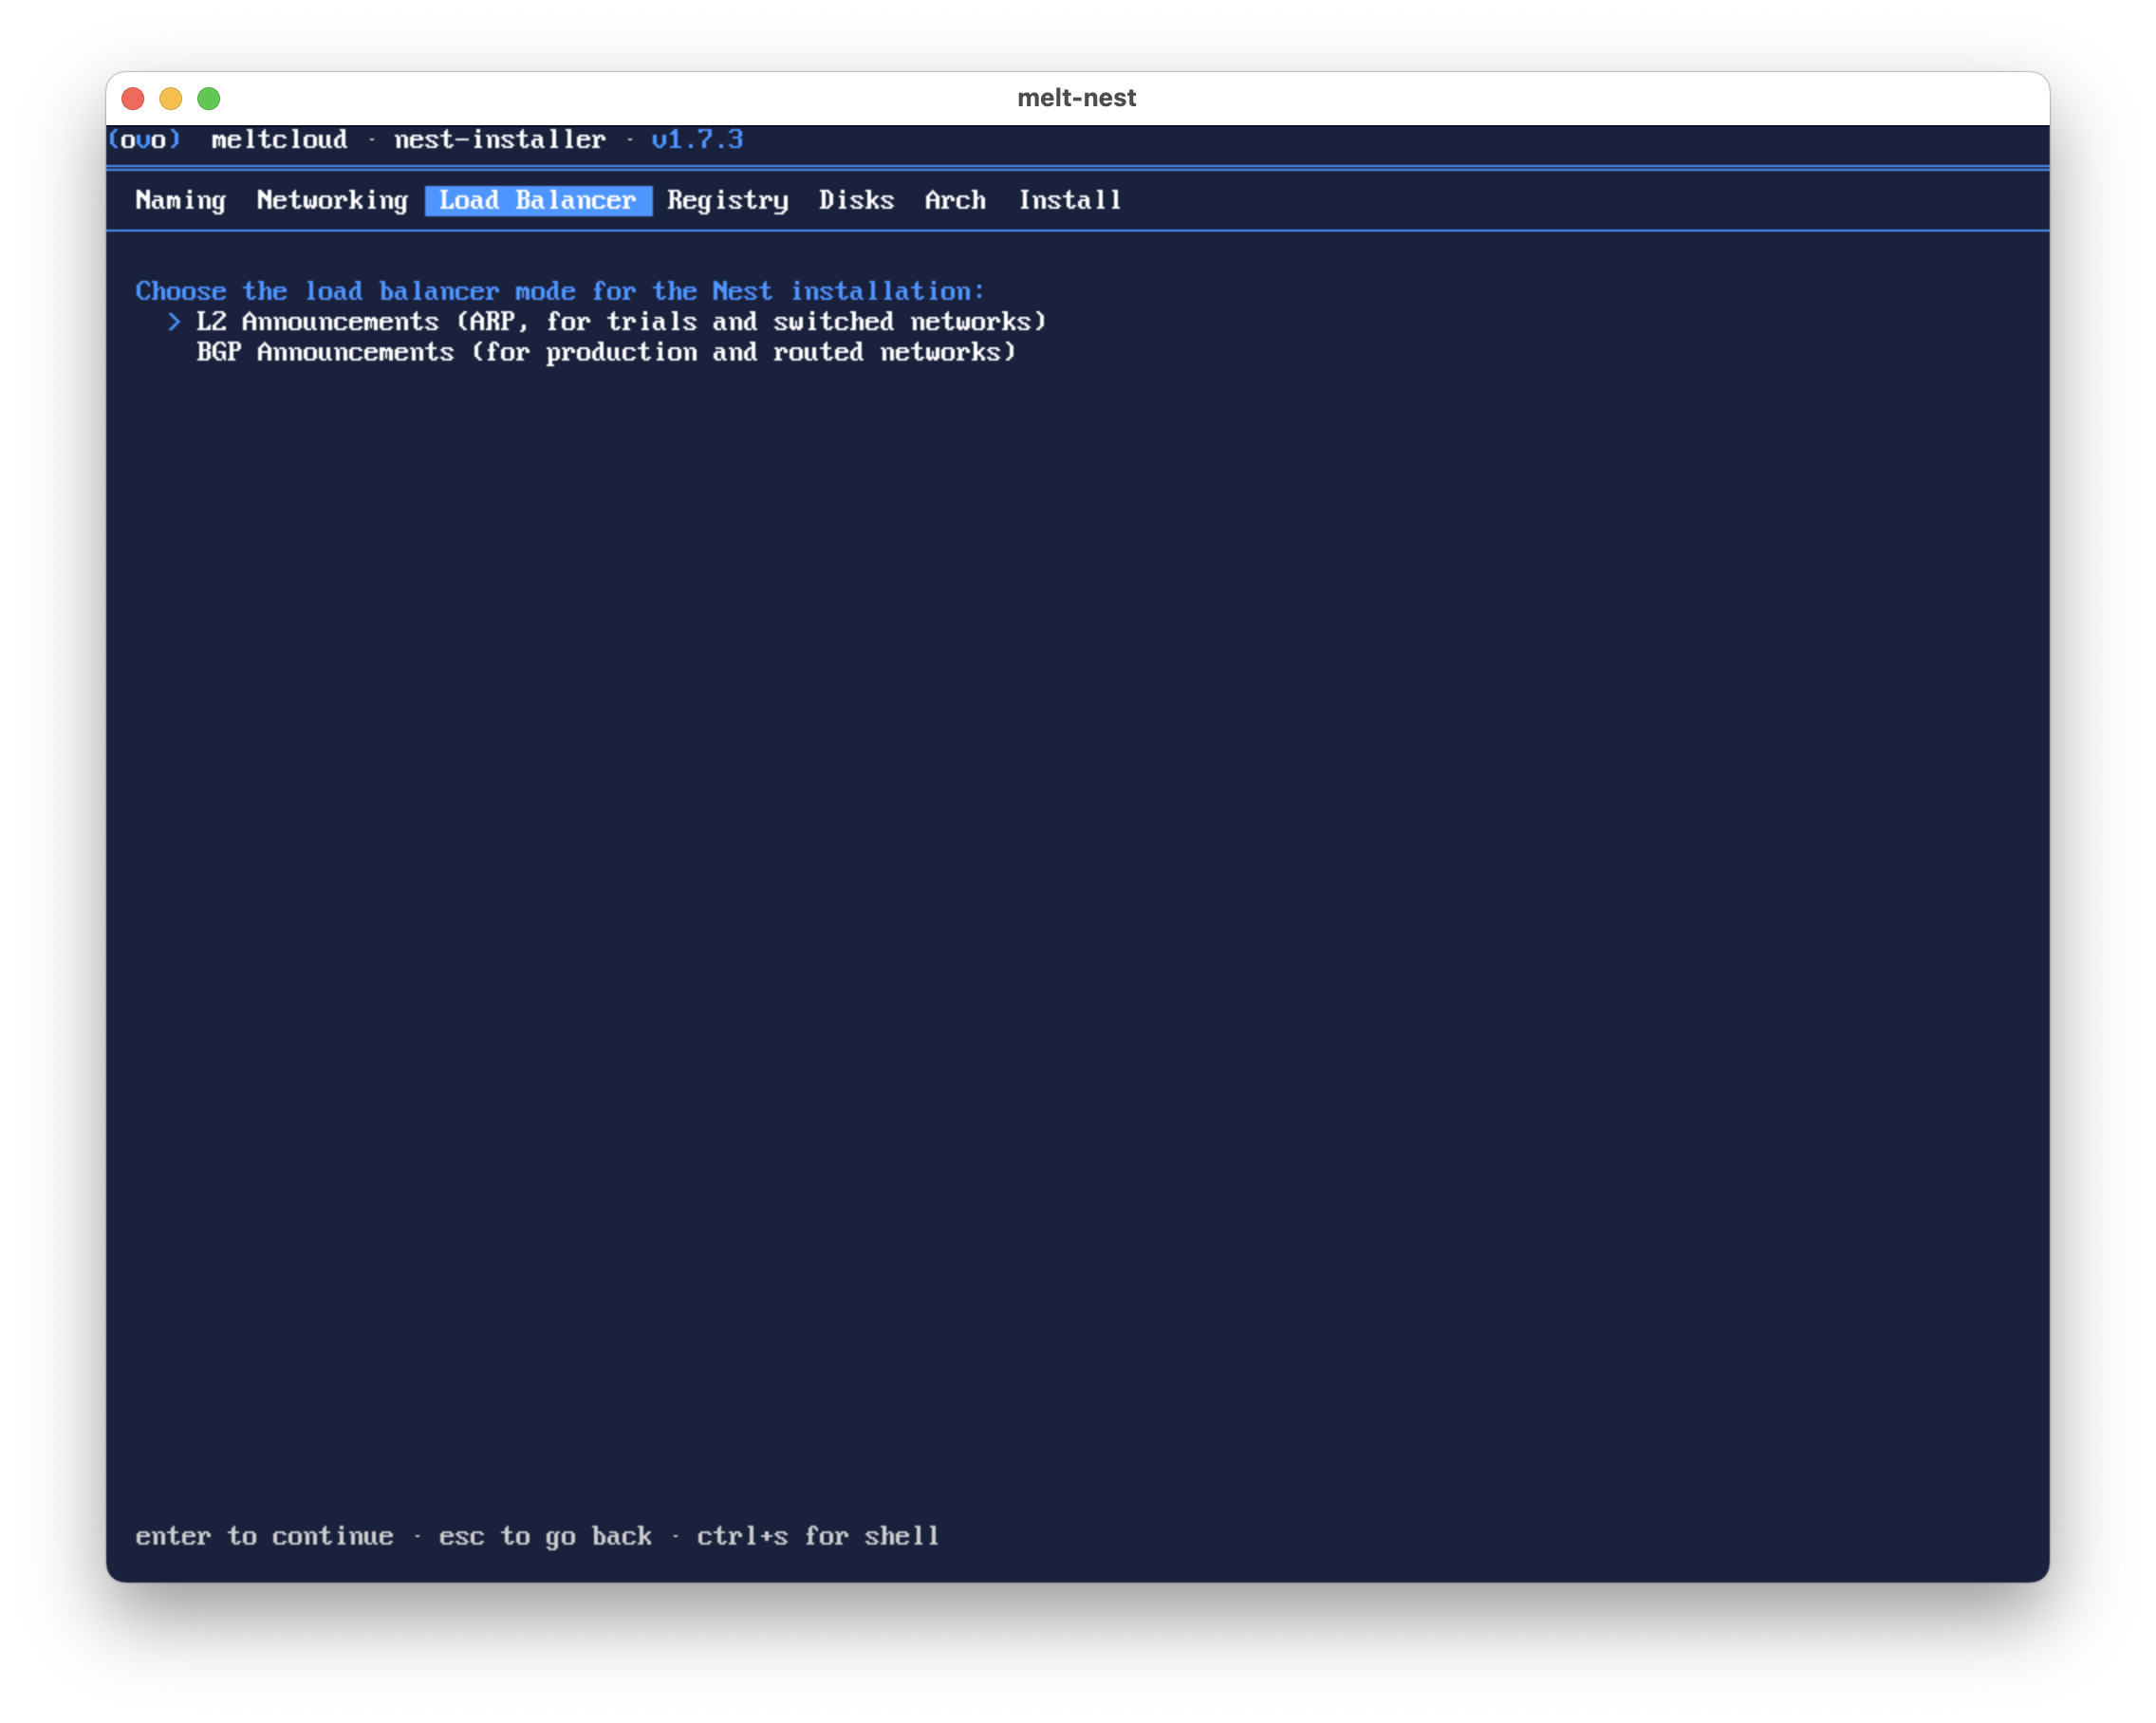
| L2 Announcements | Uses ARP announcements. For trials and switched networks. |
| BGP Announcements | Announces the VIPs to a BGP peer. For production and routed networks. |
Number of BGP Peers
First, select how many peers you want to peer with. For productive spine-leaf networks, it is best practice to establish a BGP peering session with both ToRs.
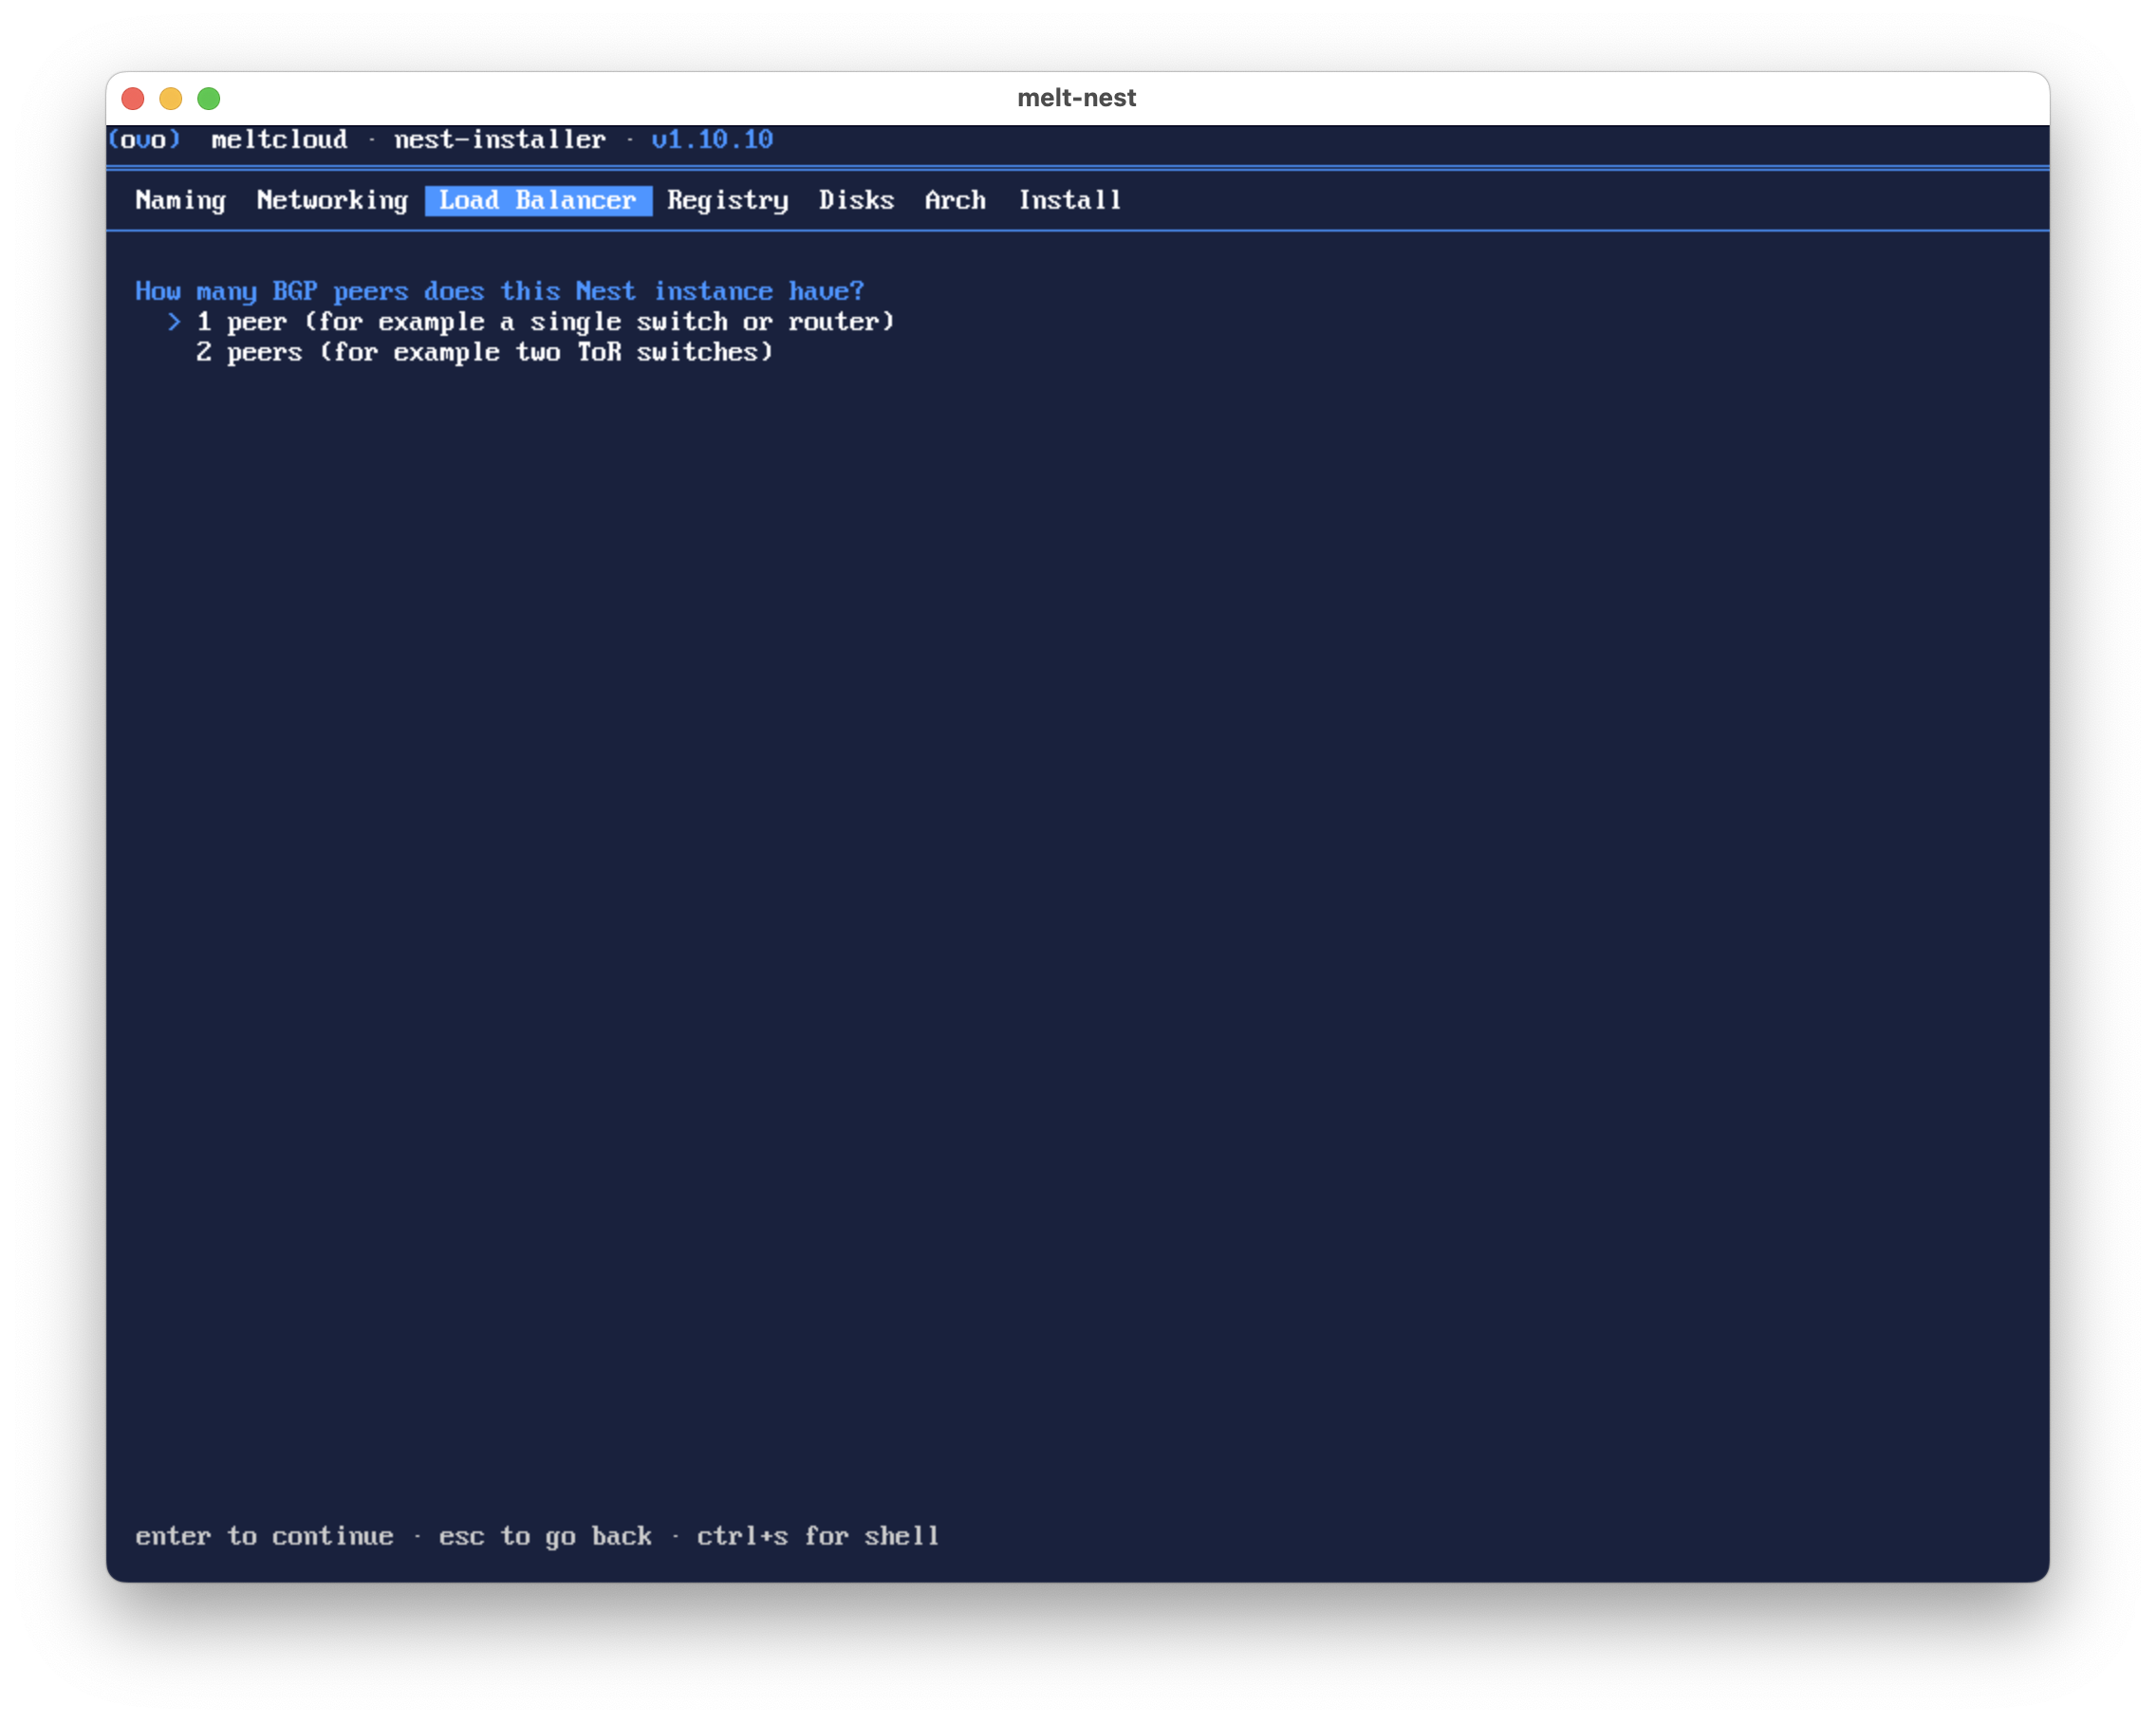
| Option | Description |
|---|---|
| 1 | For example a single switch or router |
| 2 | For example two ToR switches |
The Nest announces its VIPs to every peer, so a session to each keeps the VIPs reachable while one of them is down.
BGP Peering
Enter the details of each BGP peer. Local ASN is the same for both peers, so it is asked only once.
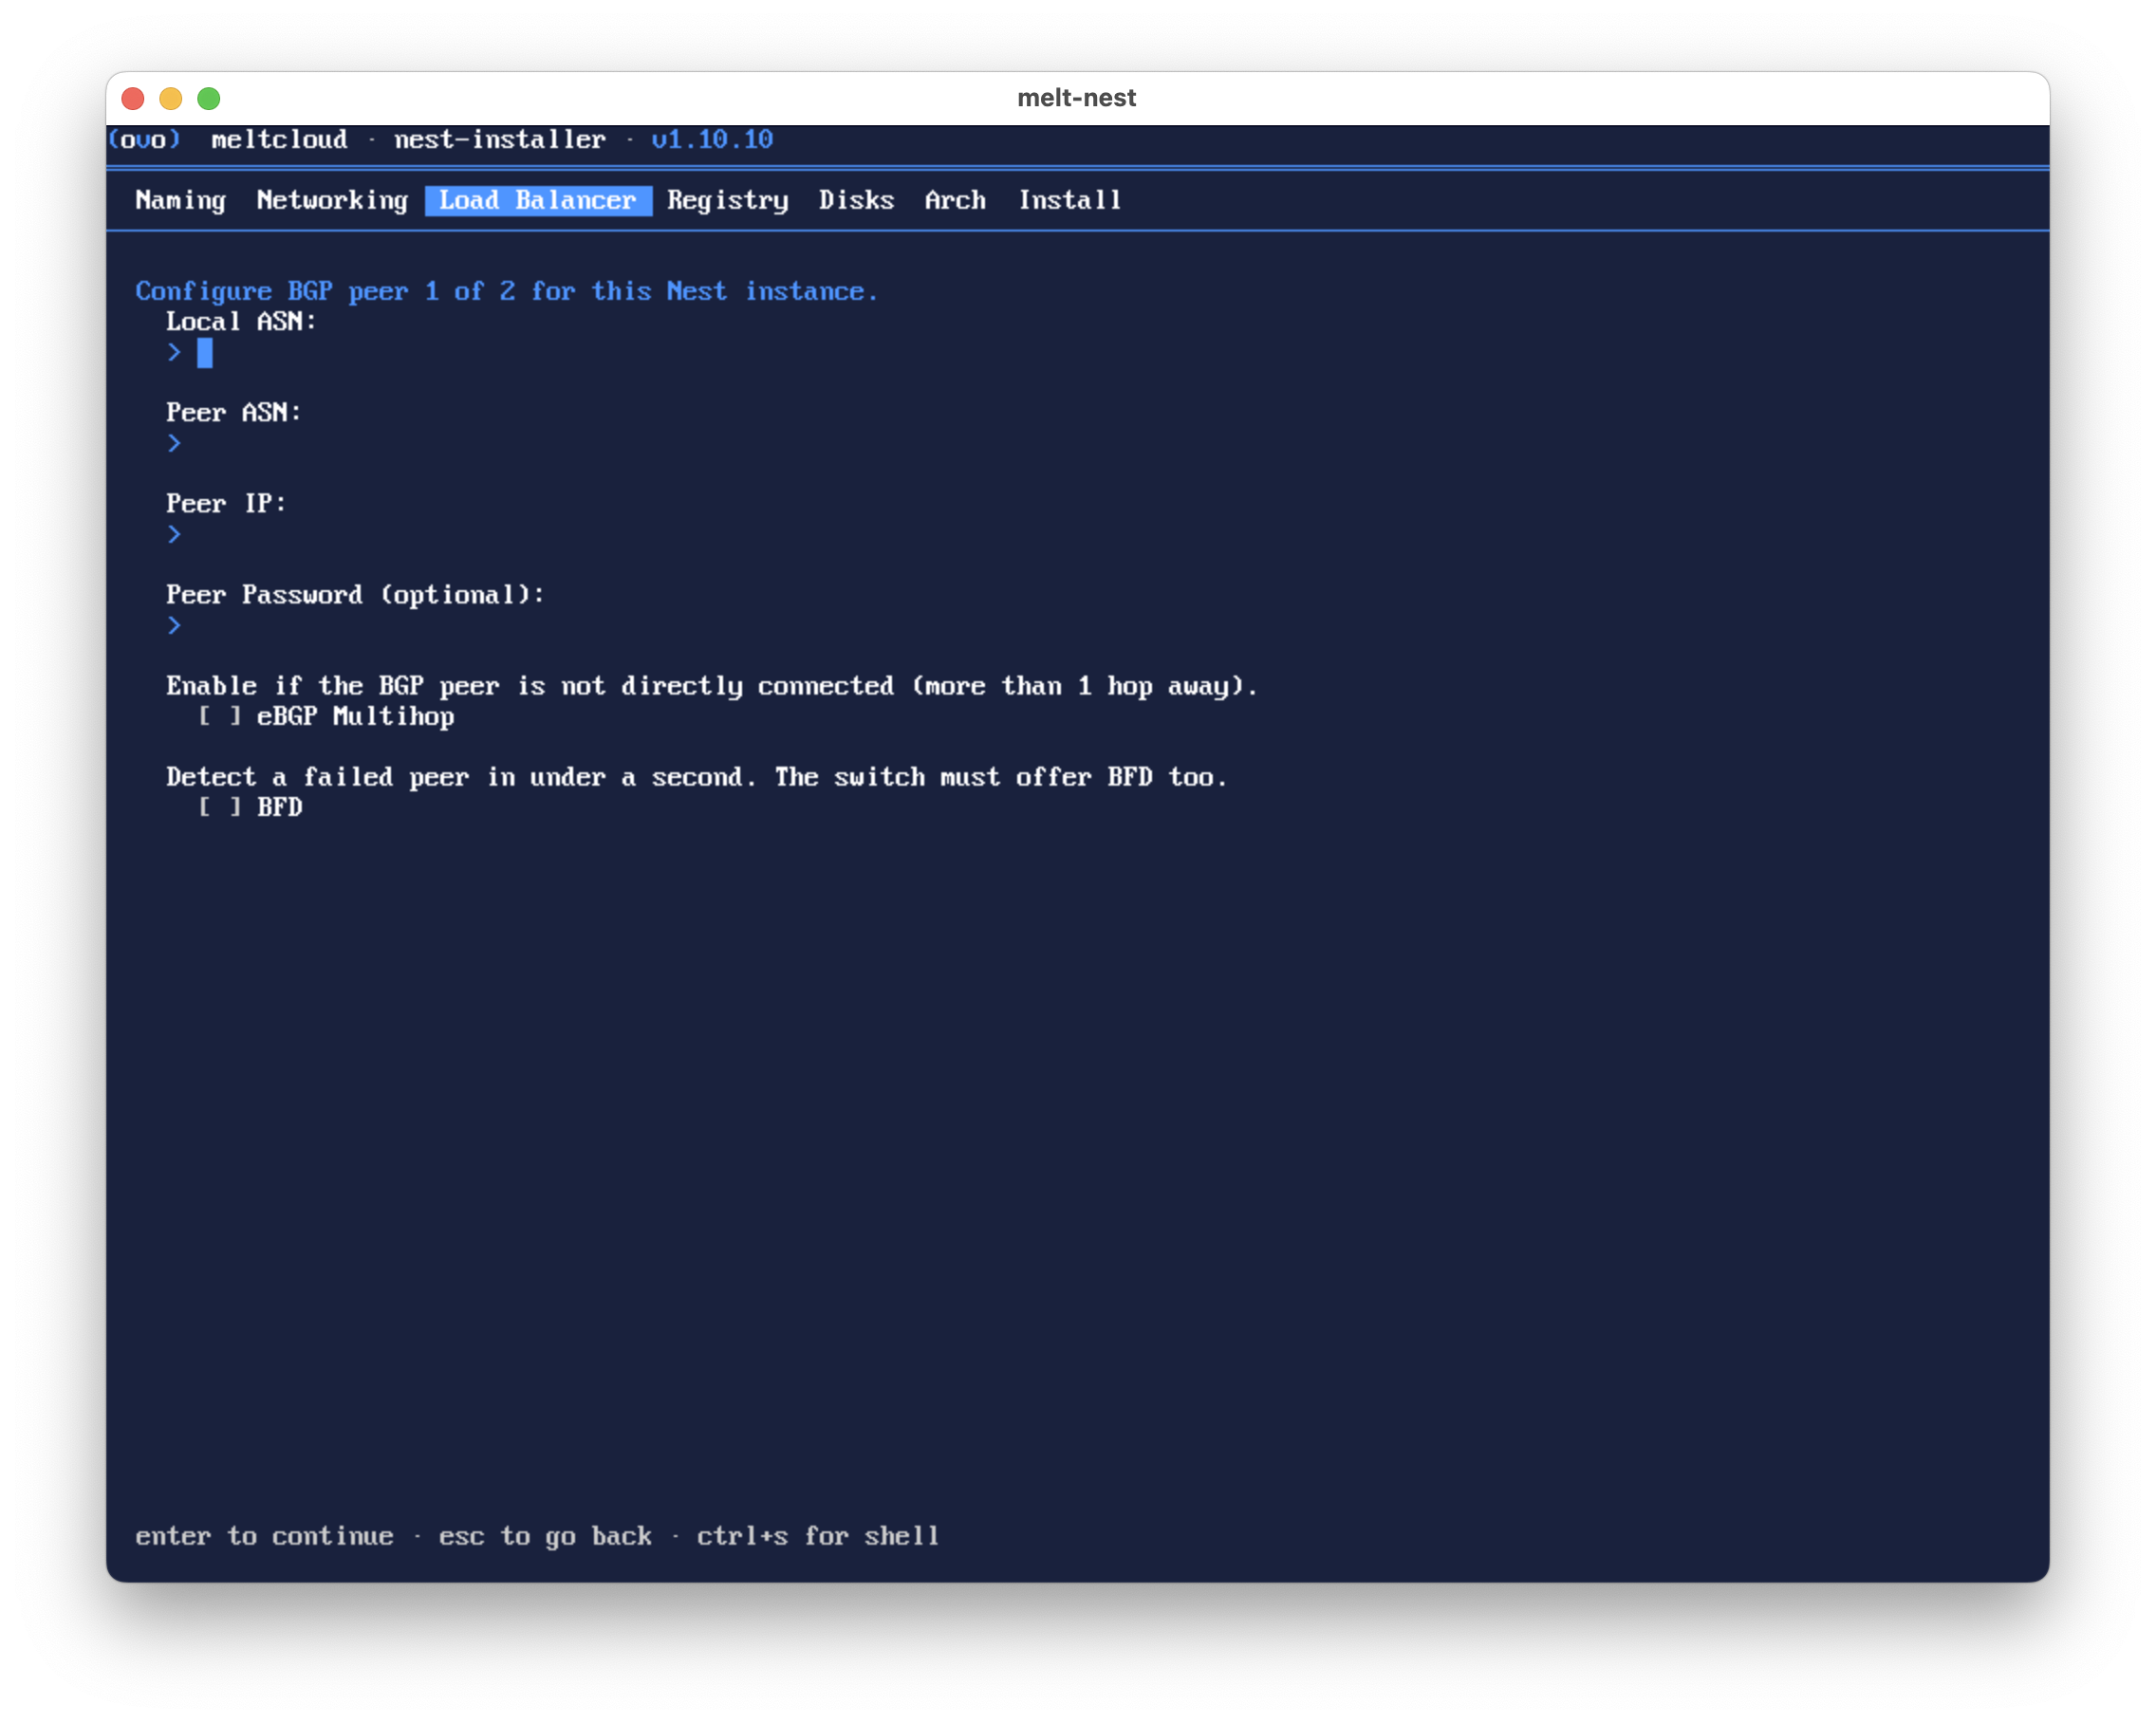
| Property | Description | Required |
|---|---|---|
| Local ASN | The autonomous system number of this Nest instance (first screen only) | Yes |
| Peer ASN | The autonomous system number of the peer | Yes |
| Peer IP | The IP address of the peer | Yes |
| Peer Password | MD5 authentication password, if the peer requires one | No |
| eBGP Multihop | Enable if the peer is not directly connected (more than 1 hop away) | No |
| BFD | Use BFD to detect a failed peer in under a second. The peer must offer BFD too. Without it a dead peer takes the BGP hold time (90s by default). | No |
TIP
A peer must be configured to accept a session from this Nest instance before the peering can come up. See Network Requirements (self-hosted) for the connectivity this needs, including the port BFD uses.
BGP Peering Validation
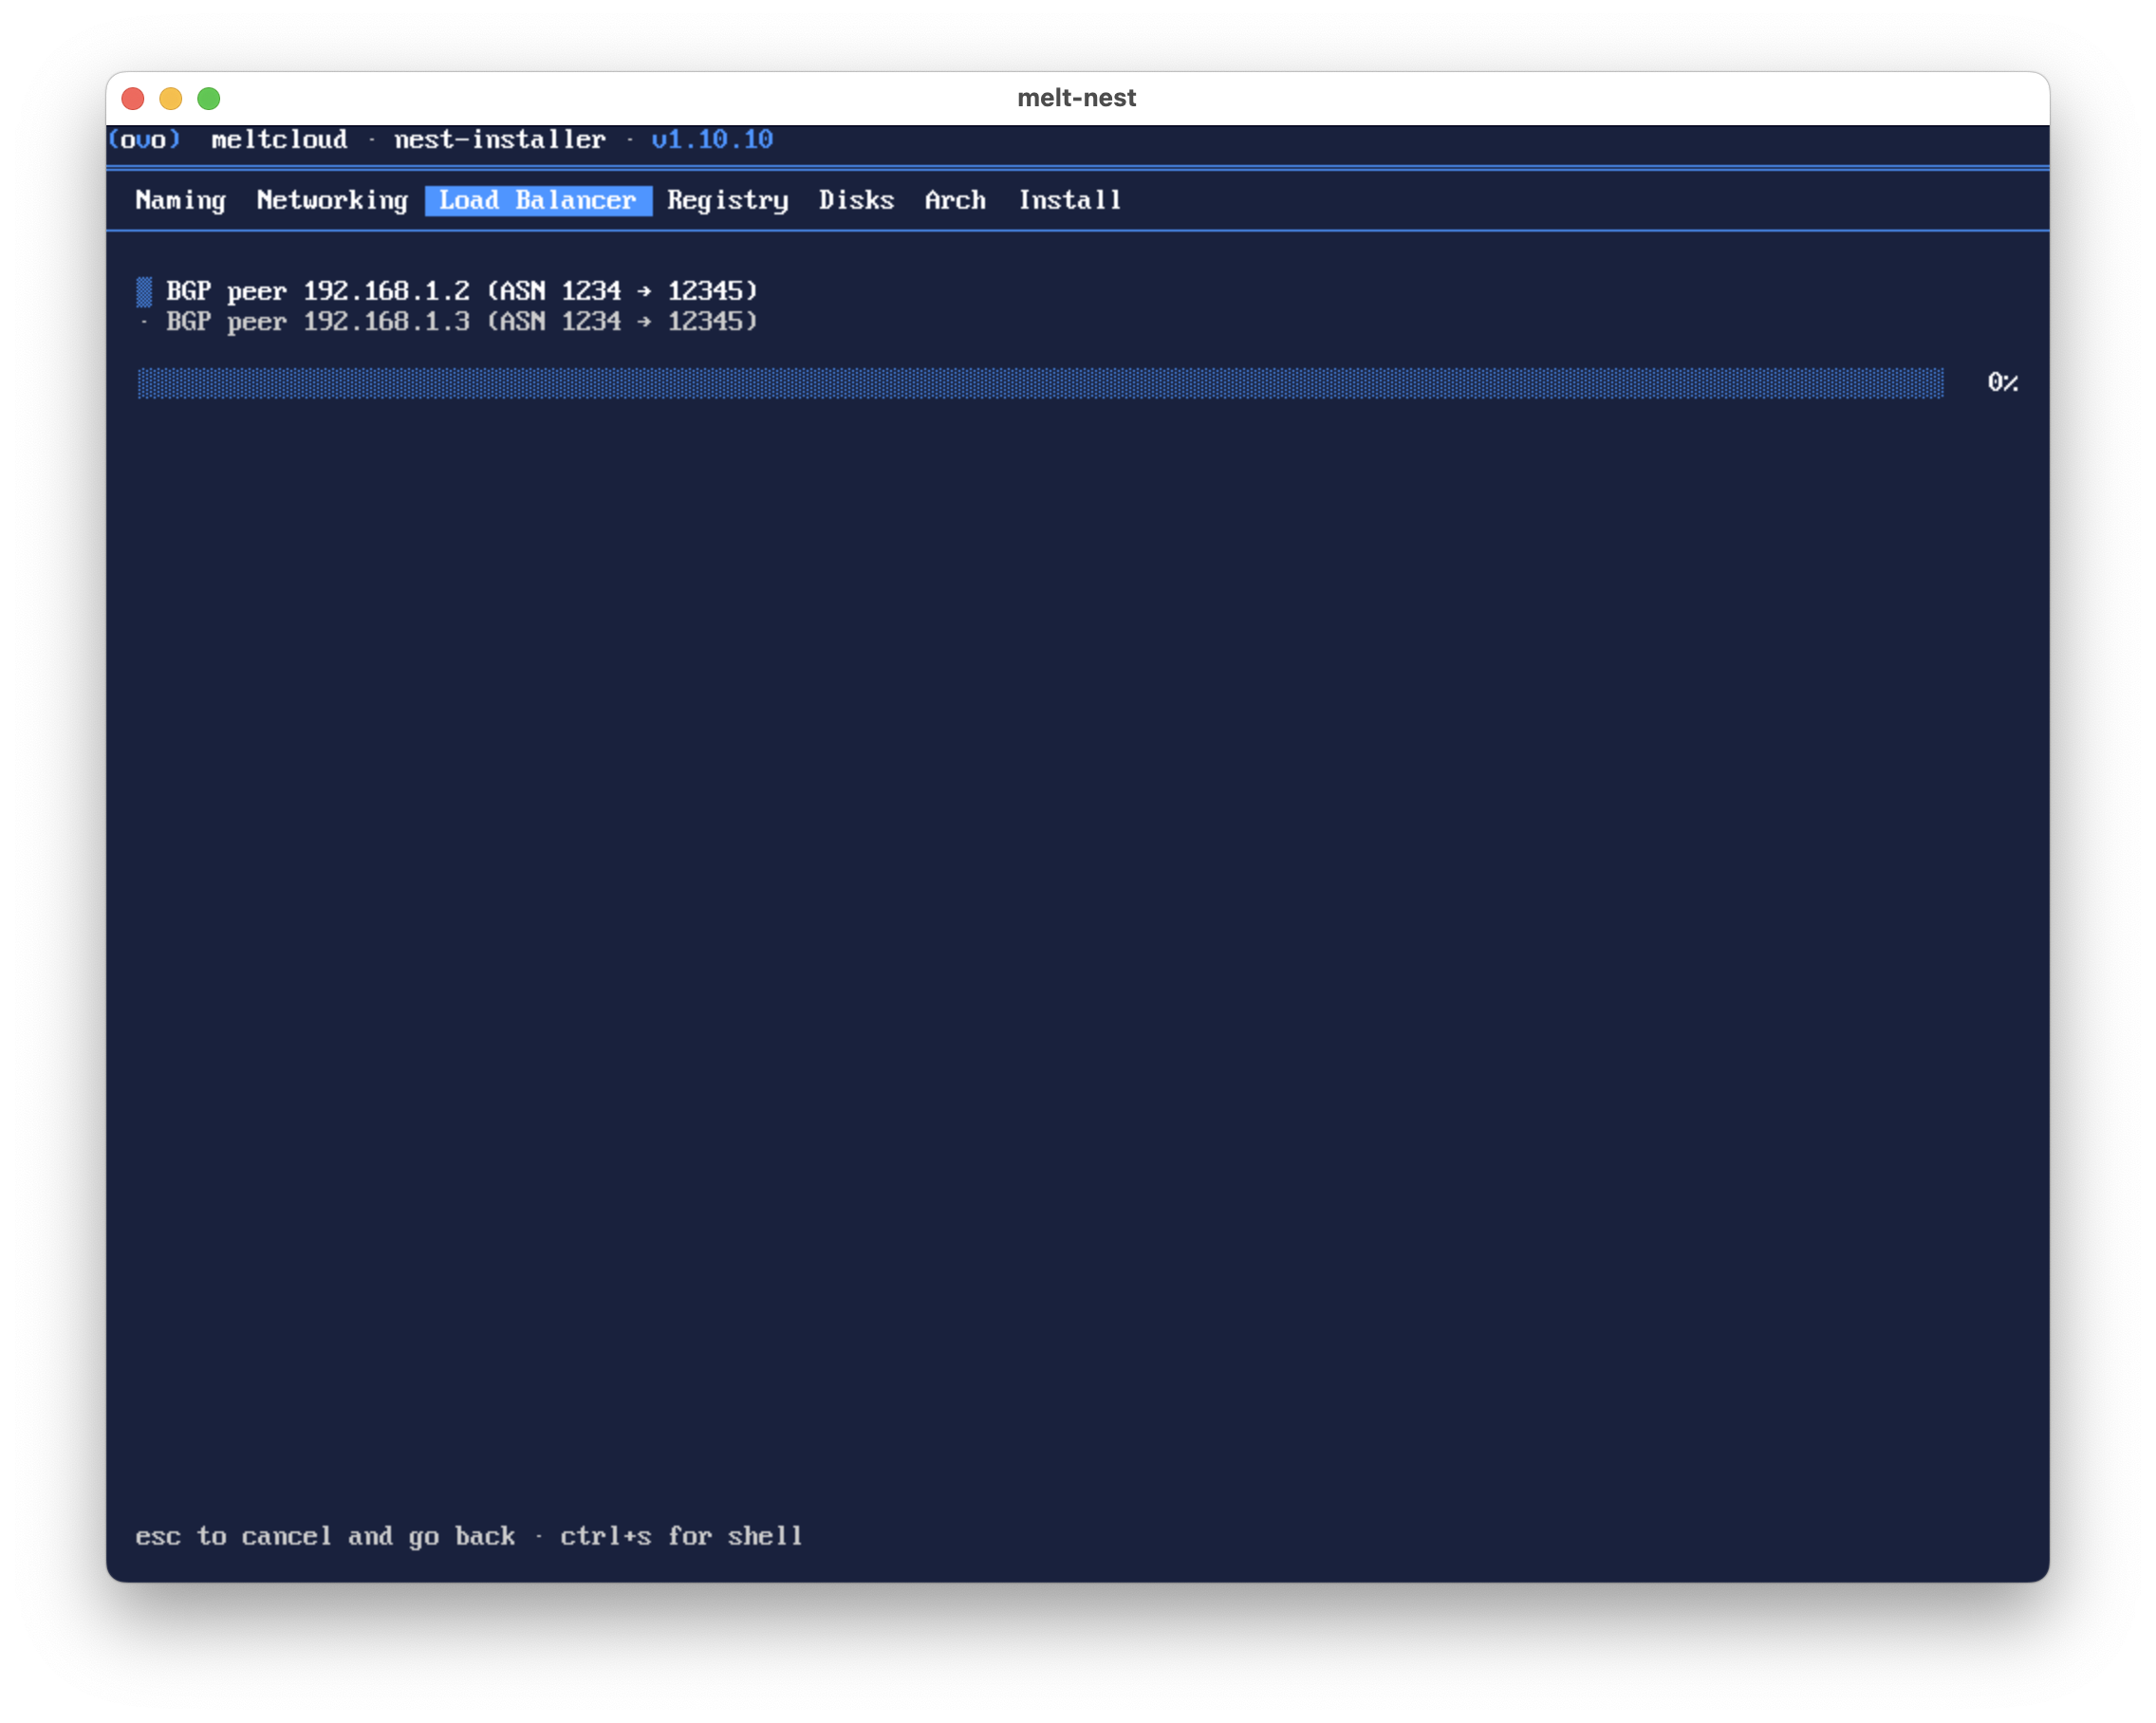
The installer opens a BGP session to each configured peer and waits up to 15 seconds per peer for it to reach the ESTABLISHED state.
If a session does not come up, you can either go back and correct the settings, or continue with the installation. Continuing is useful when a peer is not configured yet: the installation does not depend on the session, and the Nest keeps retrying it once installed. Until a session is up, the VIPs are not announced to that peer.
VIP Addresses
Three dedicated IP addresses are required for the Nest services. These must be free (not in use) in your network.
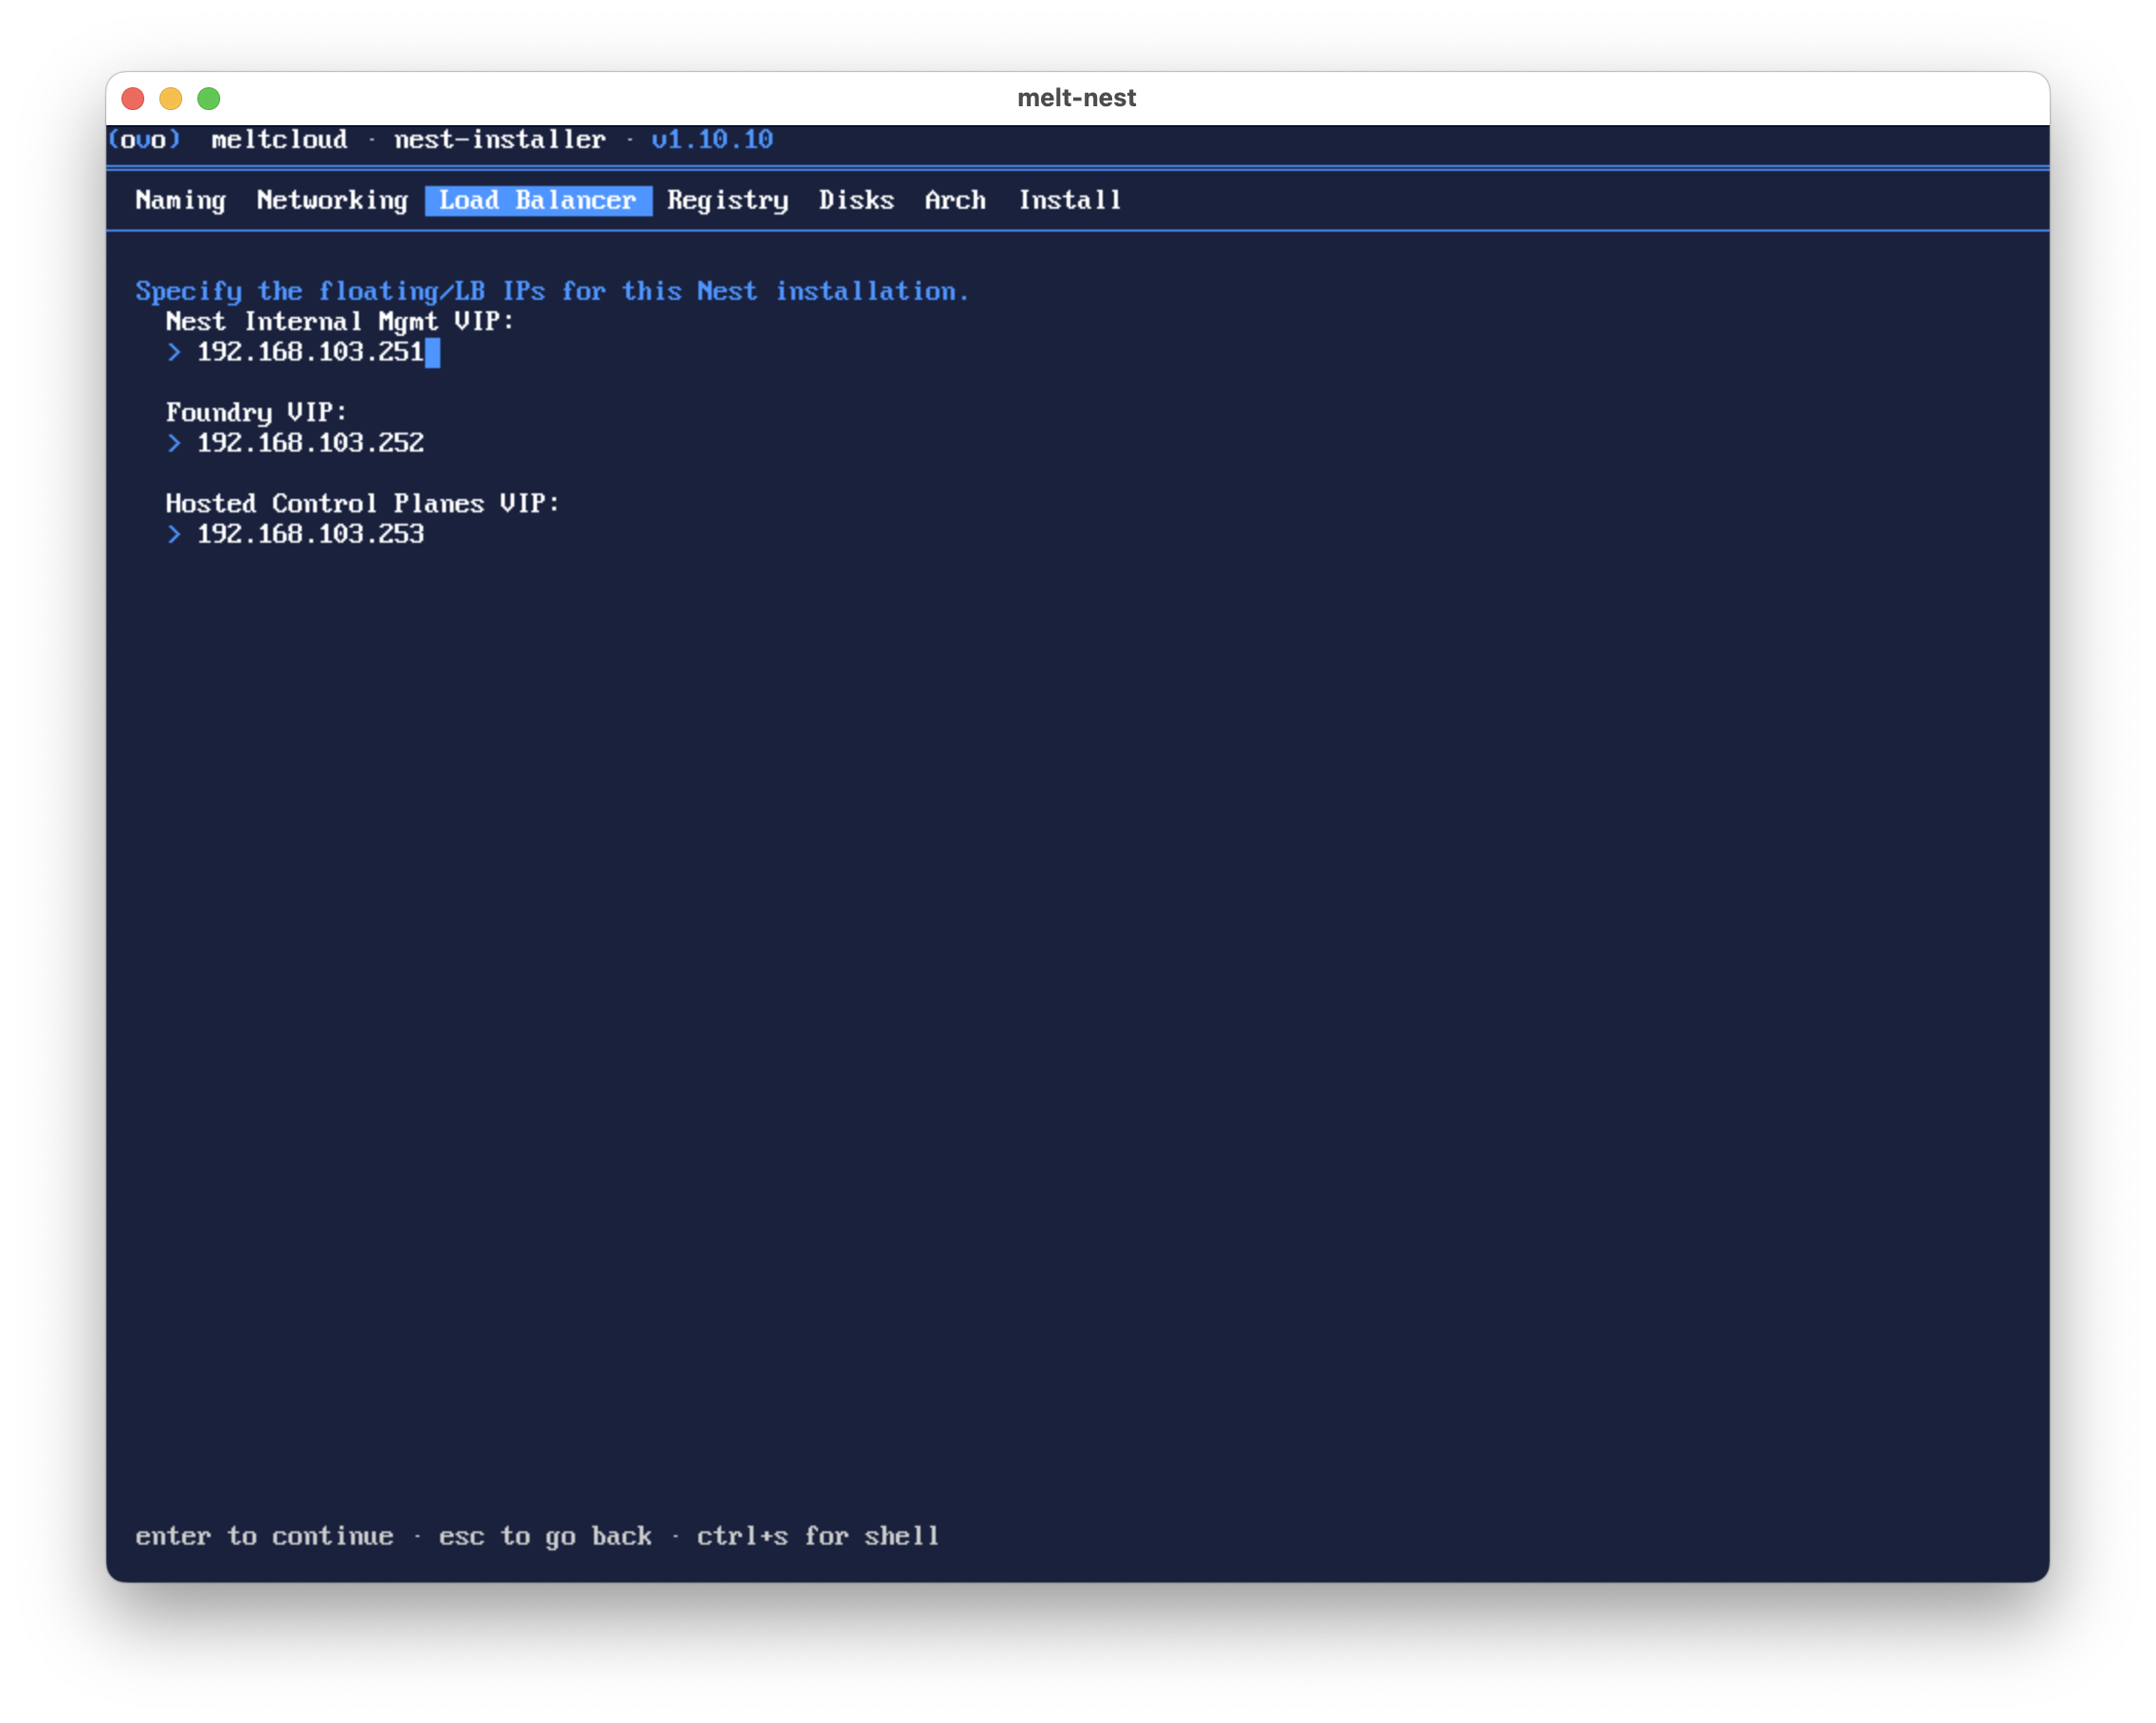
| Property | Description | Default | Required |
|---|---|---|---|
| Nest Internal Mgmt VIP | Internal management traffic | Auto-calculated from host subnet | Yes |
| Foundry VIP | Web UI, API and agent connectivity | Auto-calculated from host subnet | Yes |
| Hosted Control Planes VIP | Kubernetes API endpoints for hosted clusters | Auto-calculated from host subnet | Yes |
TIP
The installer suggests IPs near the top of your subnet (e.g. .251, .252, .253 for a /24). Make sure these are not assigned by DHCP or used by other hosts.
Foundry Domain
The domain that resolves to the Foundry VIP. A wildcard domain is recommended, i.e. resolve *.{domain} to the Foundry VIP. The apex domain itself does not need to resolve. Alternatively, create individual DNS entries for the required subdomains listed below.
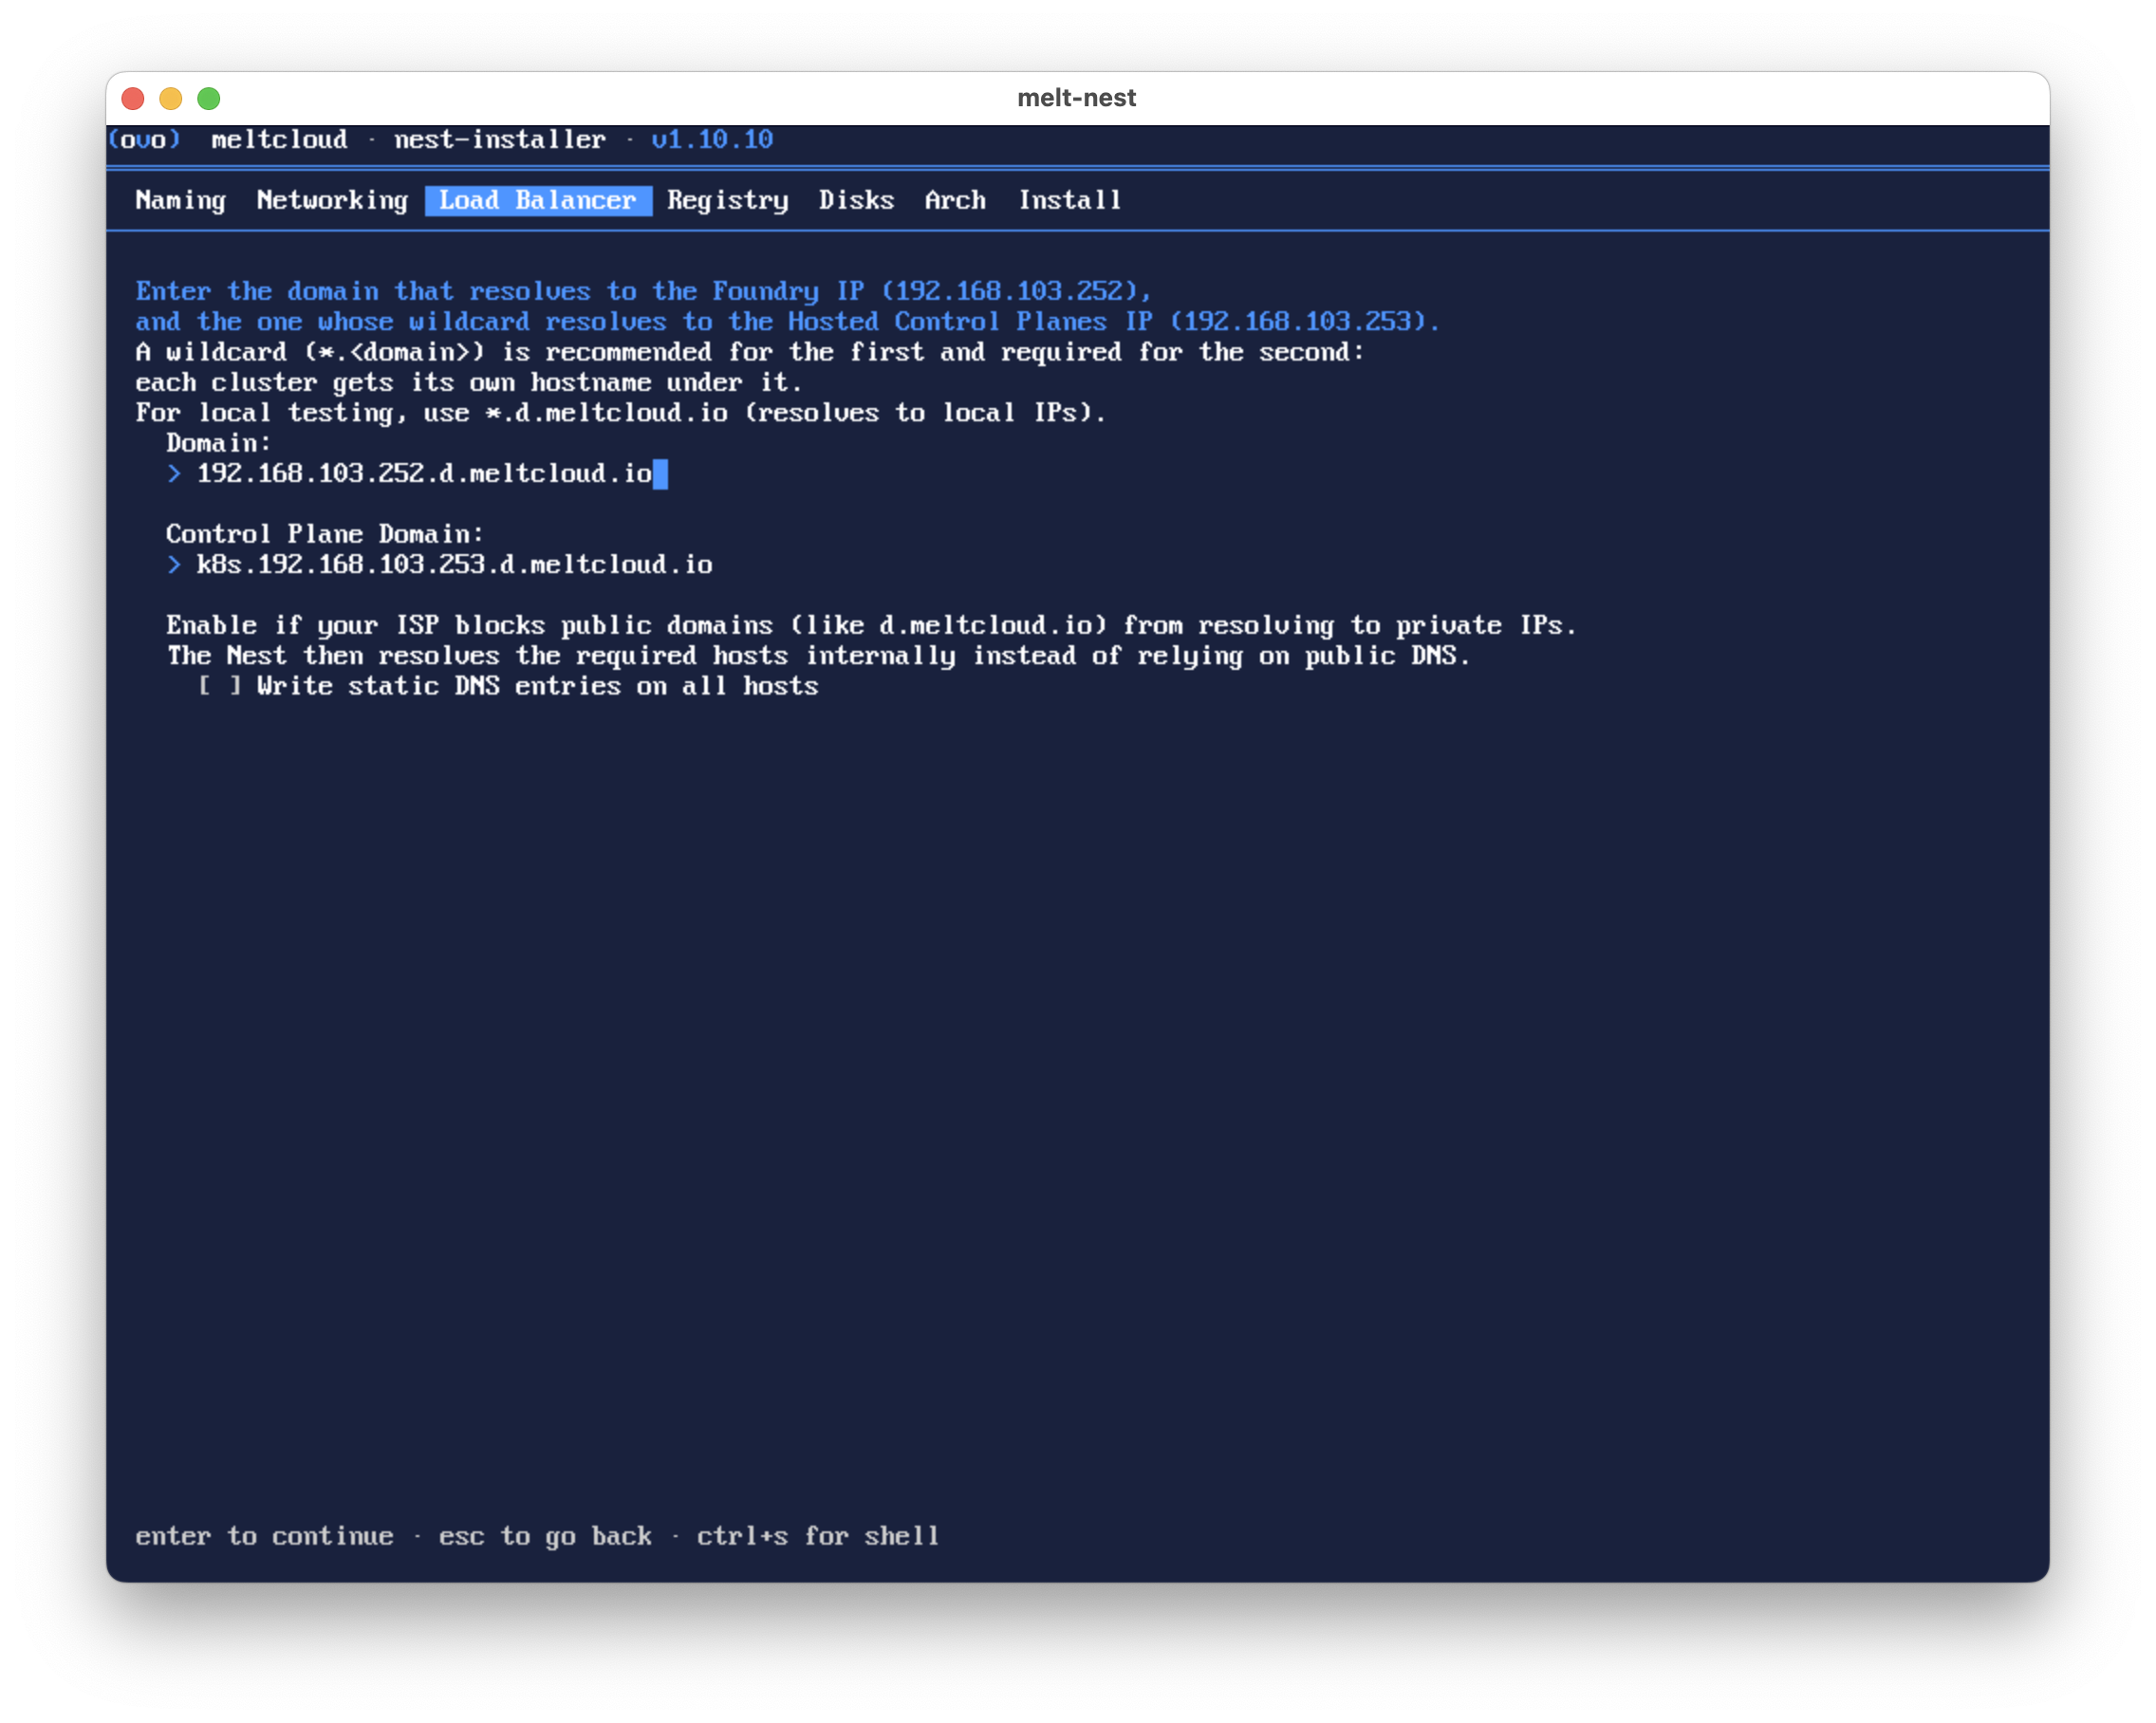
| Property | Description | Default | Required |
|---|---|---|---|
| Domain | Domain resolving to the Foundry VIP | {foundry_vip}.d.meltcloud.io | Yes |
| Control Plane Domain | Domain whose wildcard resolves to the Hosted Control Planes VIP. Each cluster gets its own hostname under it, so a wildcard is required here. | k8s.{control_plane_vip}.d.meltcloud.io | Yes |
| Write static DNS entries on all hosts | Resolve required subdomains internally via CoreDNS / /etc/hosts. Not recommended for production, see Cannot Resolve *.d.meltcloud.io. | Off | No |
The following subdomains must resolve to the Foundry VIP:
app.{domain}agent.{domain}pkg.{domain}pkg-push.{domain}s3.{domain}
And under the control plane domain:
*.{control_plane_domain}
TIP
For local testing, use the suggested .d.meltcloud.io domains which resolves to local IPs.
Load Balancer Validation
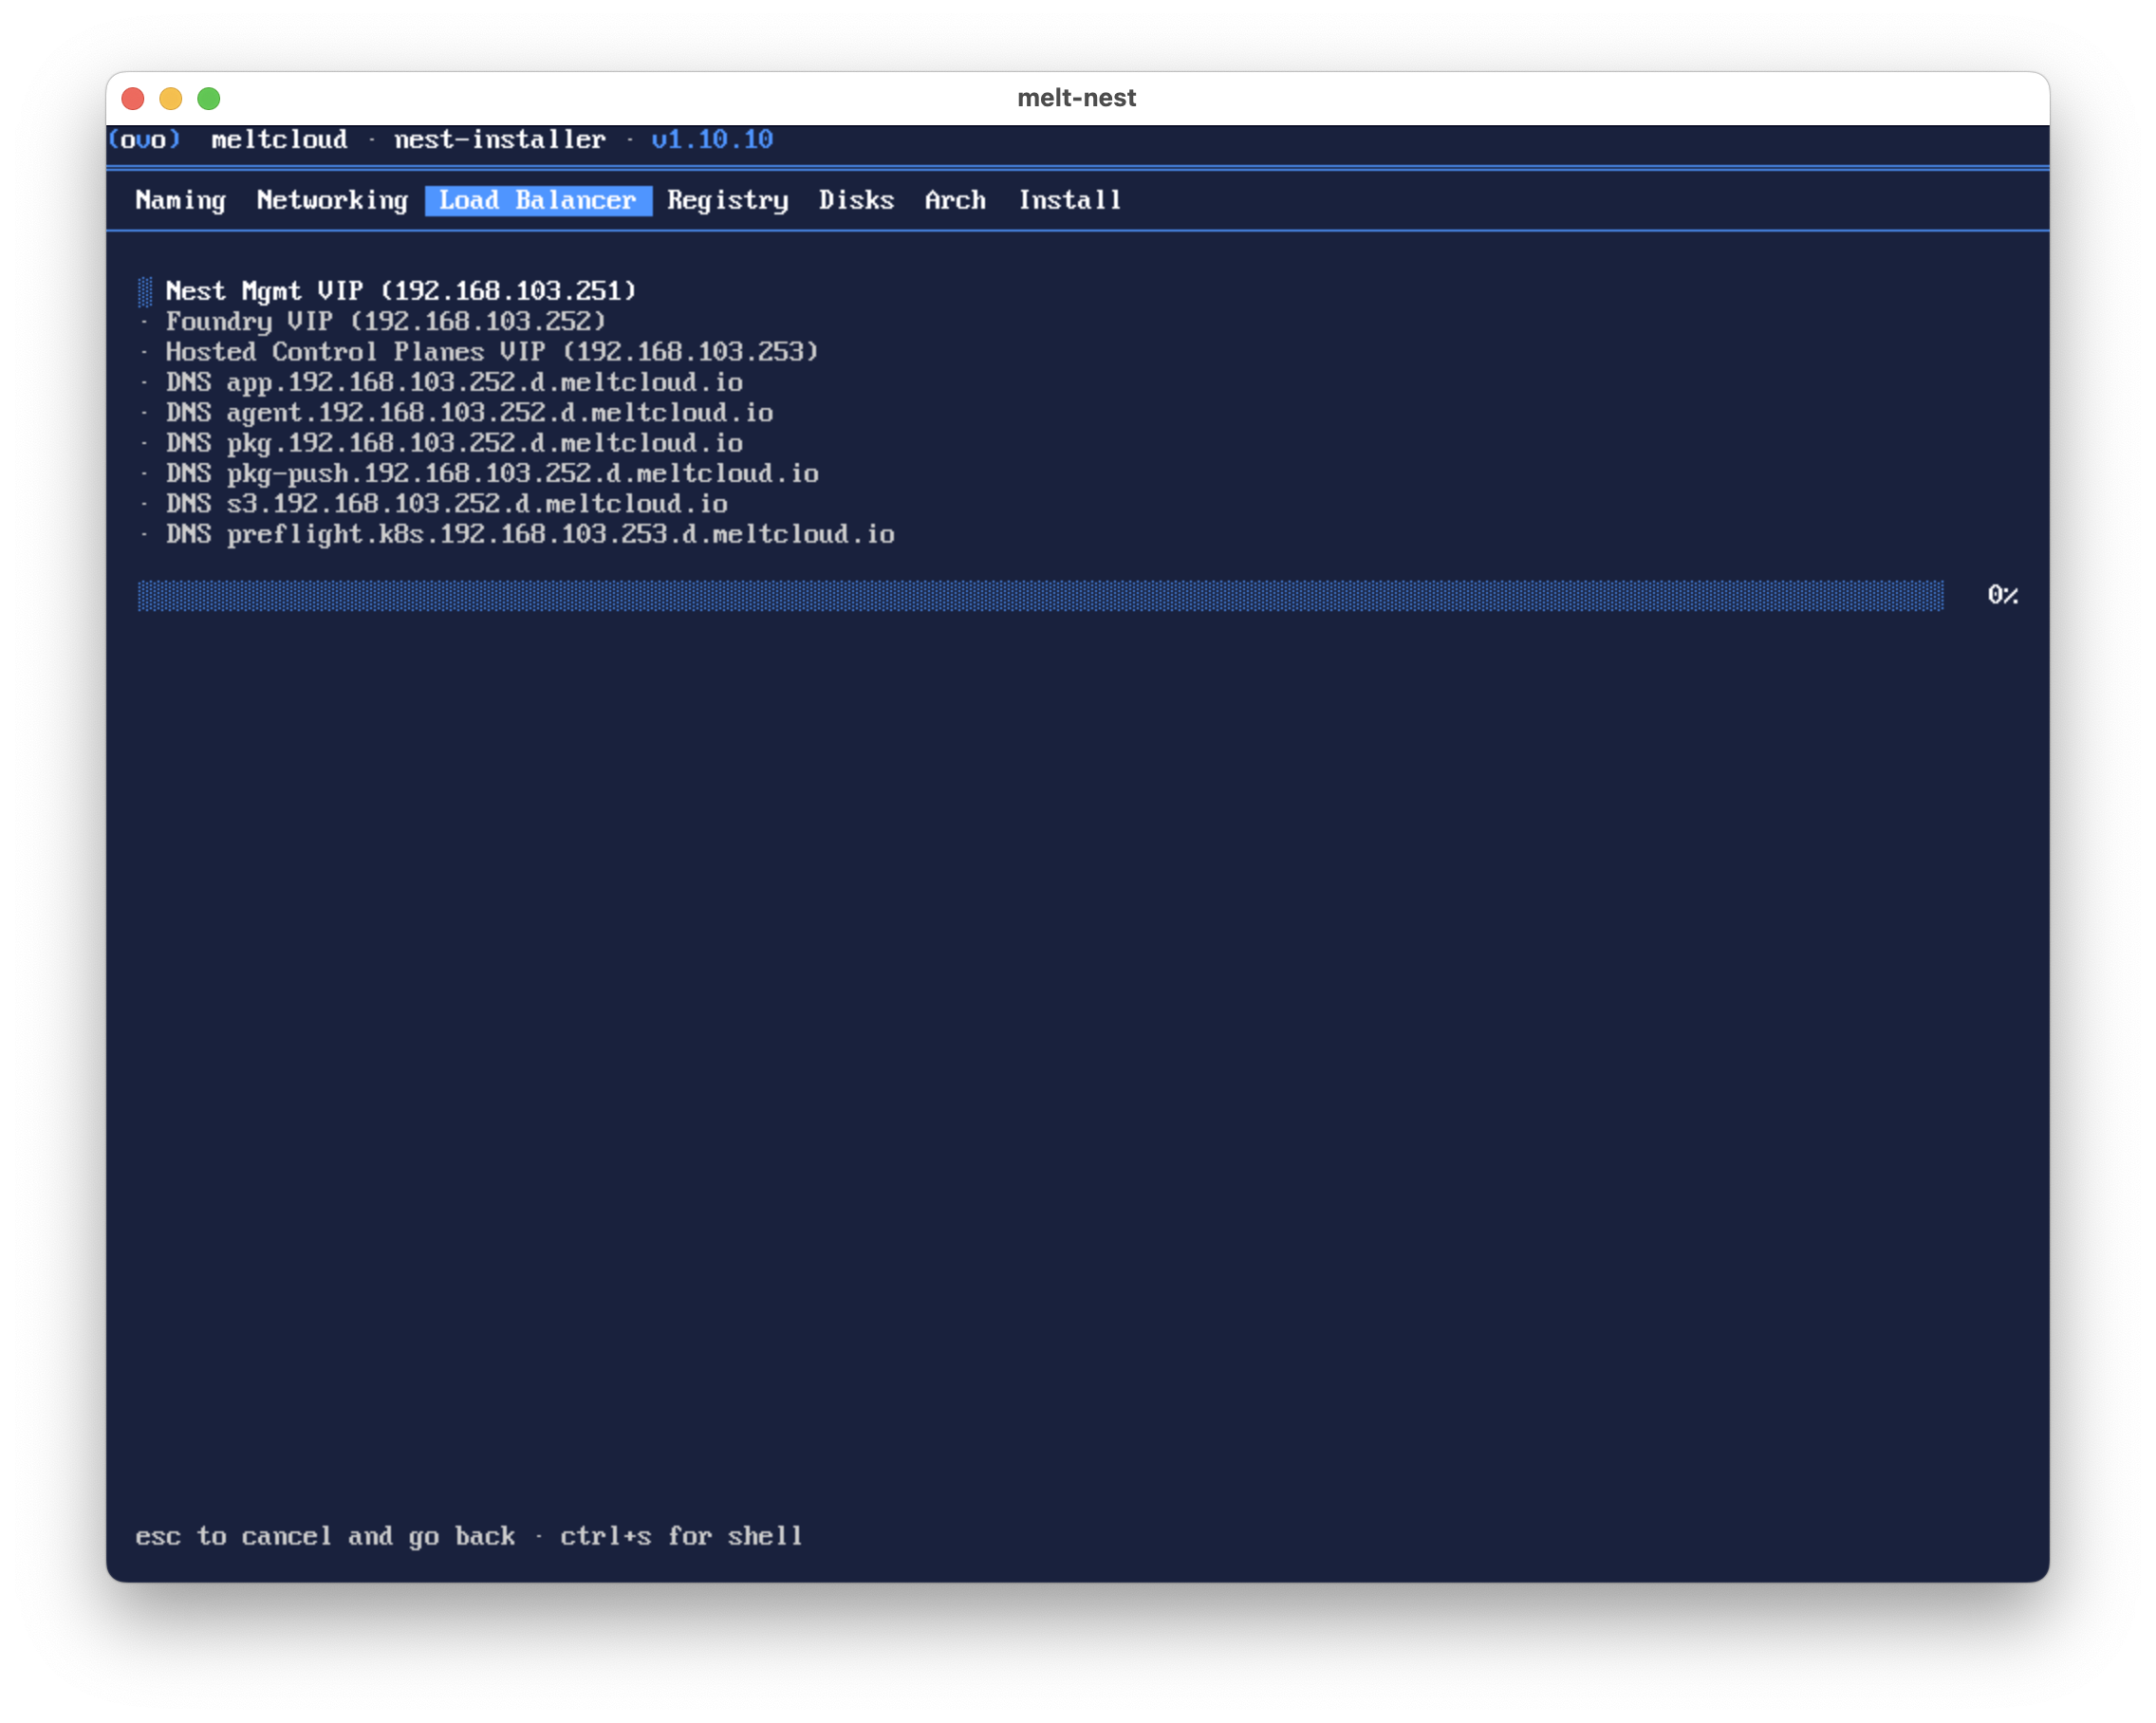
The installer validates:
- Each VIP is not already in use (via ARP probes)
- All required subdomains resolve to the Foundry VIP
- The
*.{control_plane_domain}resolves to the Hosted Control Planes VIP
4. Registry
Configure the container registry that Nest will use to pull images.
TIP
The credentials for artifacts.meltcloud.io are already baked into the installer ISO. You only need to change the registry settings for airgapped installations using your own registry.
Registry Host
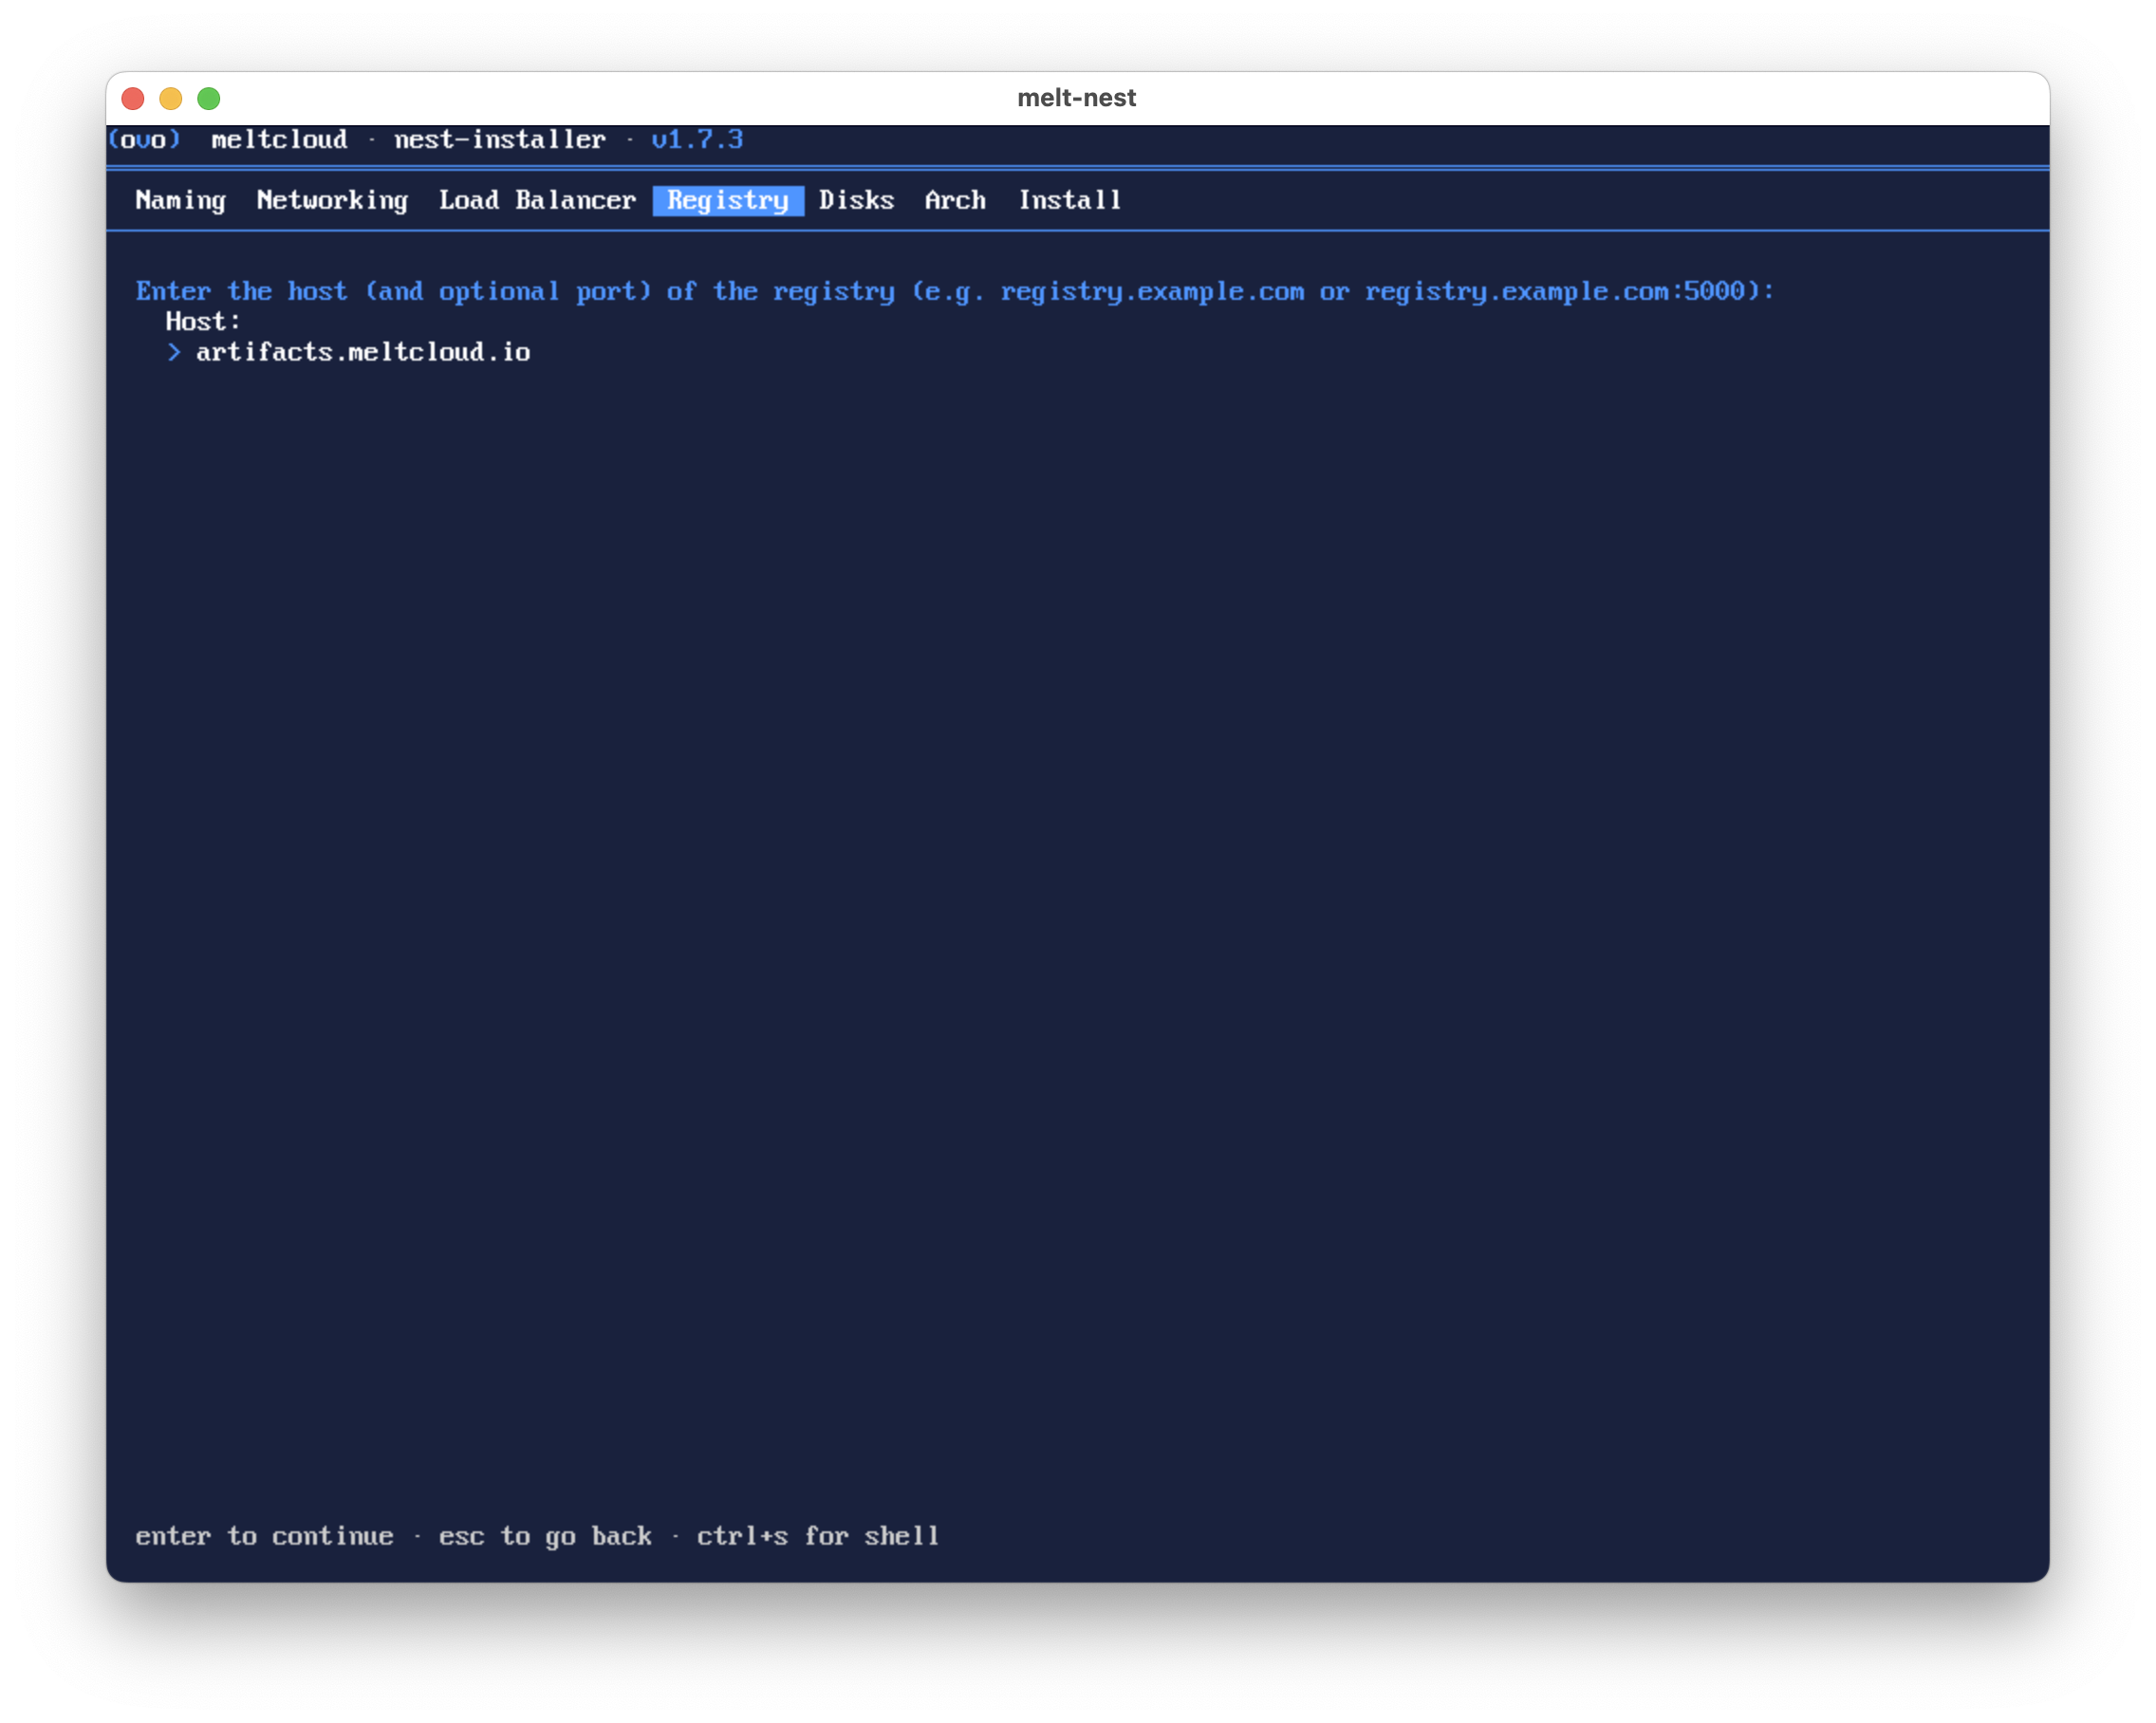
| Property | Description | Default | Required |
|---|---|---|---|
| Host | Registry hostname, optionally with port | registry.example.com | Yes |
Protocol
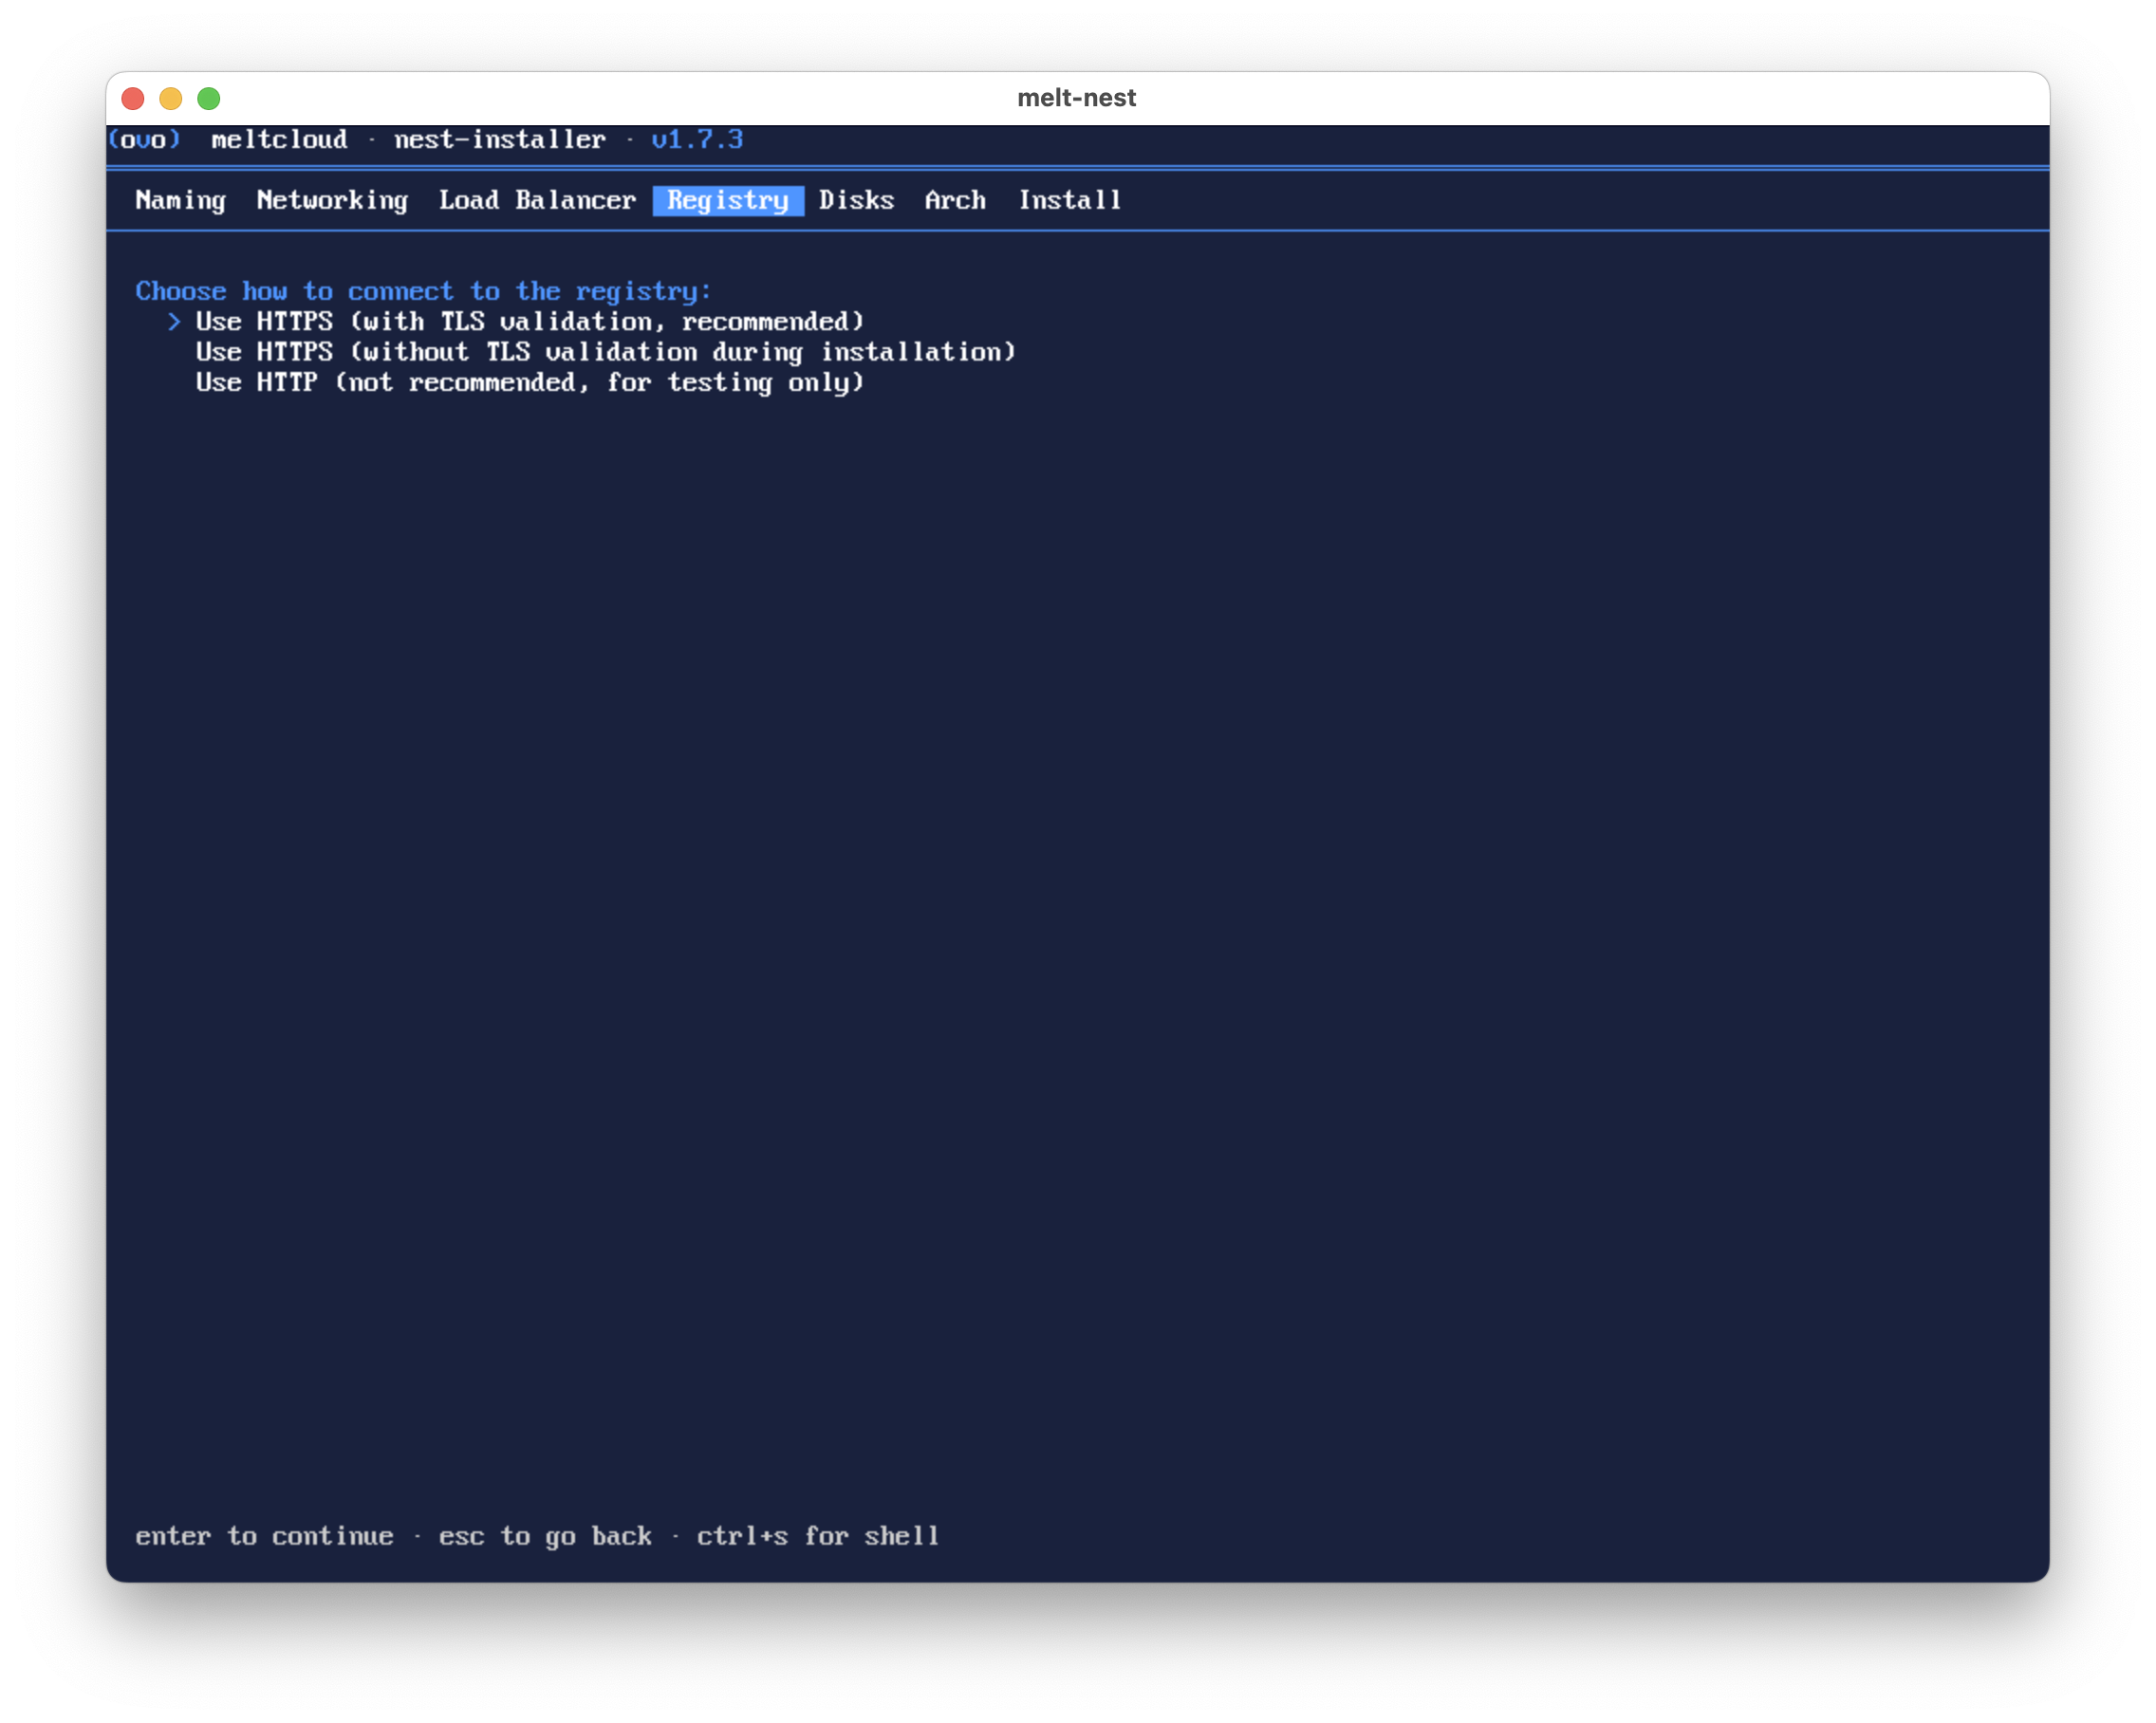
| Option | Description |
|---|---|
| HTTPS (with TLS validation) | Recommended for production. |
| HTTPS (without TLS validation) | For self-signed certificates. |
| HTTP | Not recommended, for testing only. |
Credentials
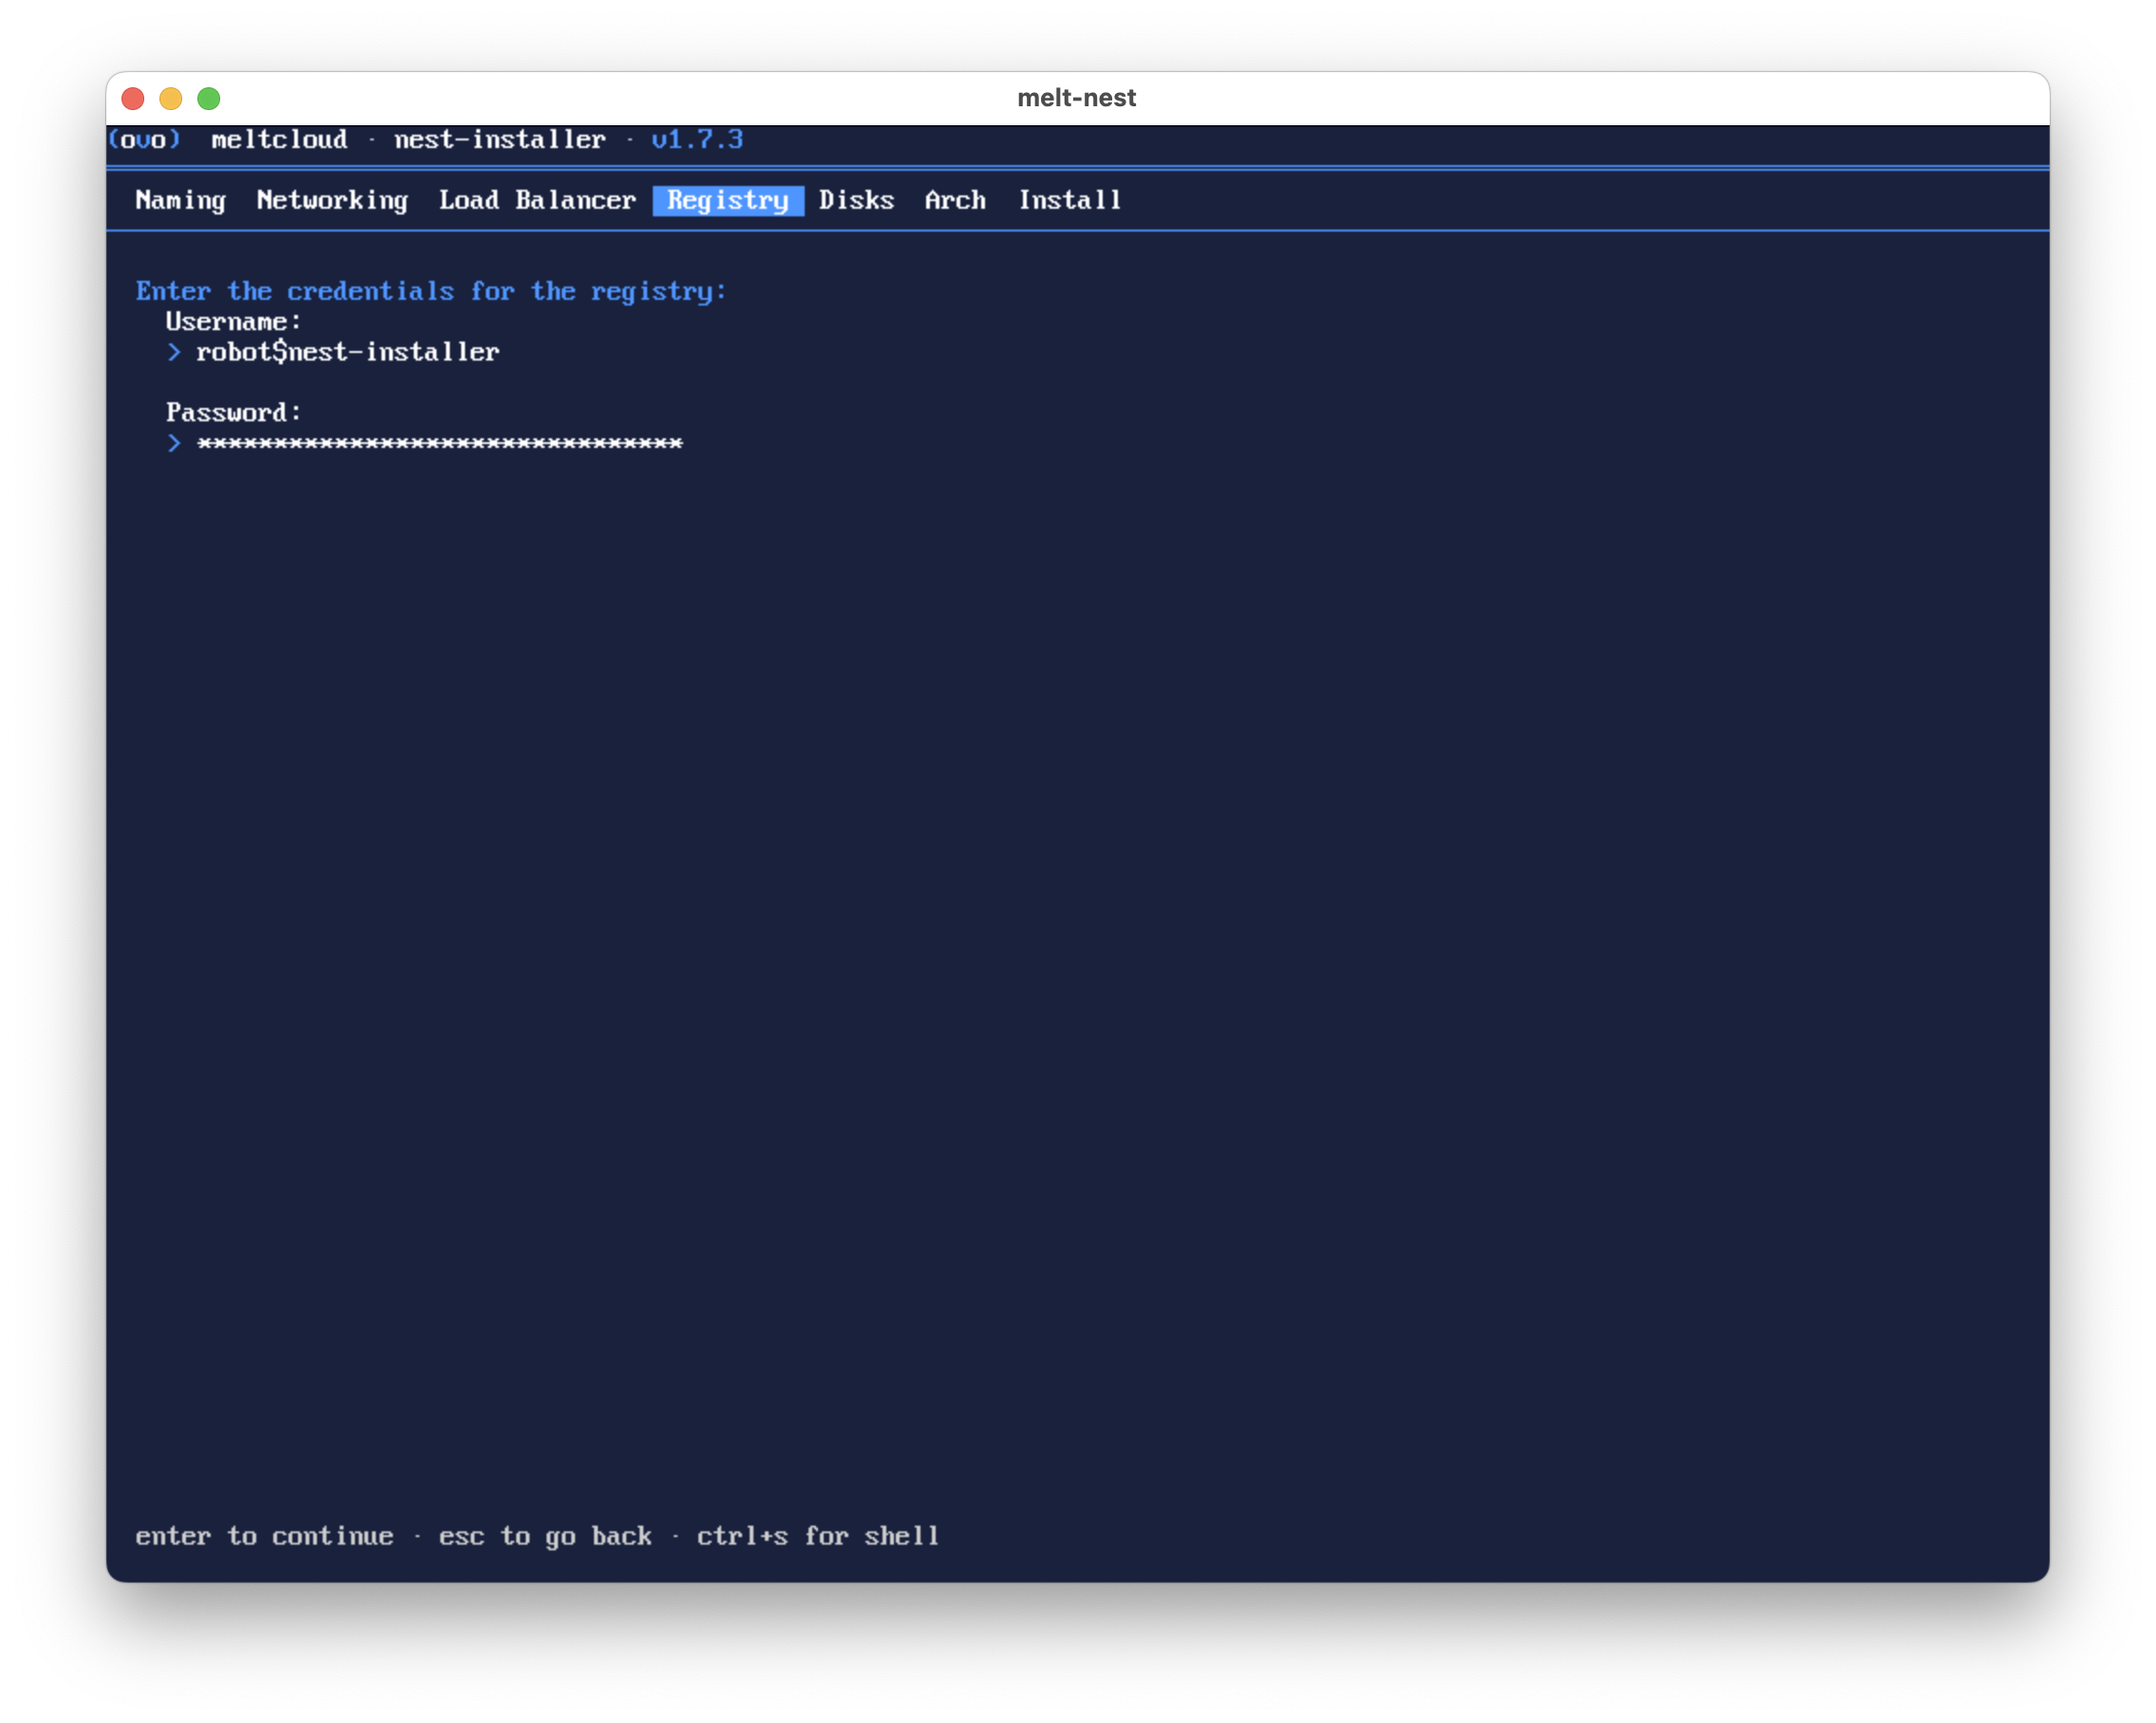
| Property | Description | Required |
|---|---|---|
| Username | Registry username | Yes |
| Password | Registry password (masked input) | Yes |
Registry Validation
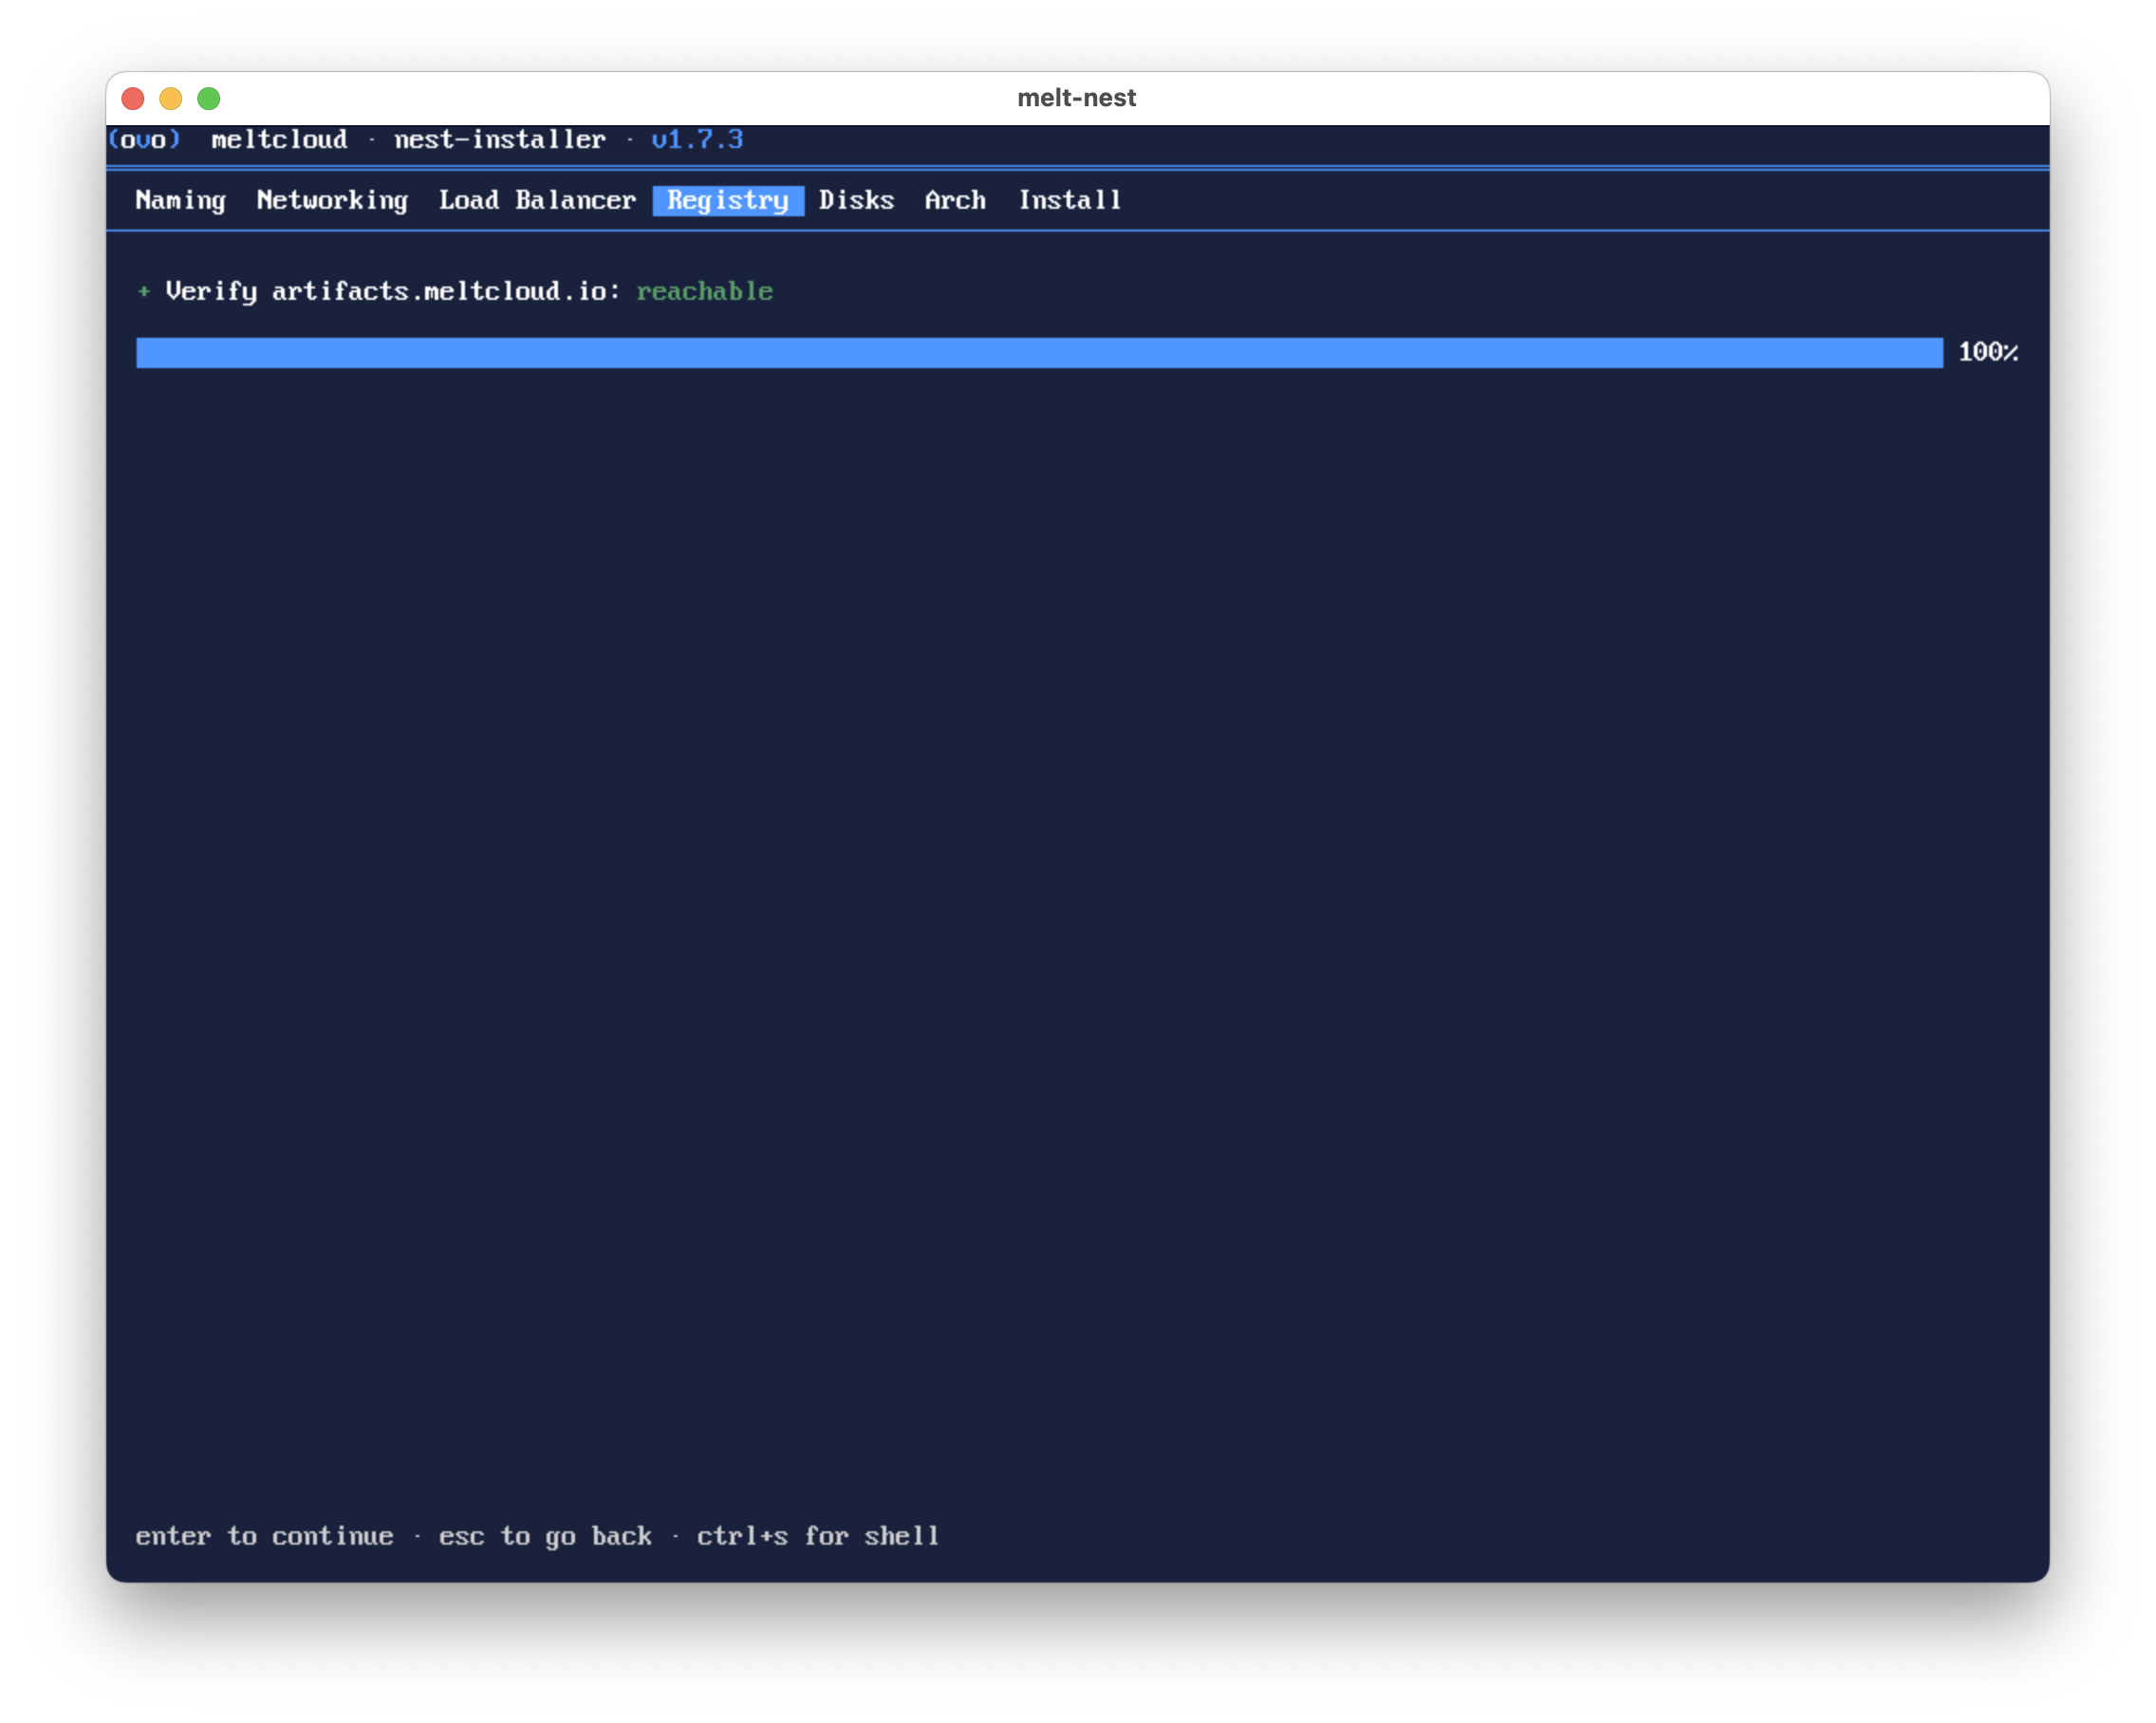
The installer verifies connectivity and authentication with the configured registry.
5. Disk Setup
Choose which disks Nest is installed to. The installer first asks for the layout (whether disks are mirrored, and where etcd lives), then for the concrete devices.
Boot Disk Mirroring
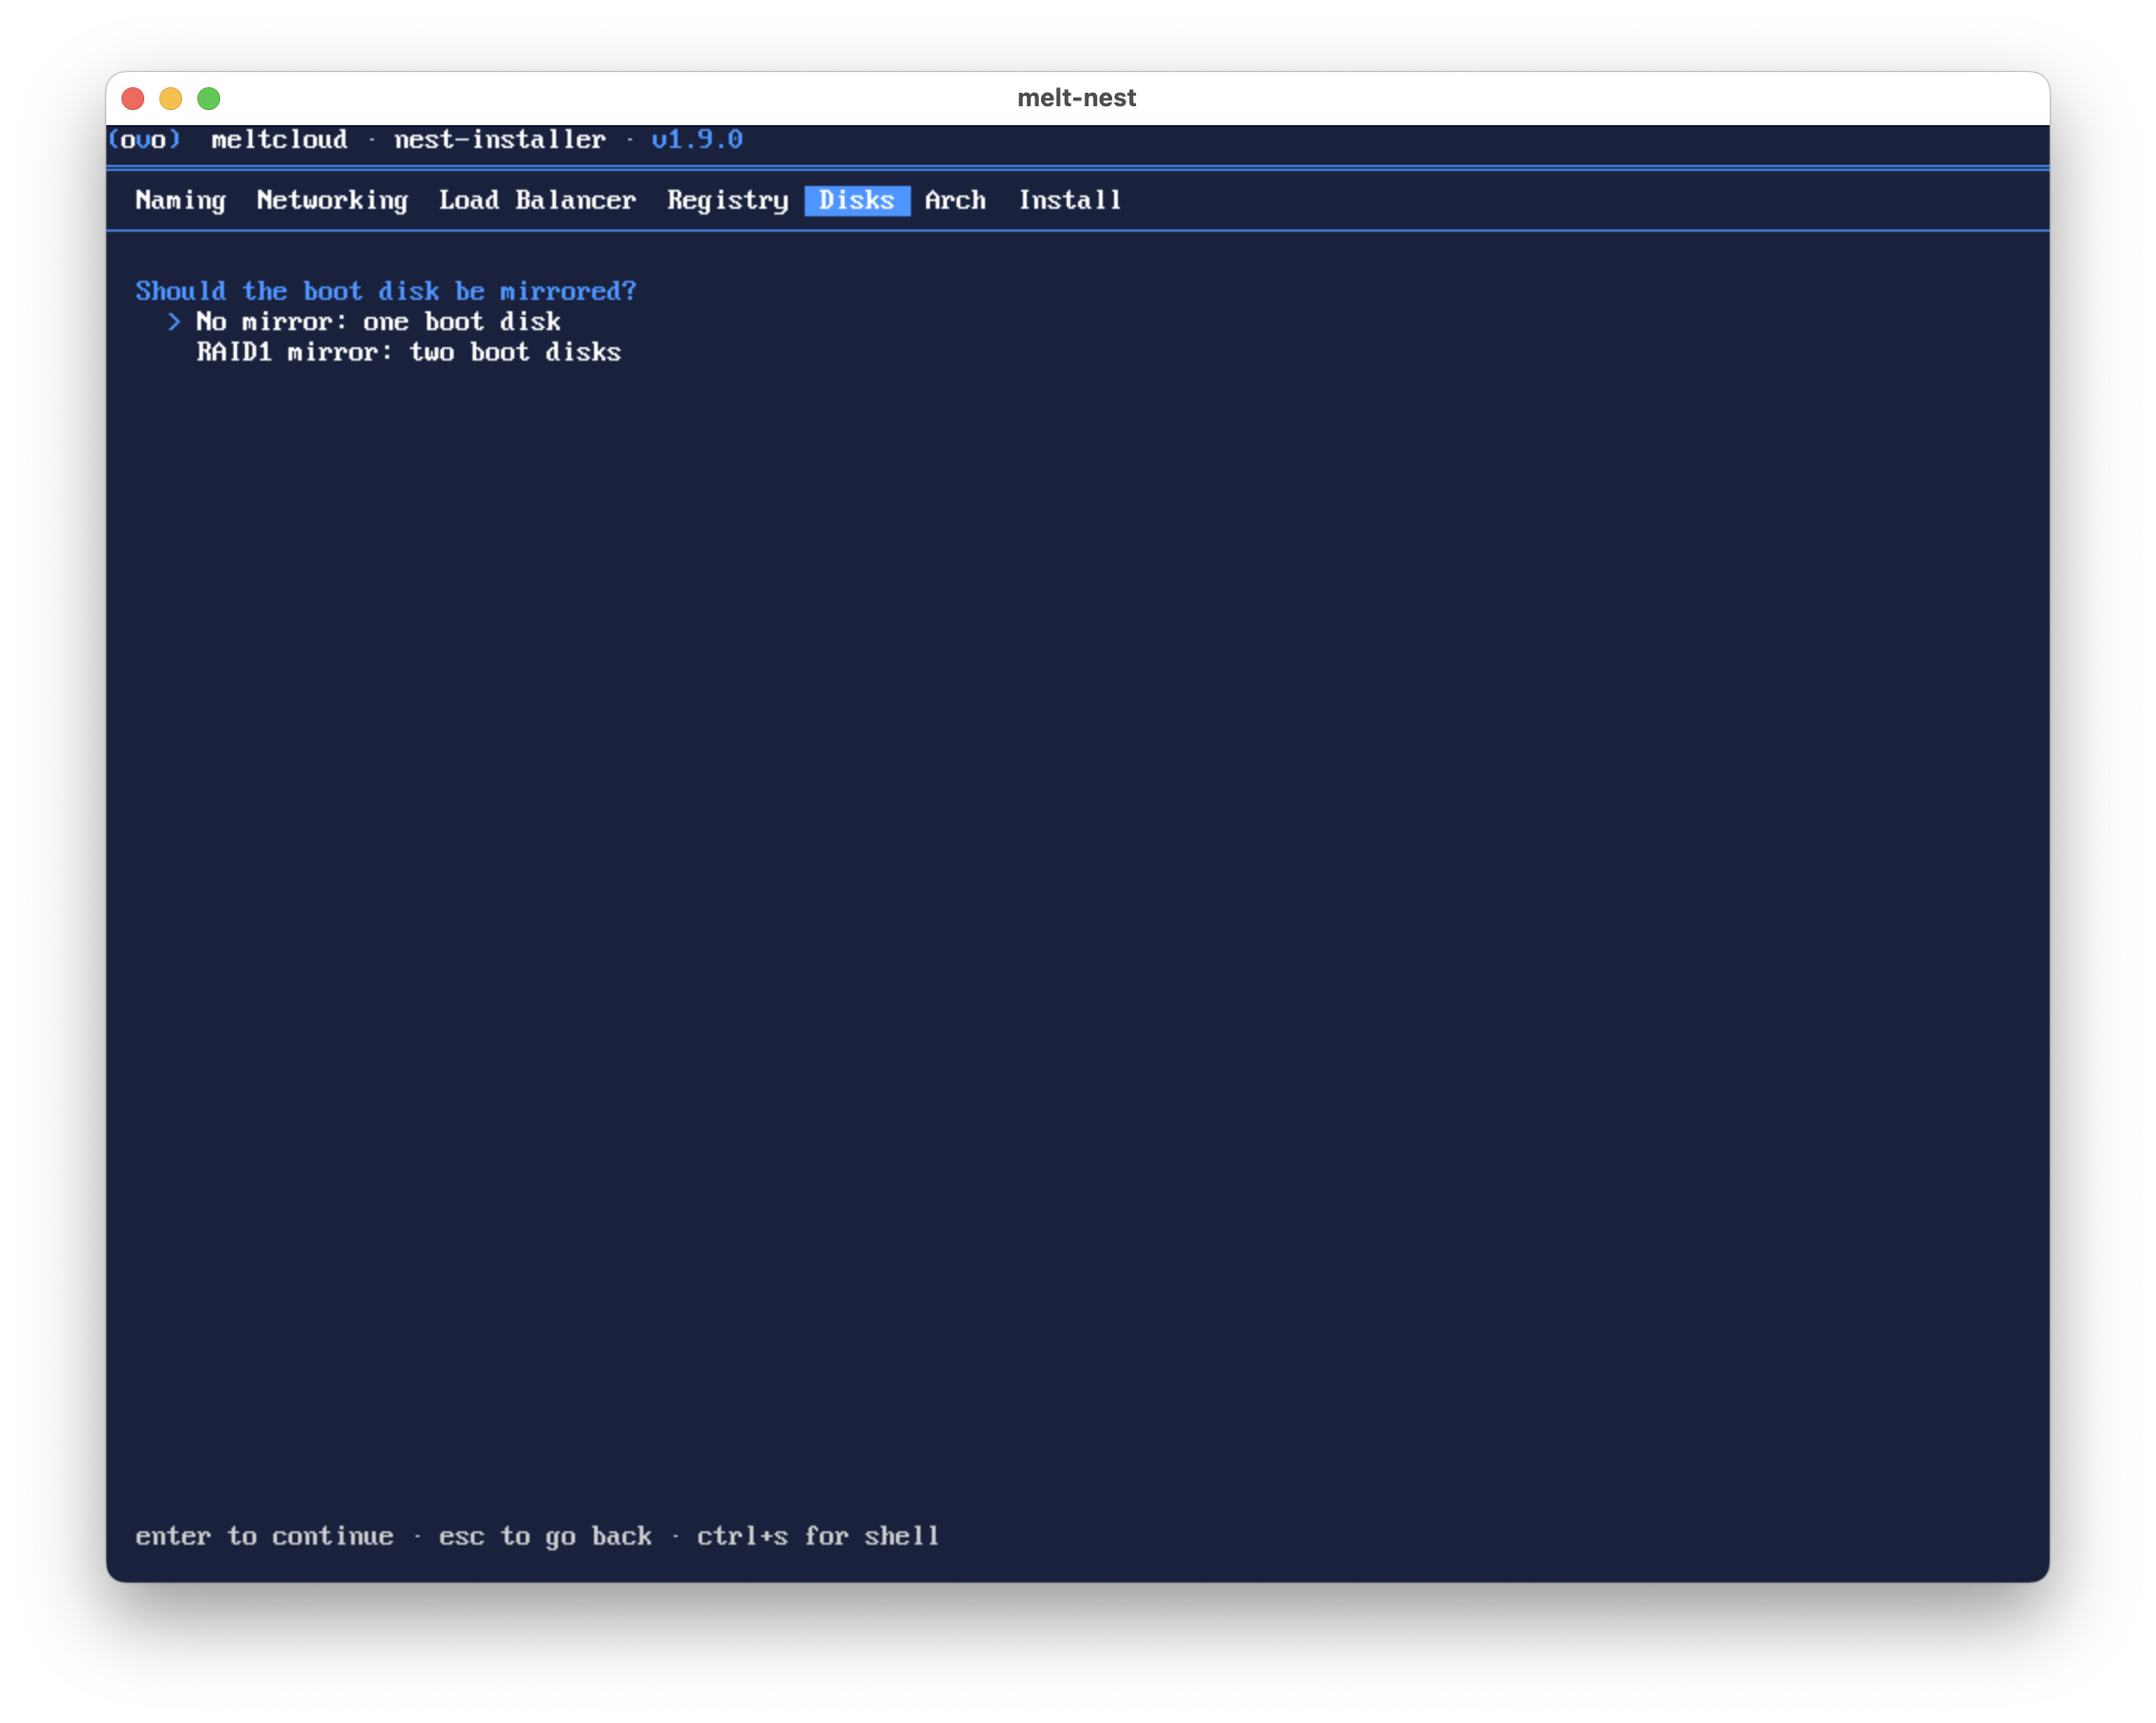
The boot disk holds the OS and the container images, plus etcd unless it is moved to a dedicated disk on the next screen.
| Option | Description |
|---|---|
| No mirror: one boot disk | Install to a single boot disk. |
| RAID1 mirror: two boot disks | Mirror the boot disk across two disks. Both disks are bootable on their own, so the instance survives losing either of them. |
WARNING
Mirror the boot disk for production. Without a mirror, losing that disk takes down the whole Nest instance, and replacing an instance is expensive: every etcd it hosts has to resync onto the new one.
etcd Placement
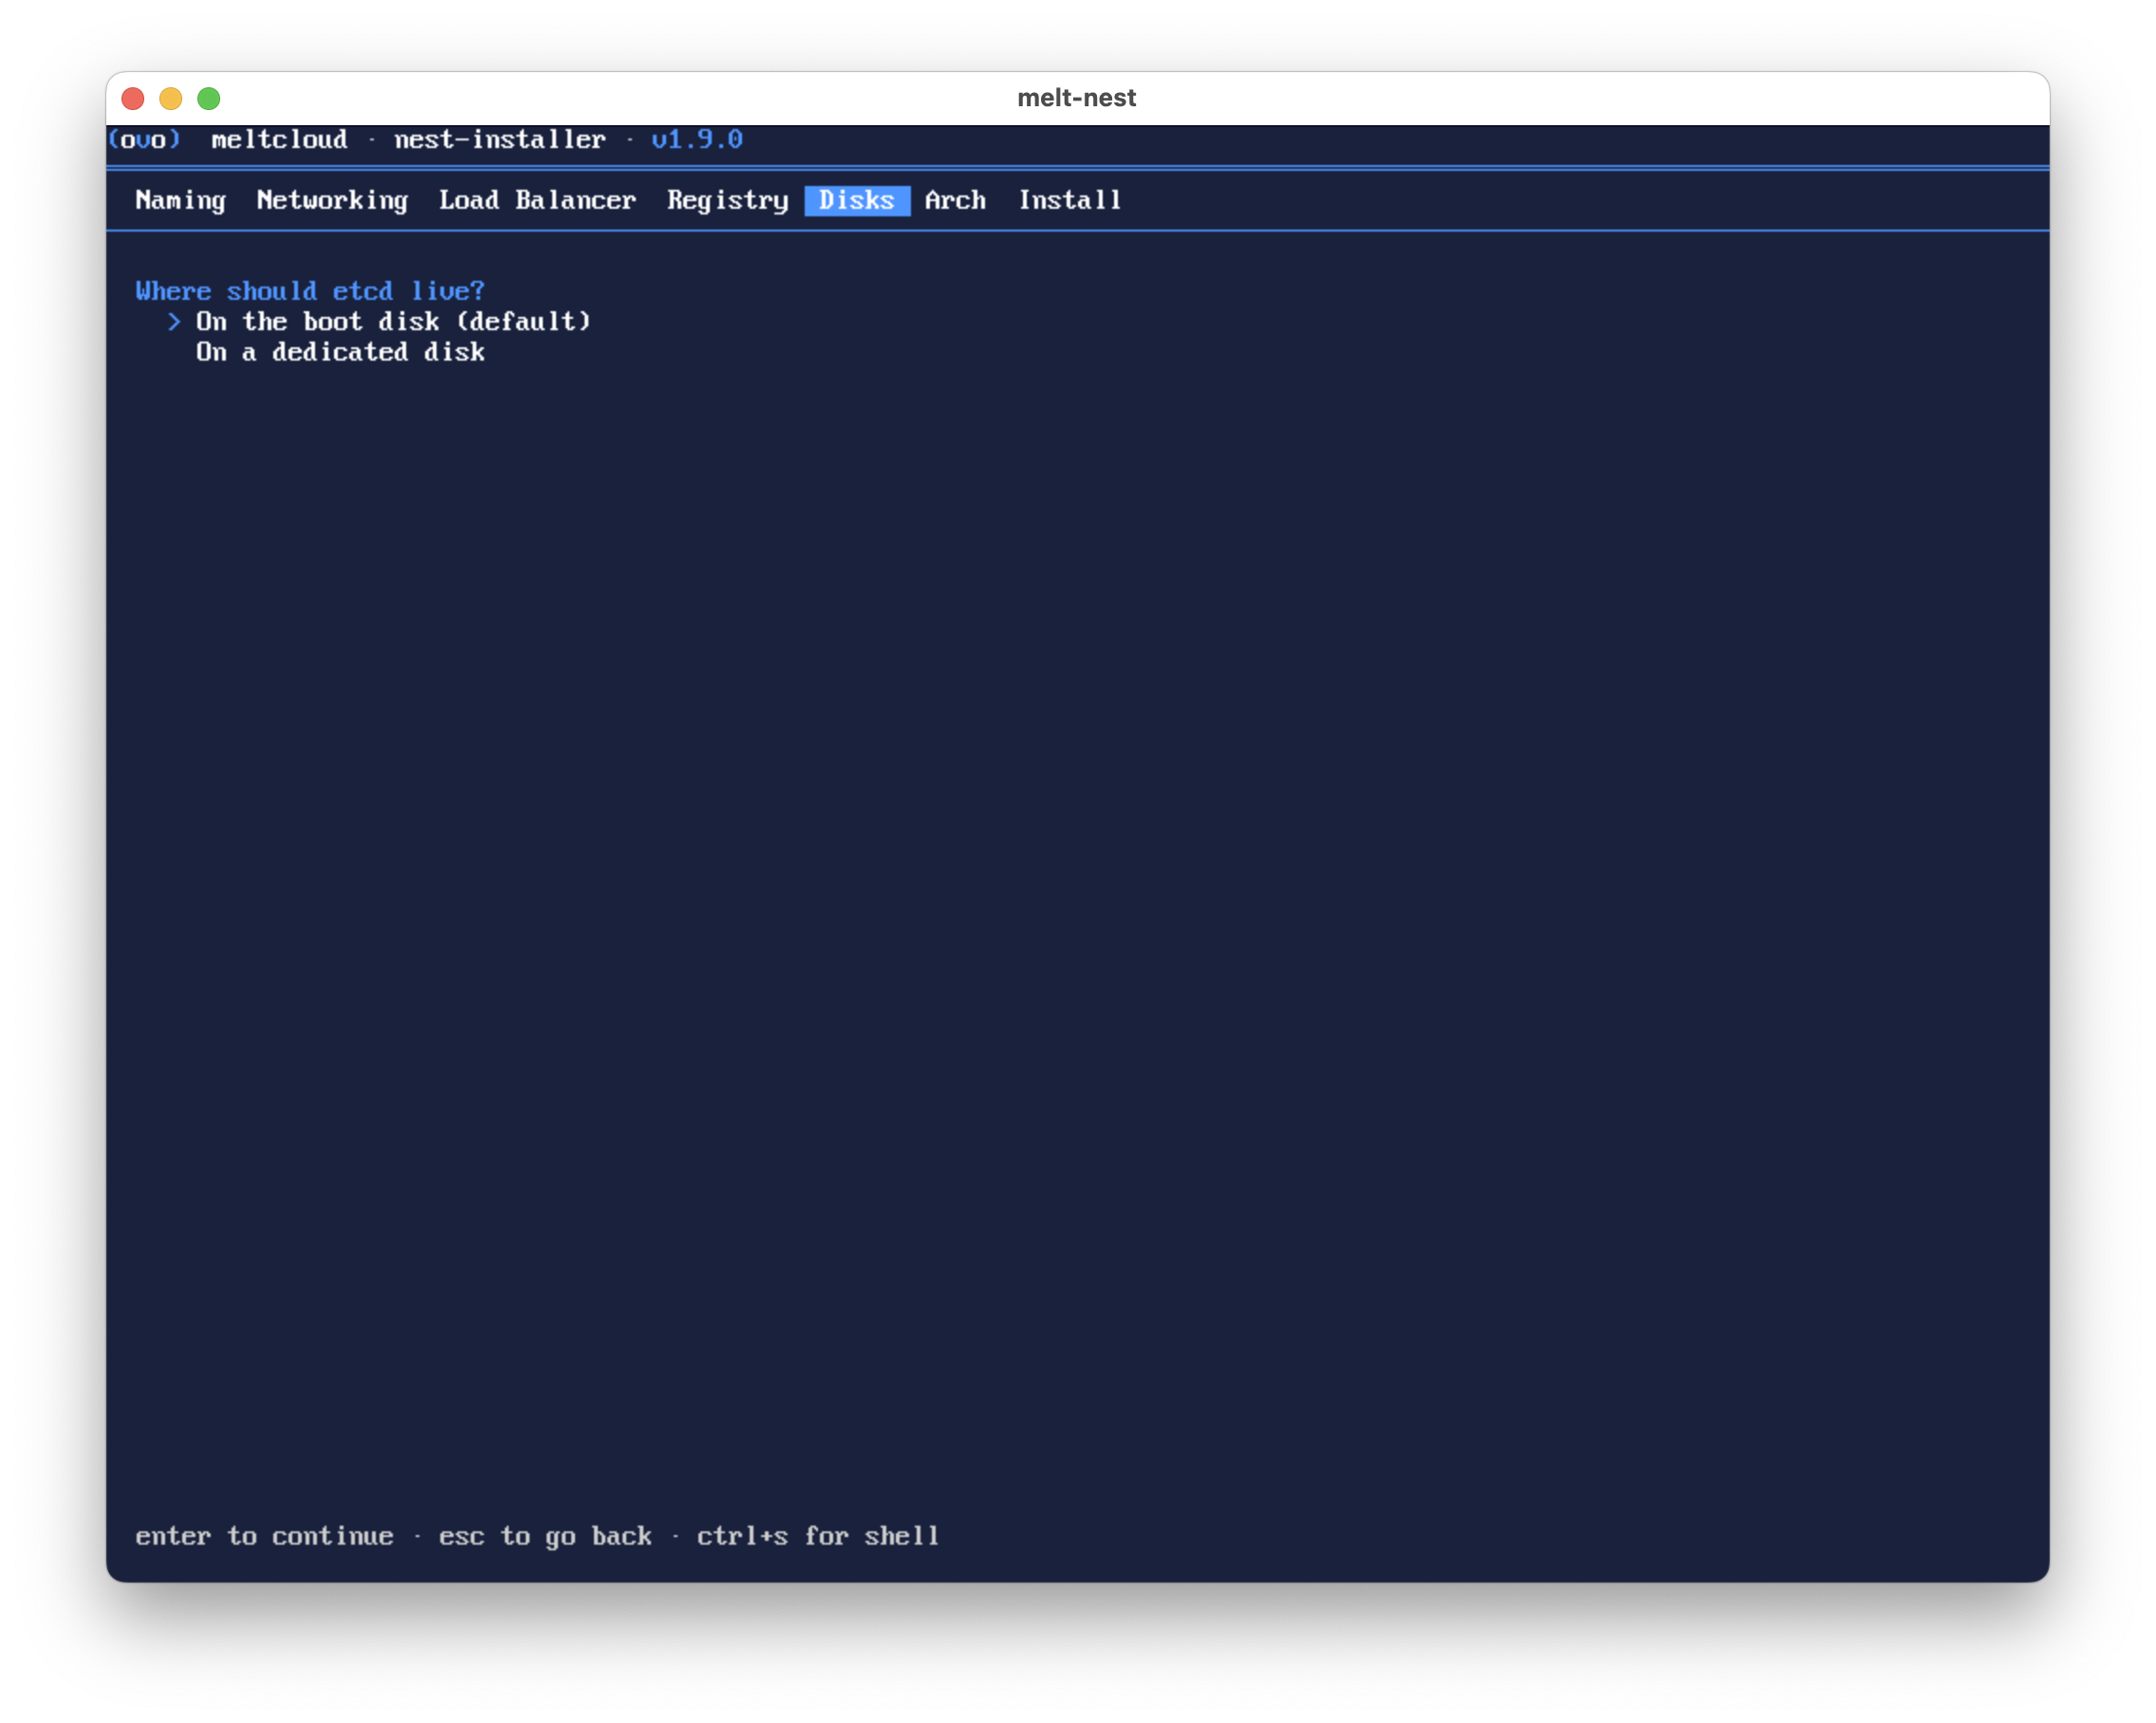
| Option | Description |
|---|---|
| On the boot disk (default) | etcd shares the boot disk. |
| On a dedicated disk | etcd is moved off the boot disk onto a disk of its own. |
WARNING
For production, place etcd on a dedicated disk and use a fast NVMe drive for it. Each hosted control plane runs its own etcd instance on the Nest, and etcd is highly sensitive to disk latency. See System Requirements.
etcd Disk Mirroring
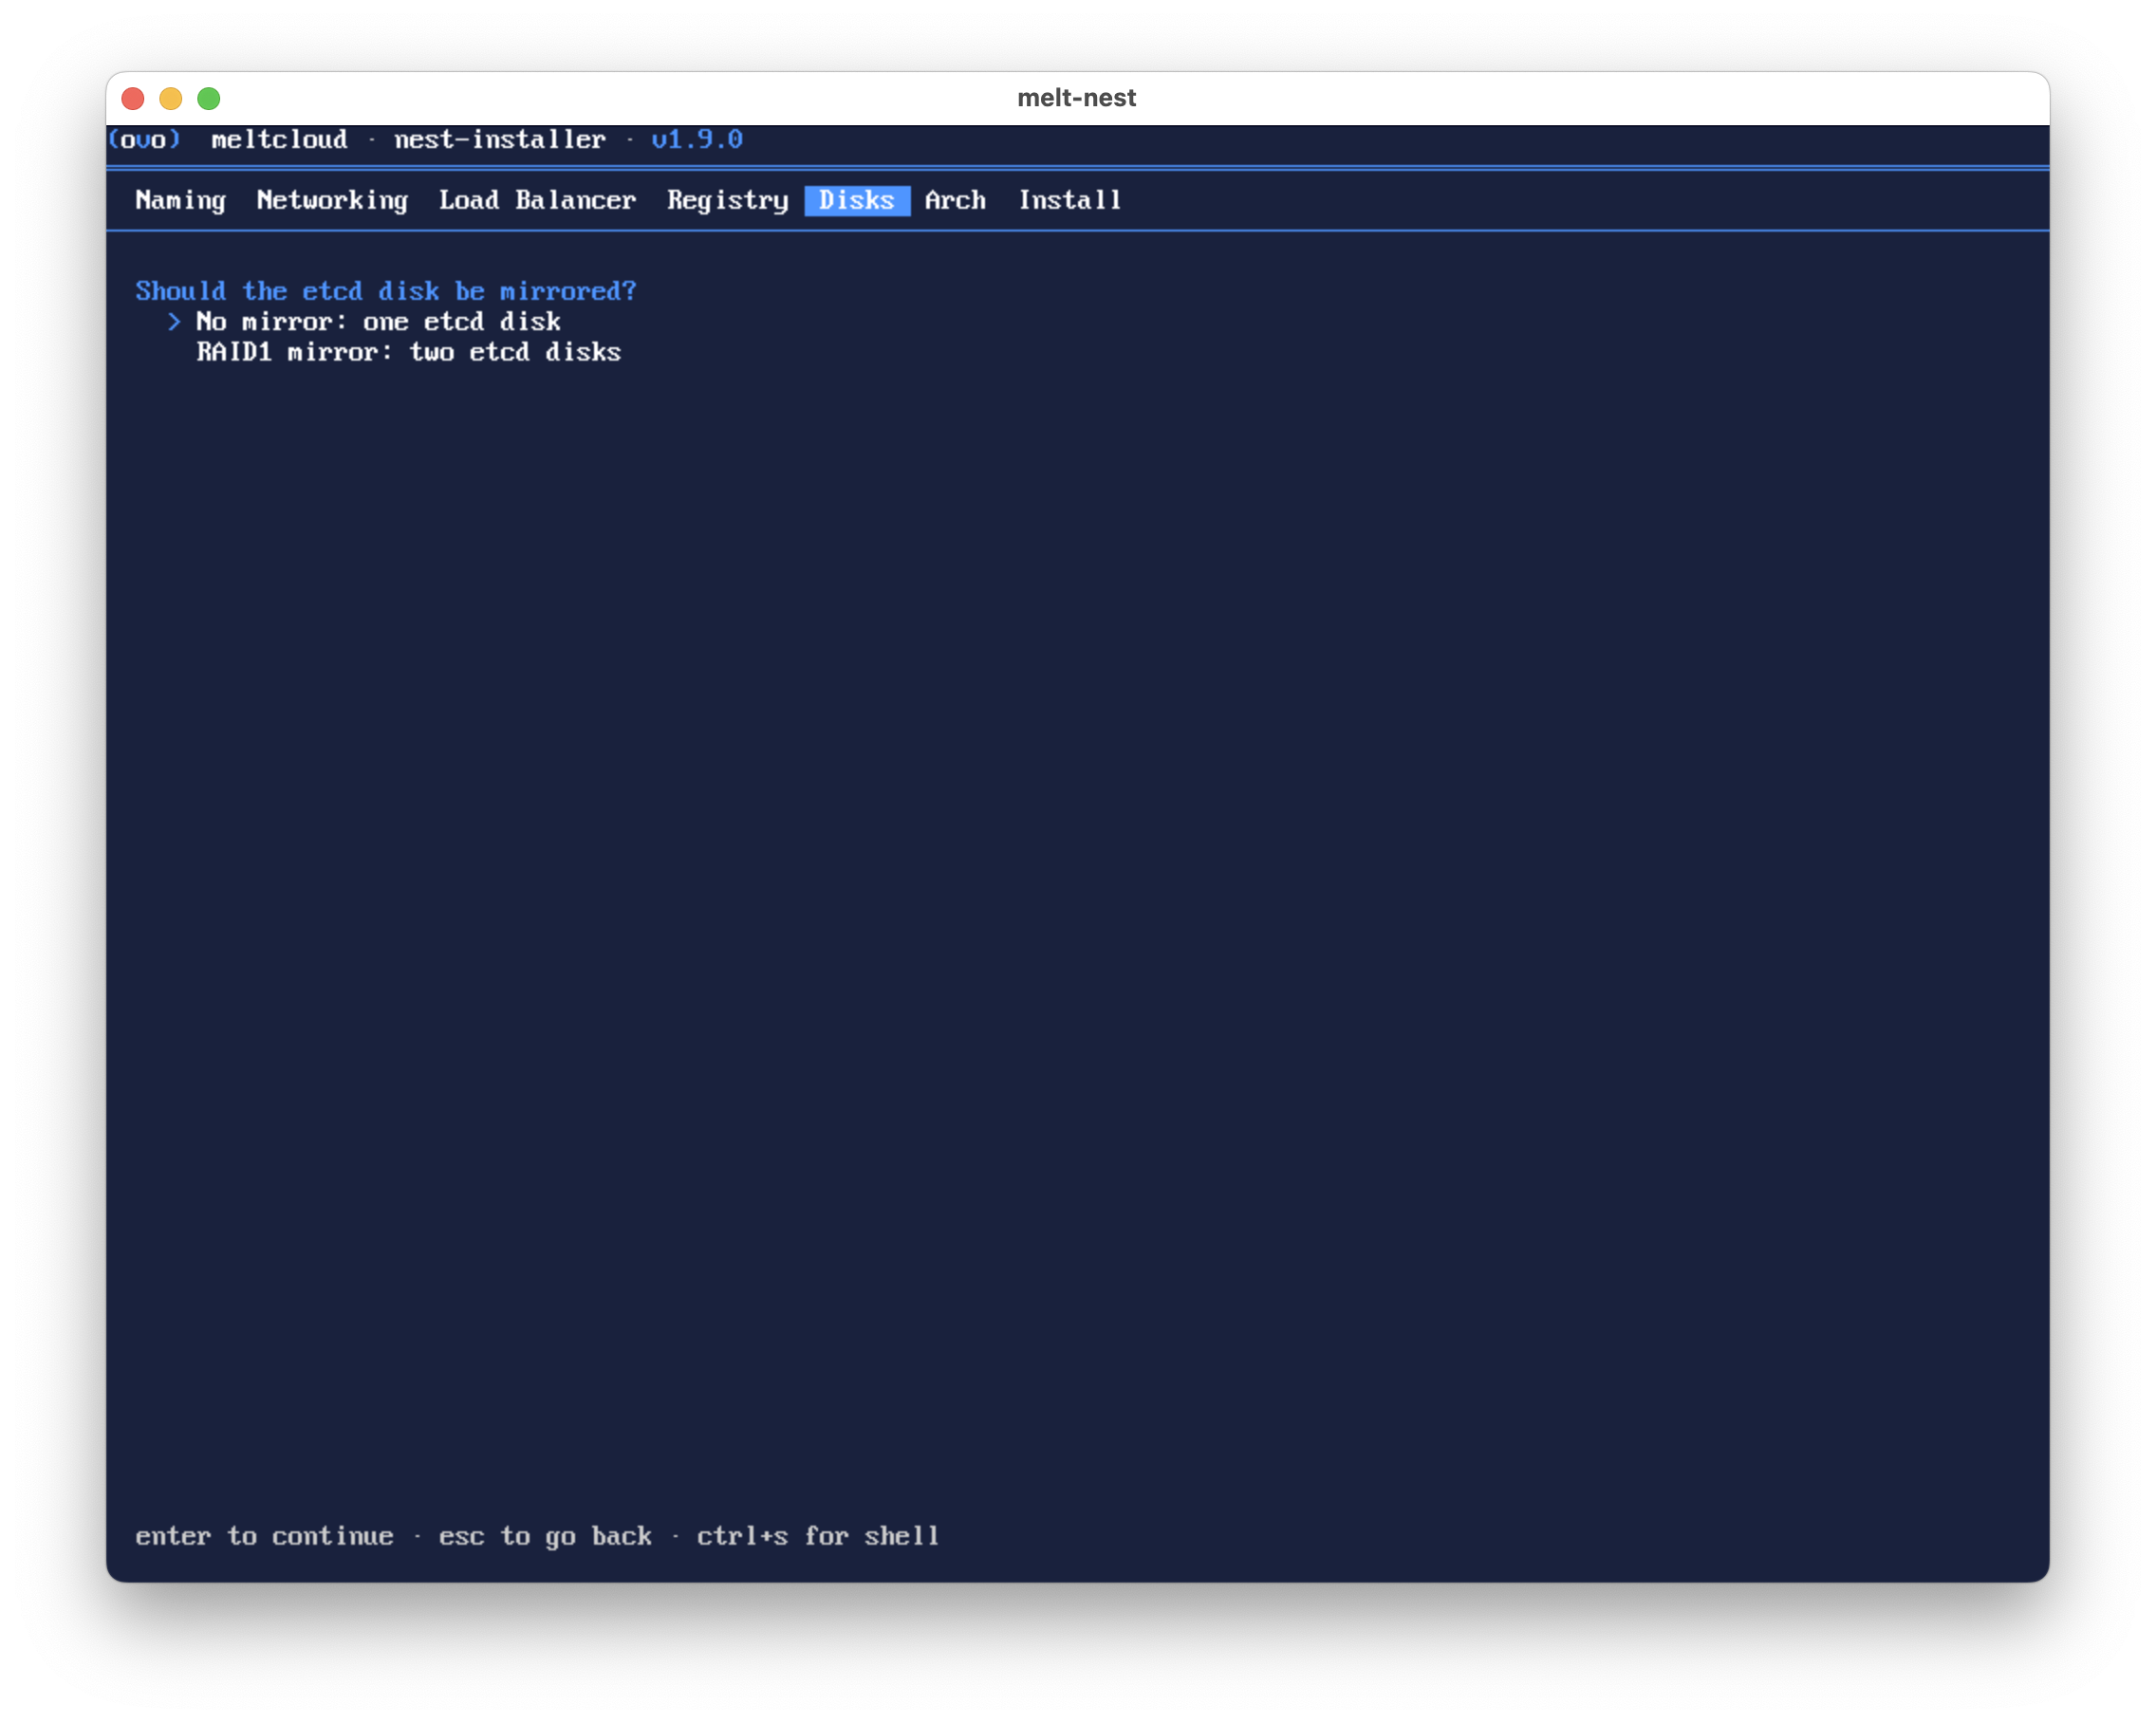
Only asked if etcd is placed on a dedicated disk.
| Option | Description |
|---|---|
| No mirror: one etcd disk | Use a single etcd disk. |
| RAID1 mirror: two etcd disks | Mirror the etcd disk across two disks. |
WARNING
Mirror the etcd disk for production as well. Losing an unmirrored etcd disk takes down the instance just like losing its boot disk does.
Disk Selection
The installer then asks for the devices, one screen per role: the boot disk, and the etcd disk if a dedicated one was chosen.
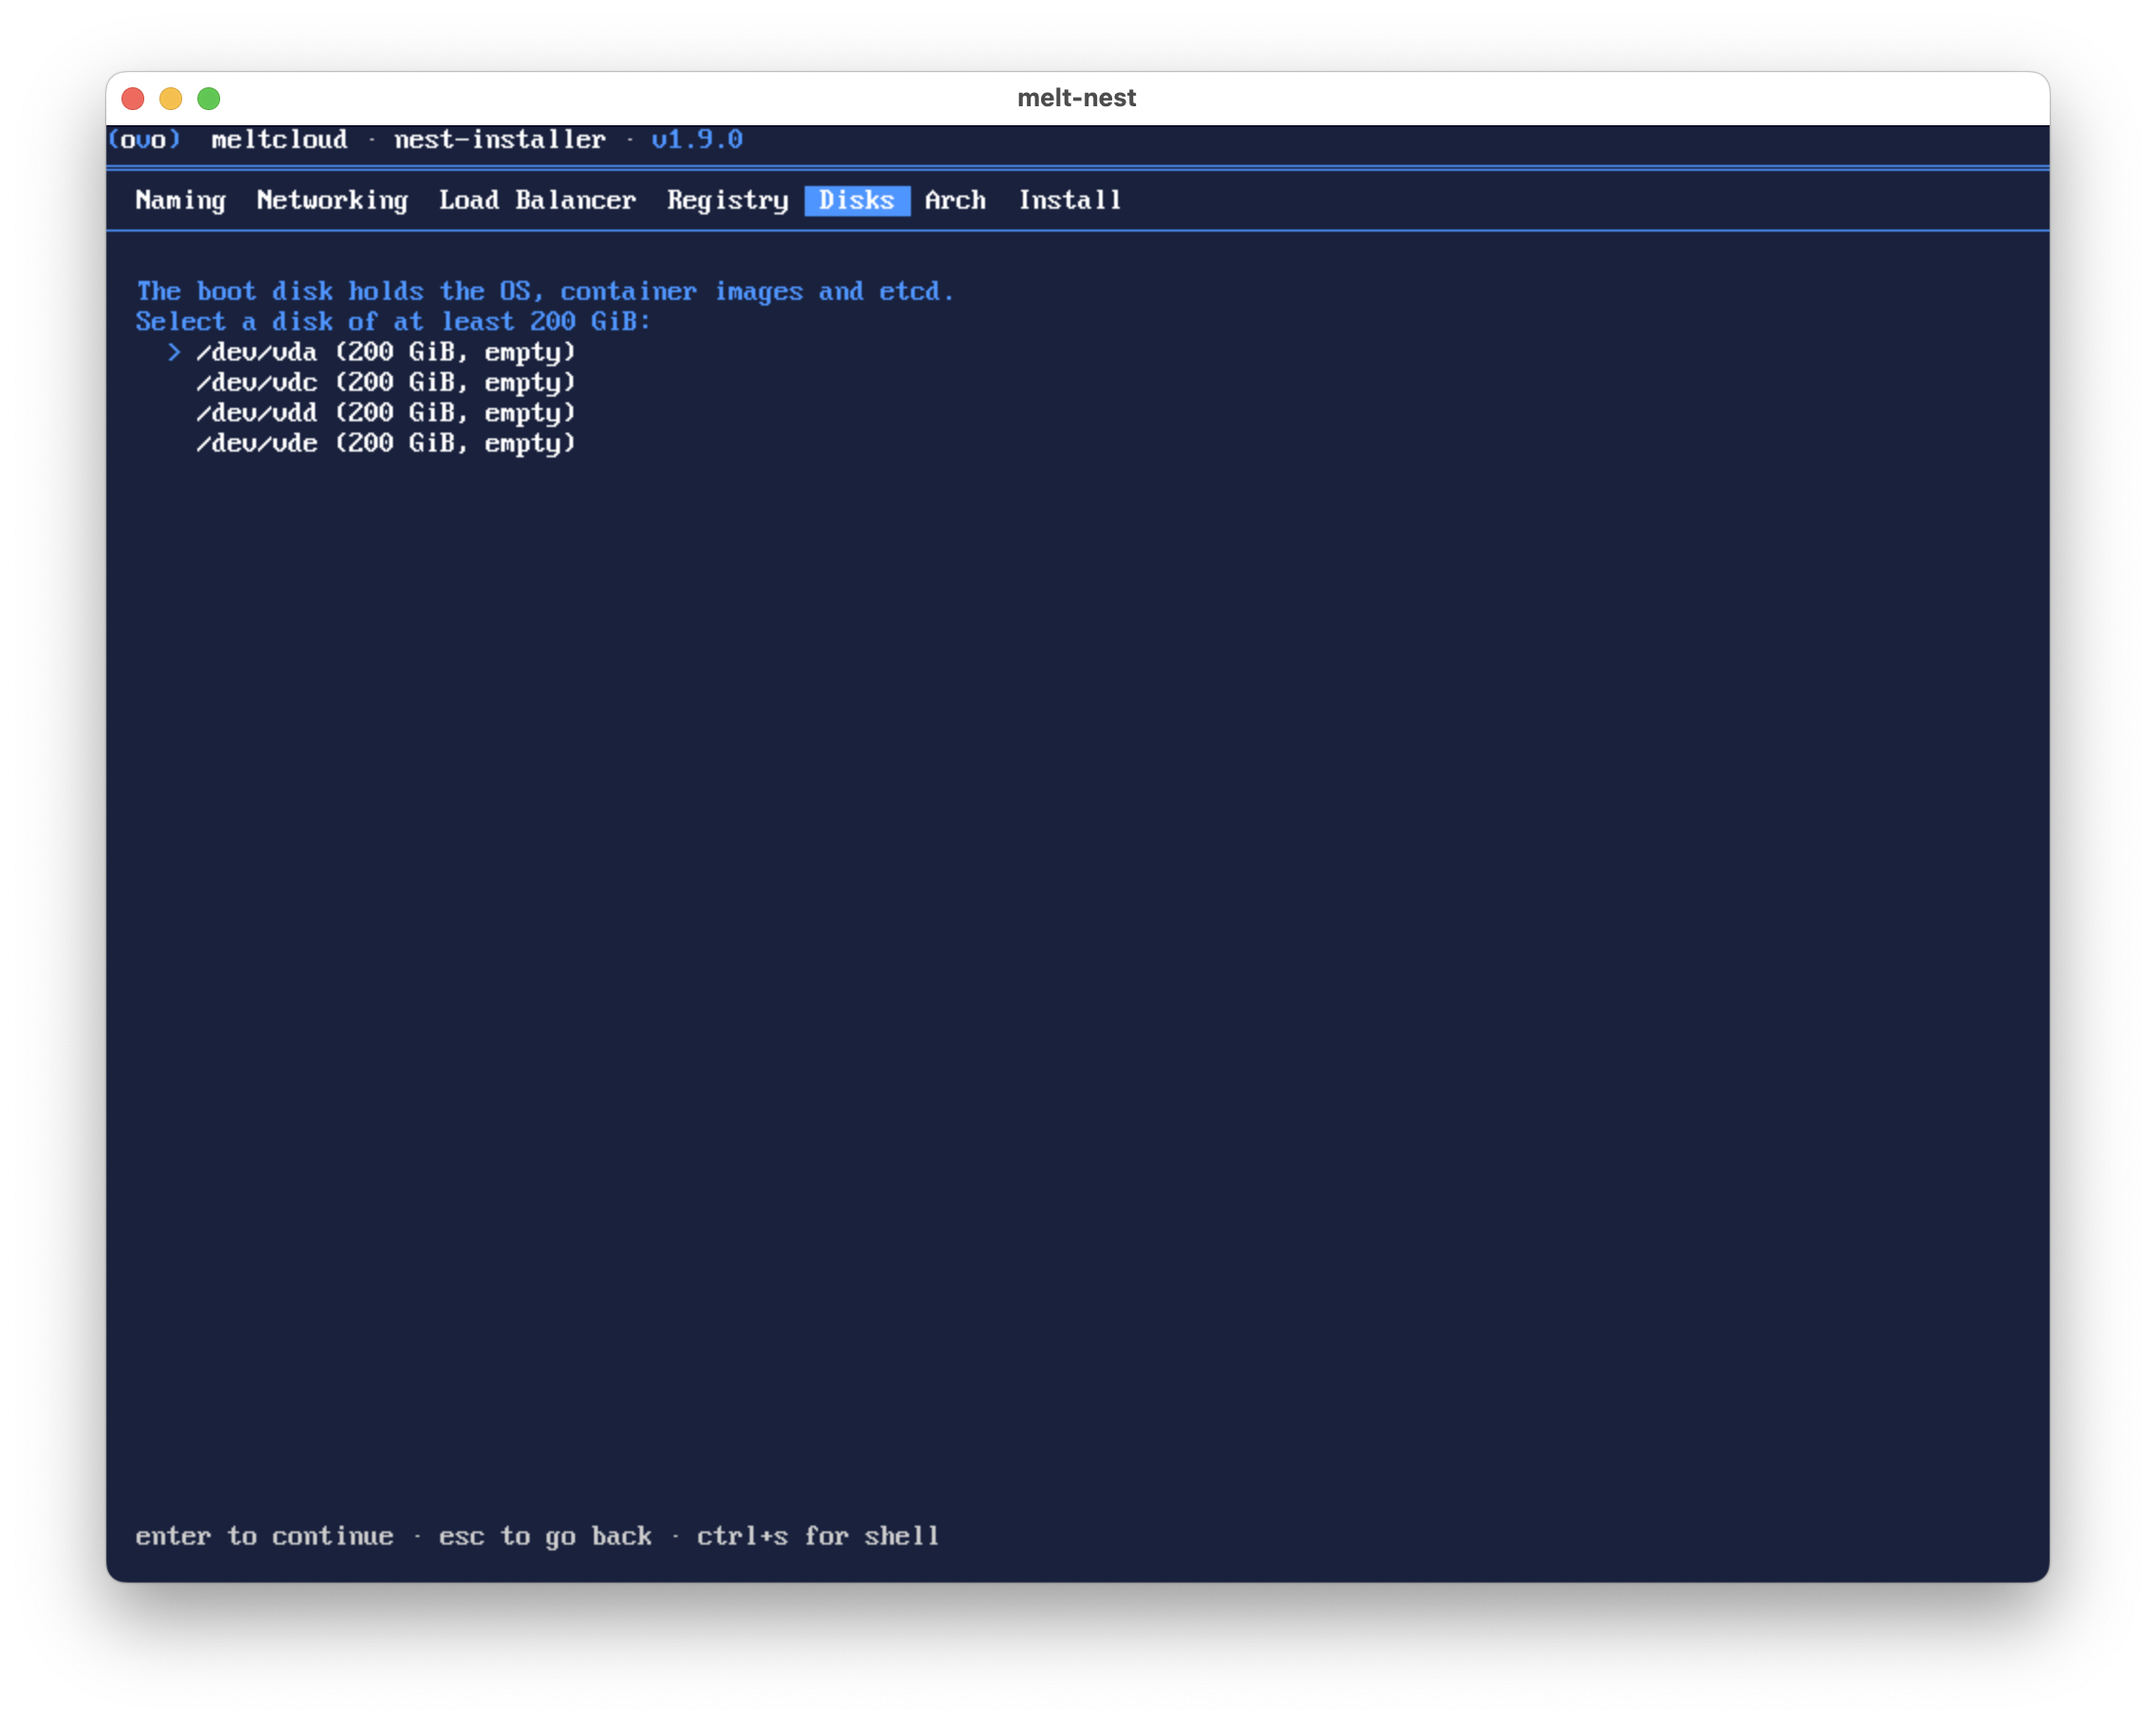
If the role is mirrored, exactly two disks must be selected. Disks already claimed by another role are not offered again.
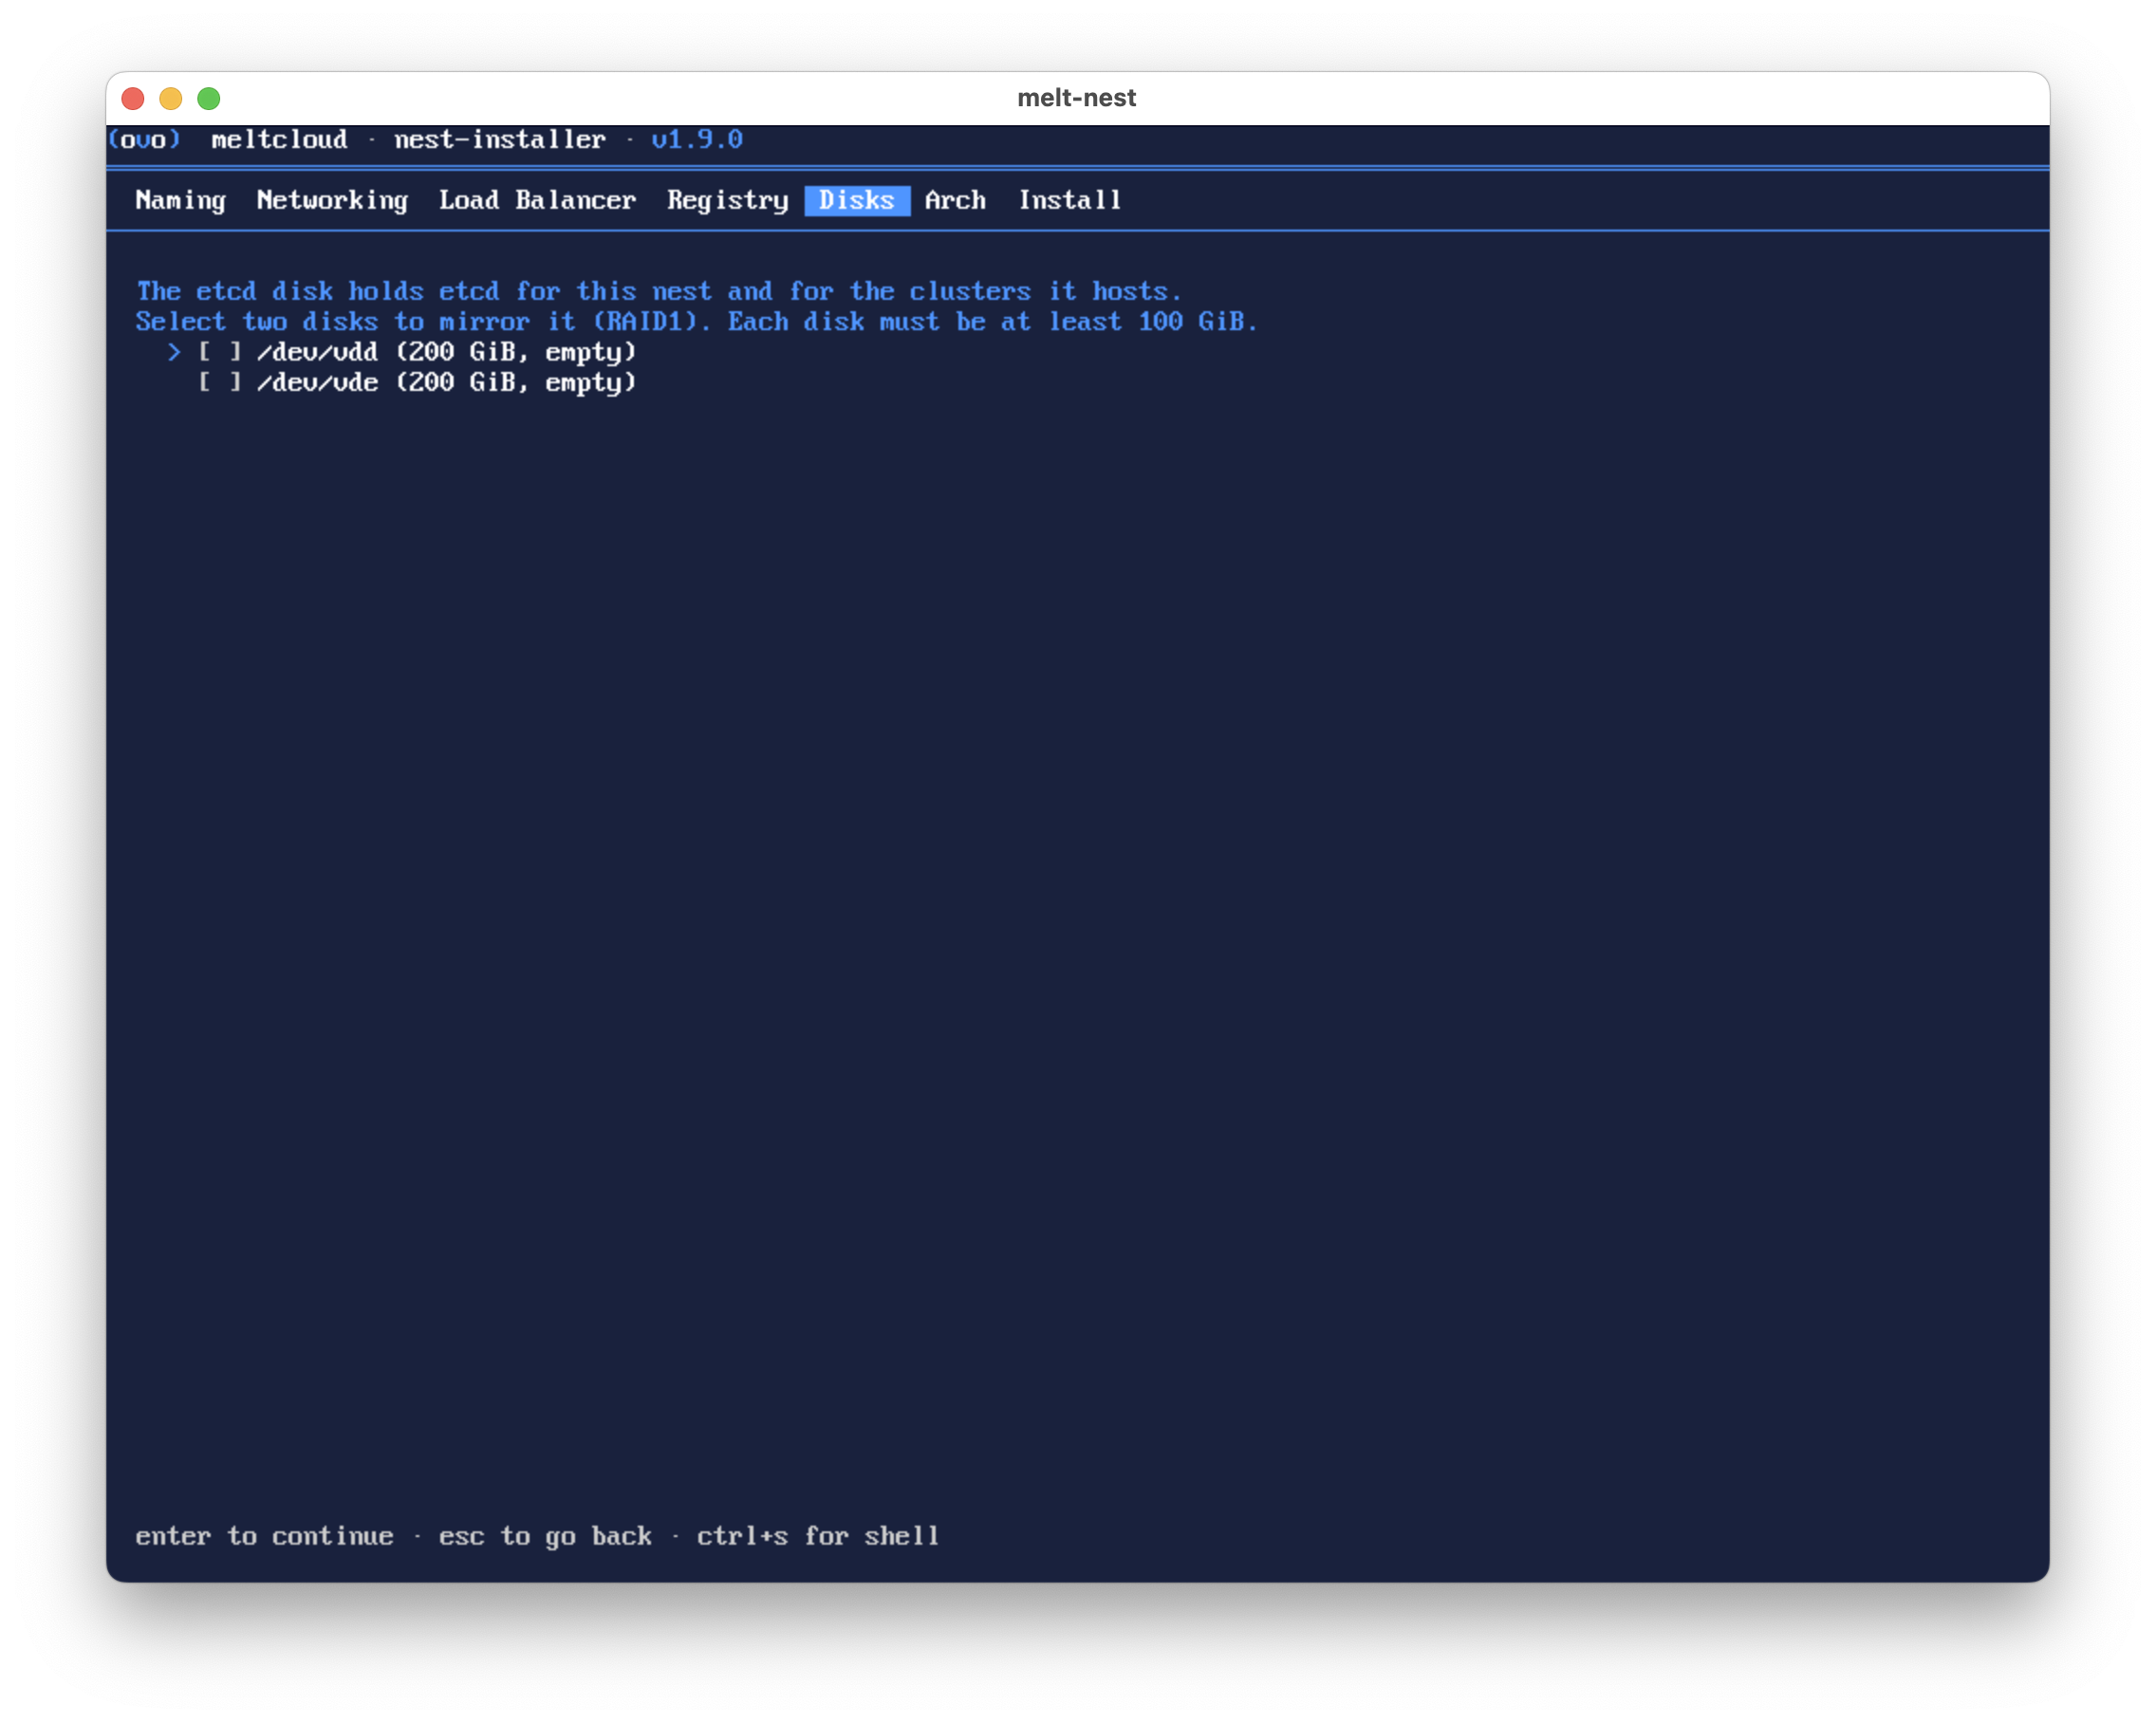
Each entry is listed as path, size and partition status:
| Status | Meaning |
|---|---|
| empty | No partitions found |
| contains meltcloud partitions | Previous Nest installation detected |
| contains unknown partitions | Non-Nest data on disk |
The minimum size depends on the role, since a dedicated etcd disk takes part of the layout off the boot disk:
| Disk | Minimum size |
|---|---|
| Boot disk, etcd on the boot disk | 200 GiB |
| Boot disk, etcd on a dedicated disk | 120 GiB |
| Dedicated etcd disk | 100 GiB |
In a mirror, each of the two disks must meet the full minimum, not half of it.
WARNING
The installer will wipe every selected disk. All existing data will be lost.
Disk Validation
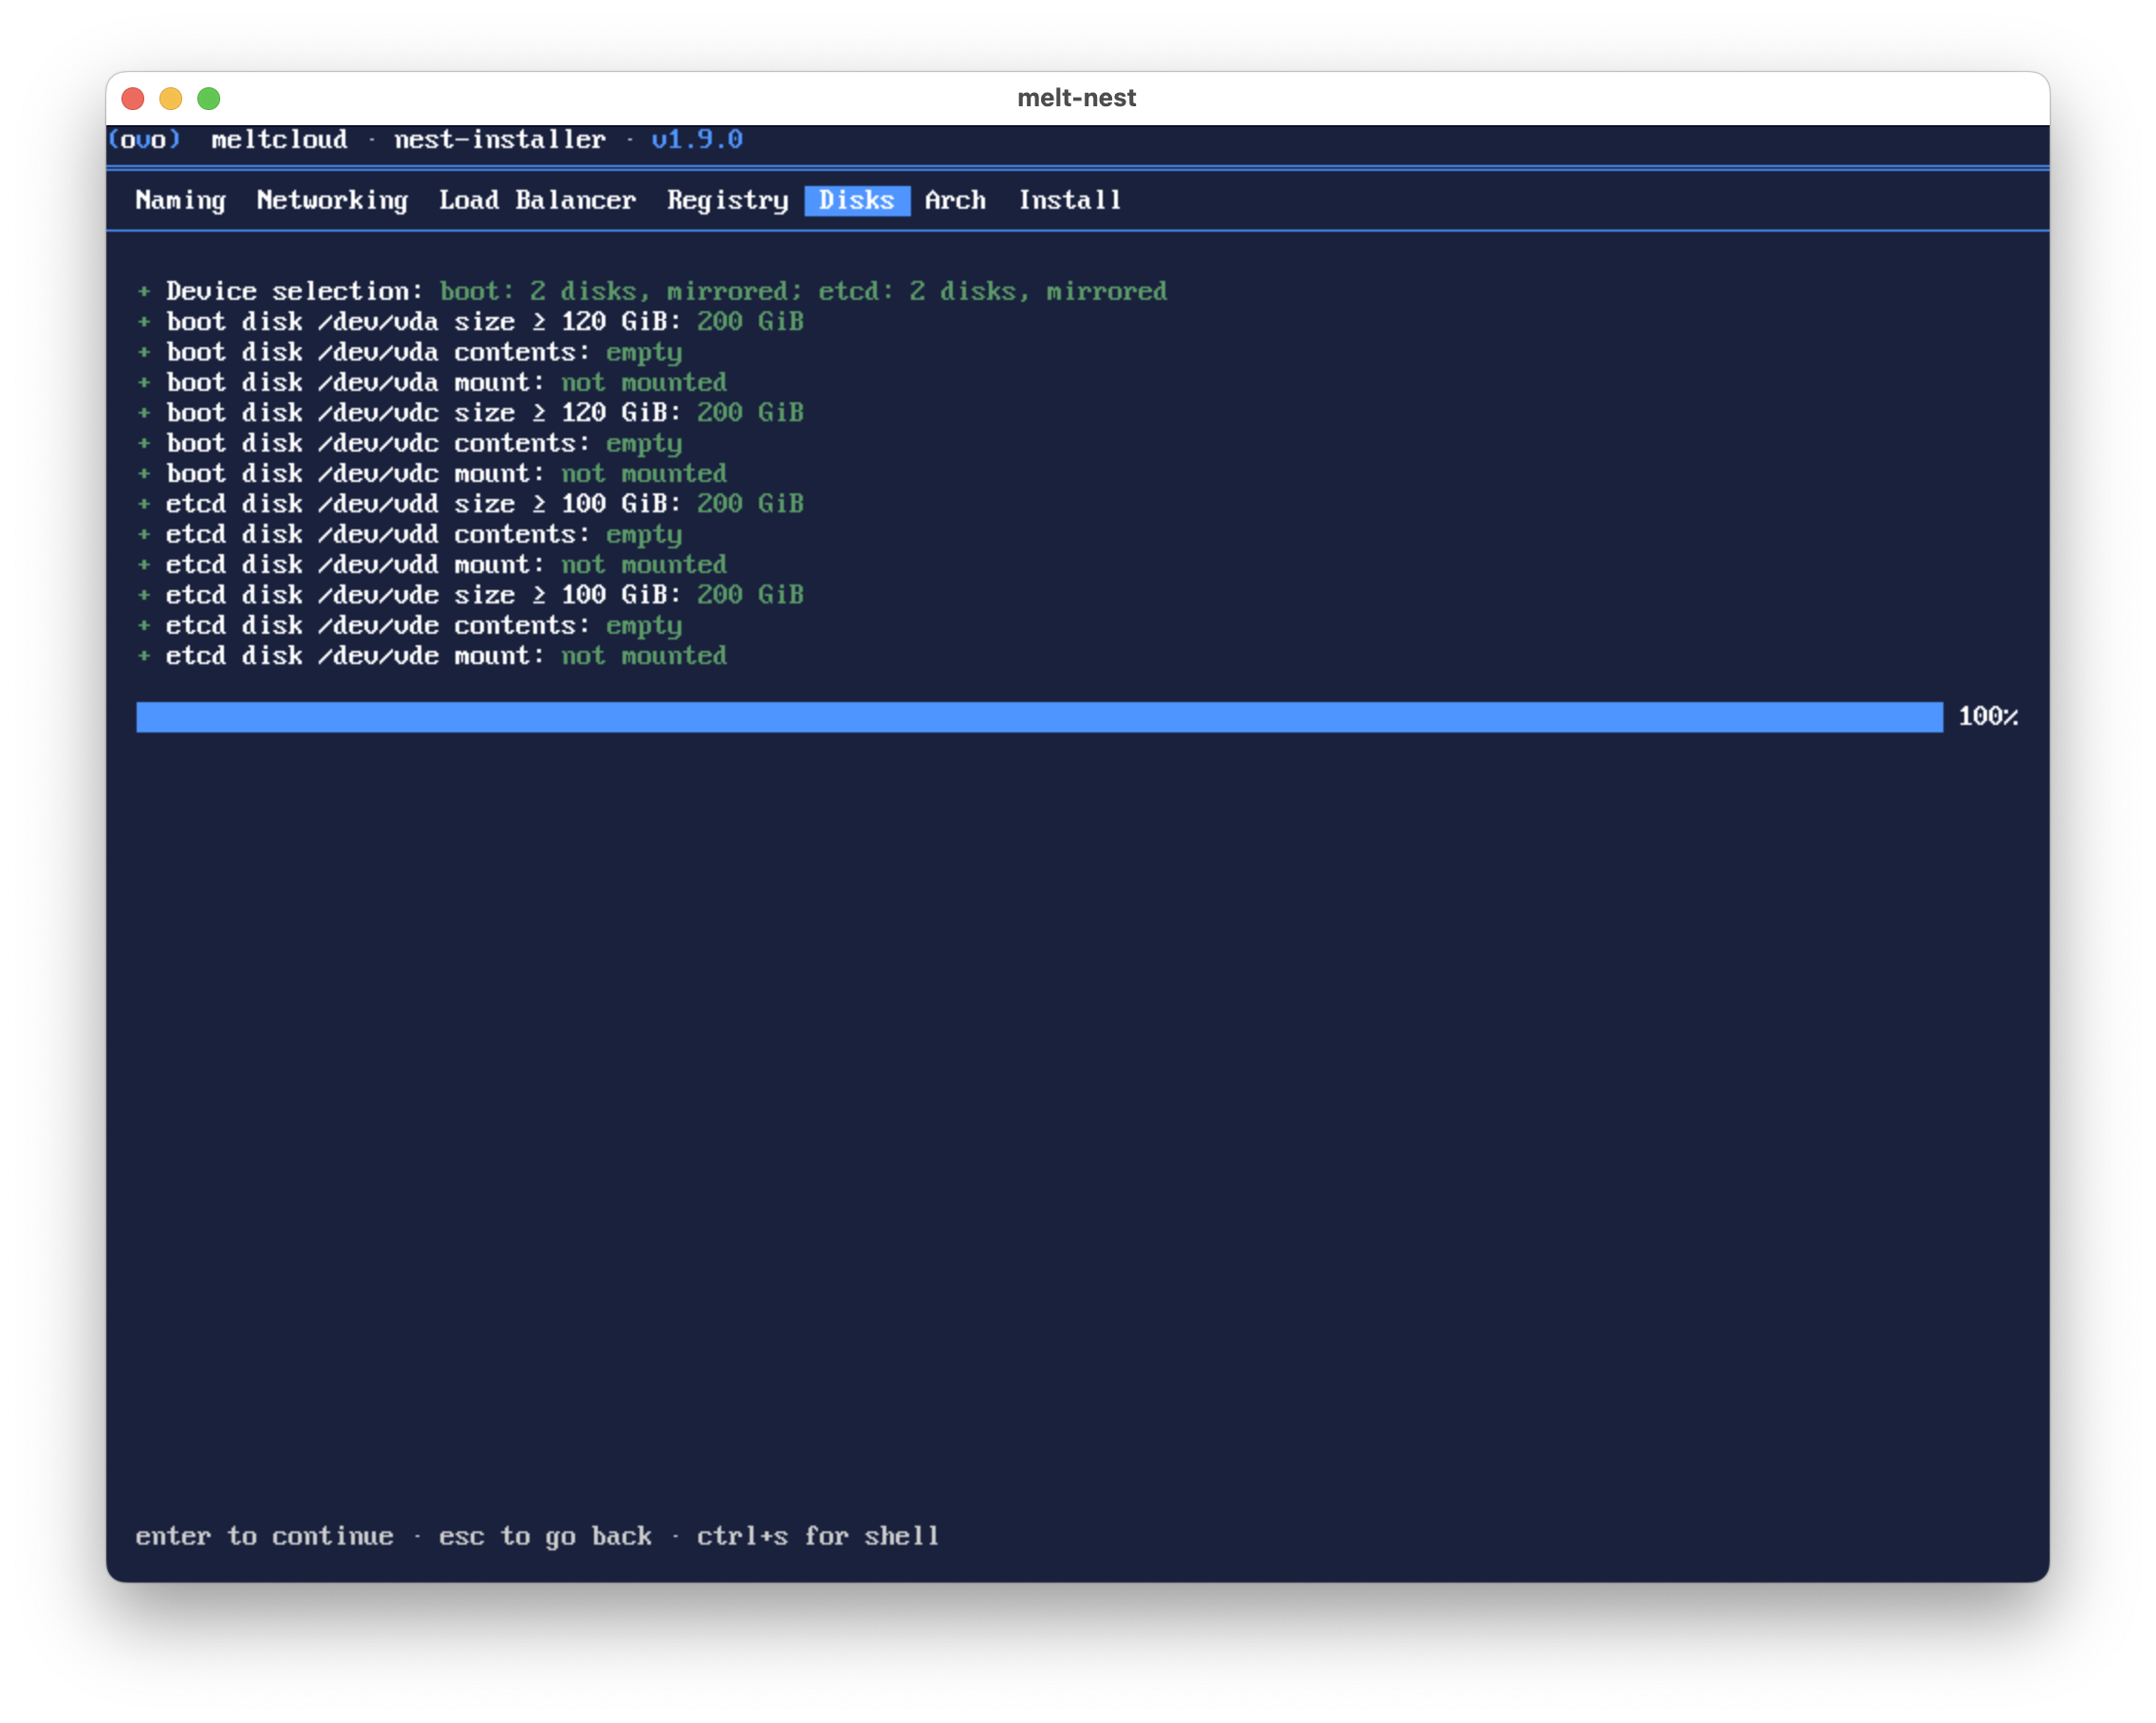
The installer checks every selected disk:
- Disk capacity meets the minimum for its role
- Partition status (existing Nest or unknown partitions are reported as a warning)
- Disk is not currently mounted (mounted disks will be unmounted if you proceed)
6. Supported Architectures
Select which CPU architectures can enroll as workers to this Nest.
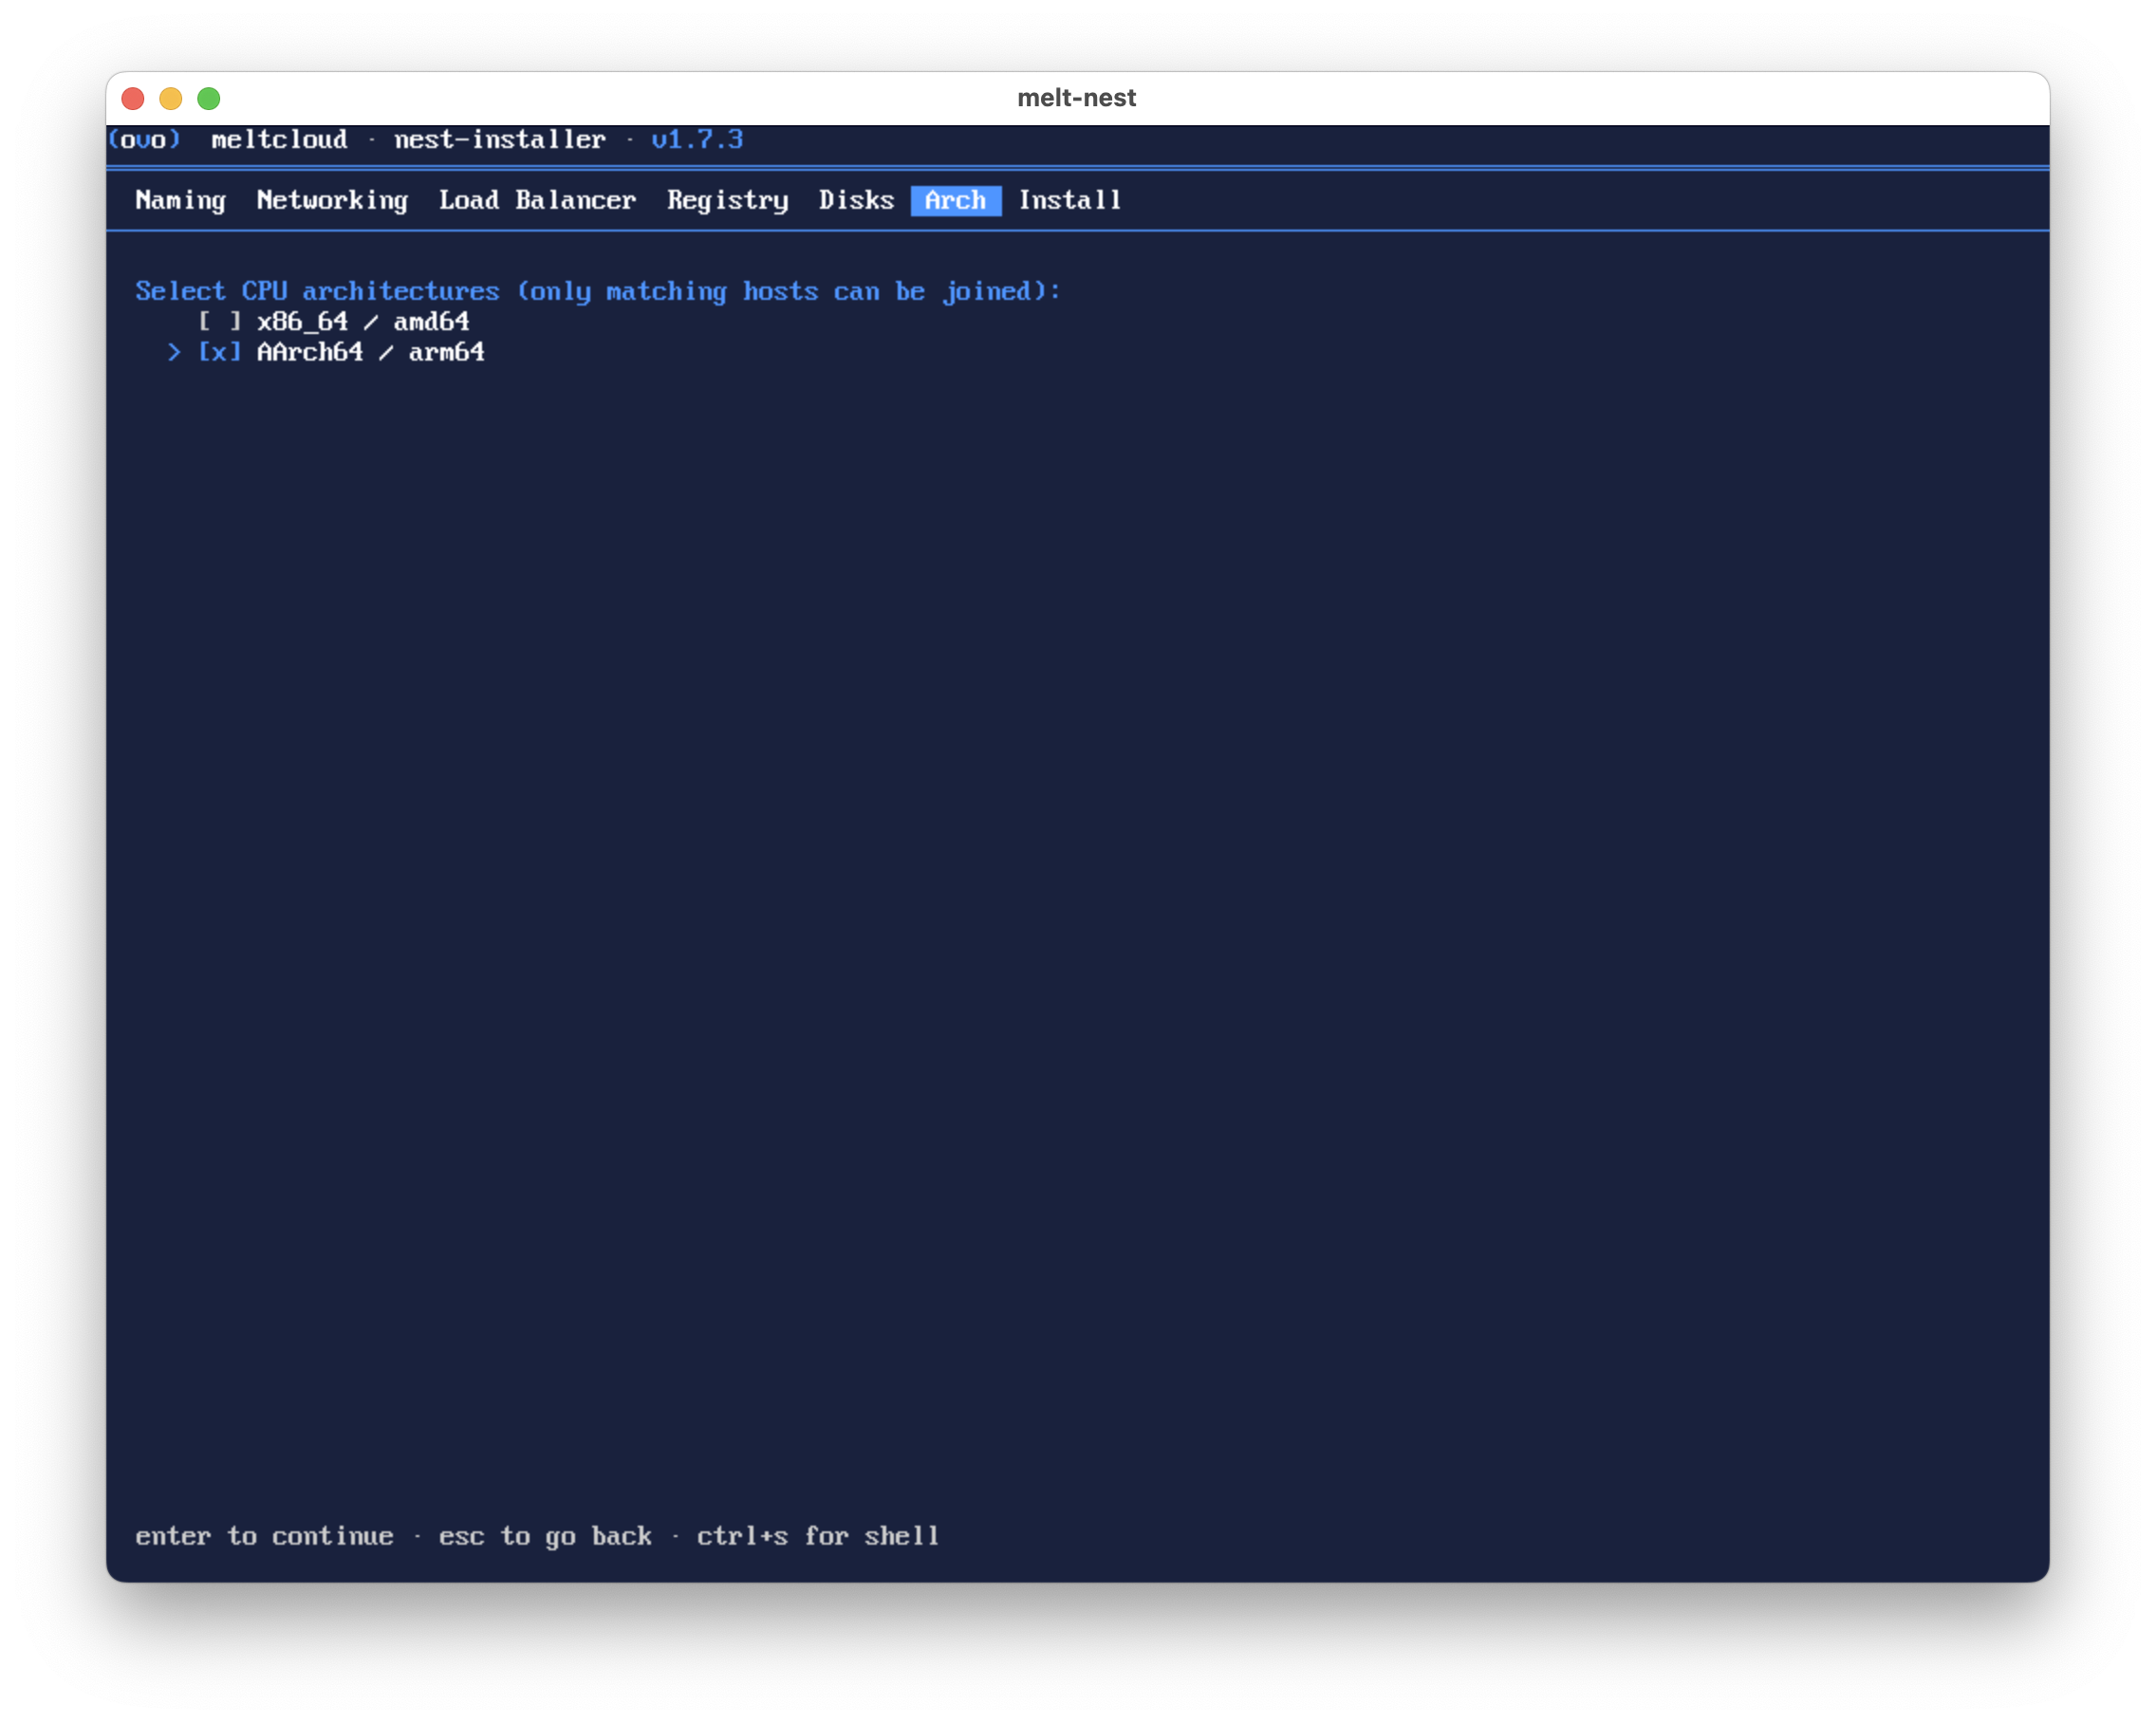
| Option | Description |
|---|---|
| x86_64 / amd64 | Intel and AMD processors |
| AArch64 / arm64 | ARM processors (e.g. Apple Silicon, Ampere) |
At least one architecture must be selected. The current host architecture is selected by default.
7. Confirm and Install
Review all configuration and confirm to start the installation.
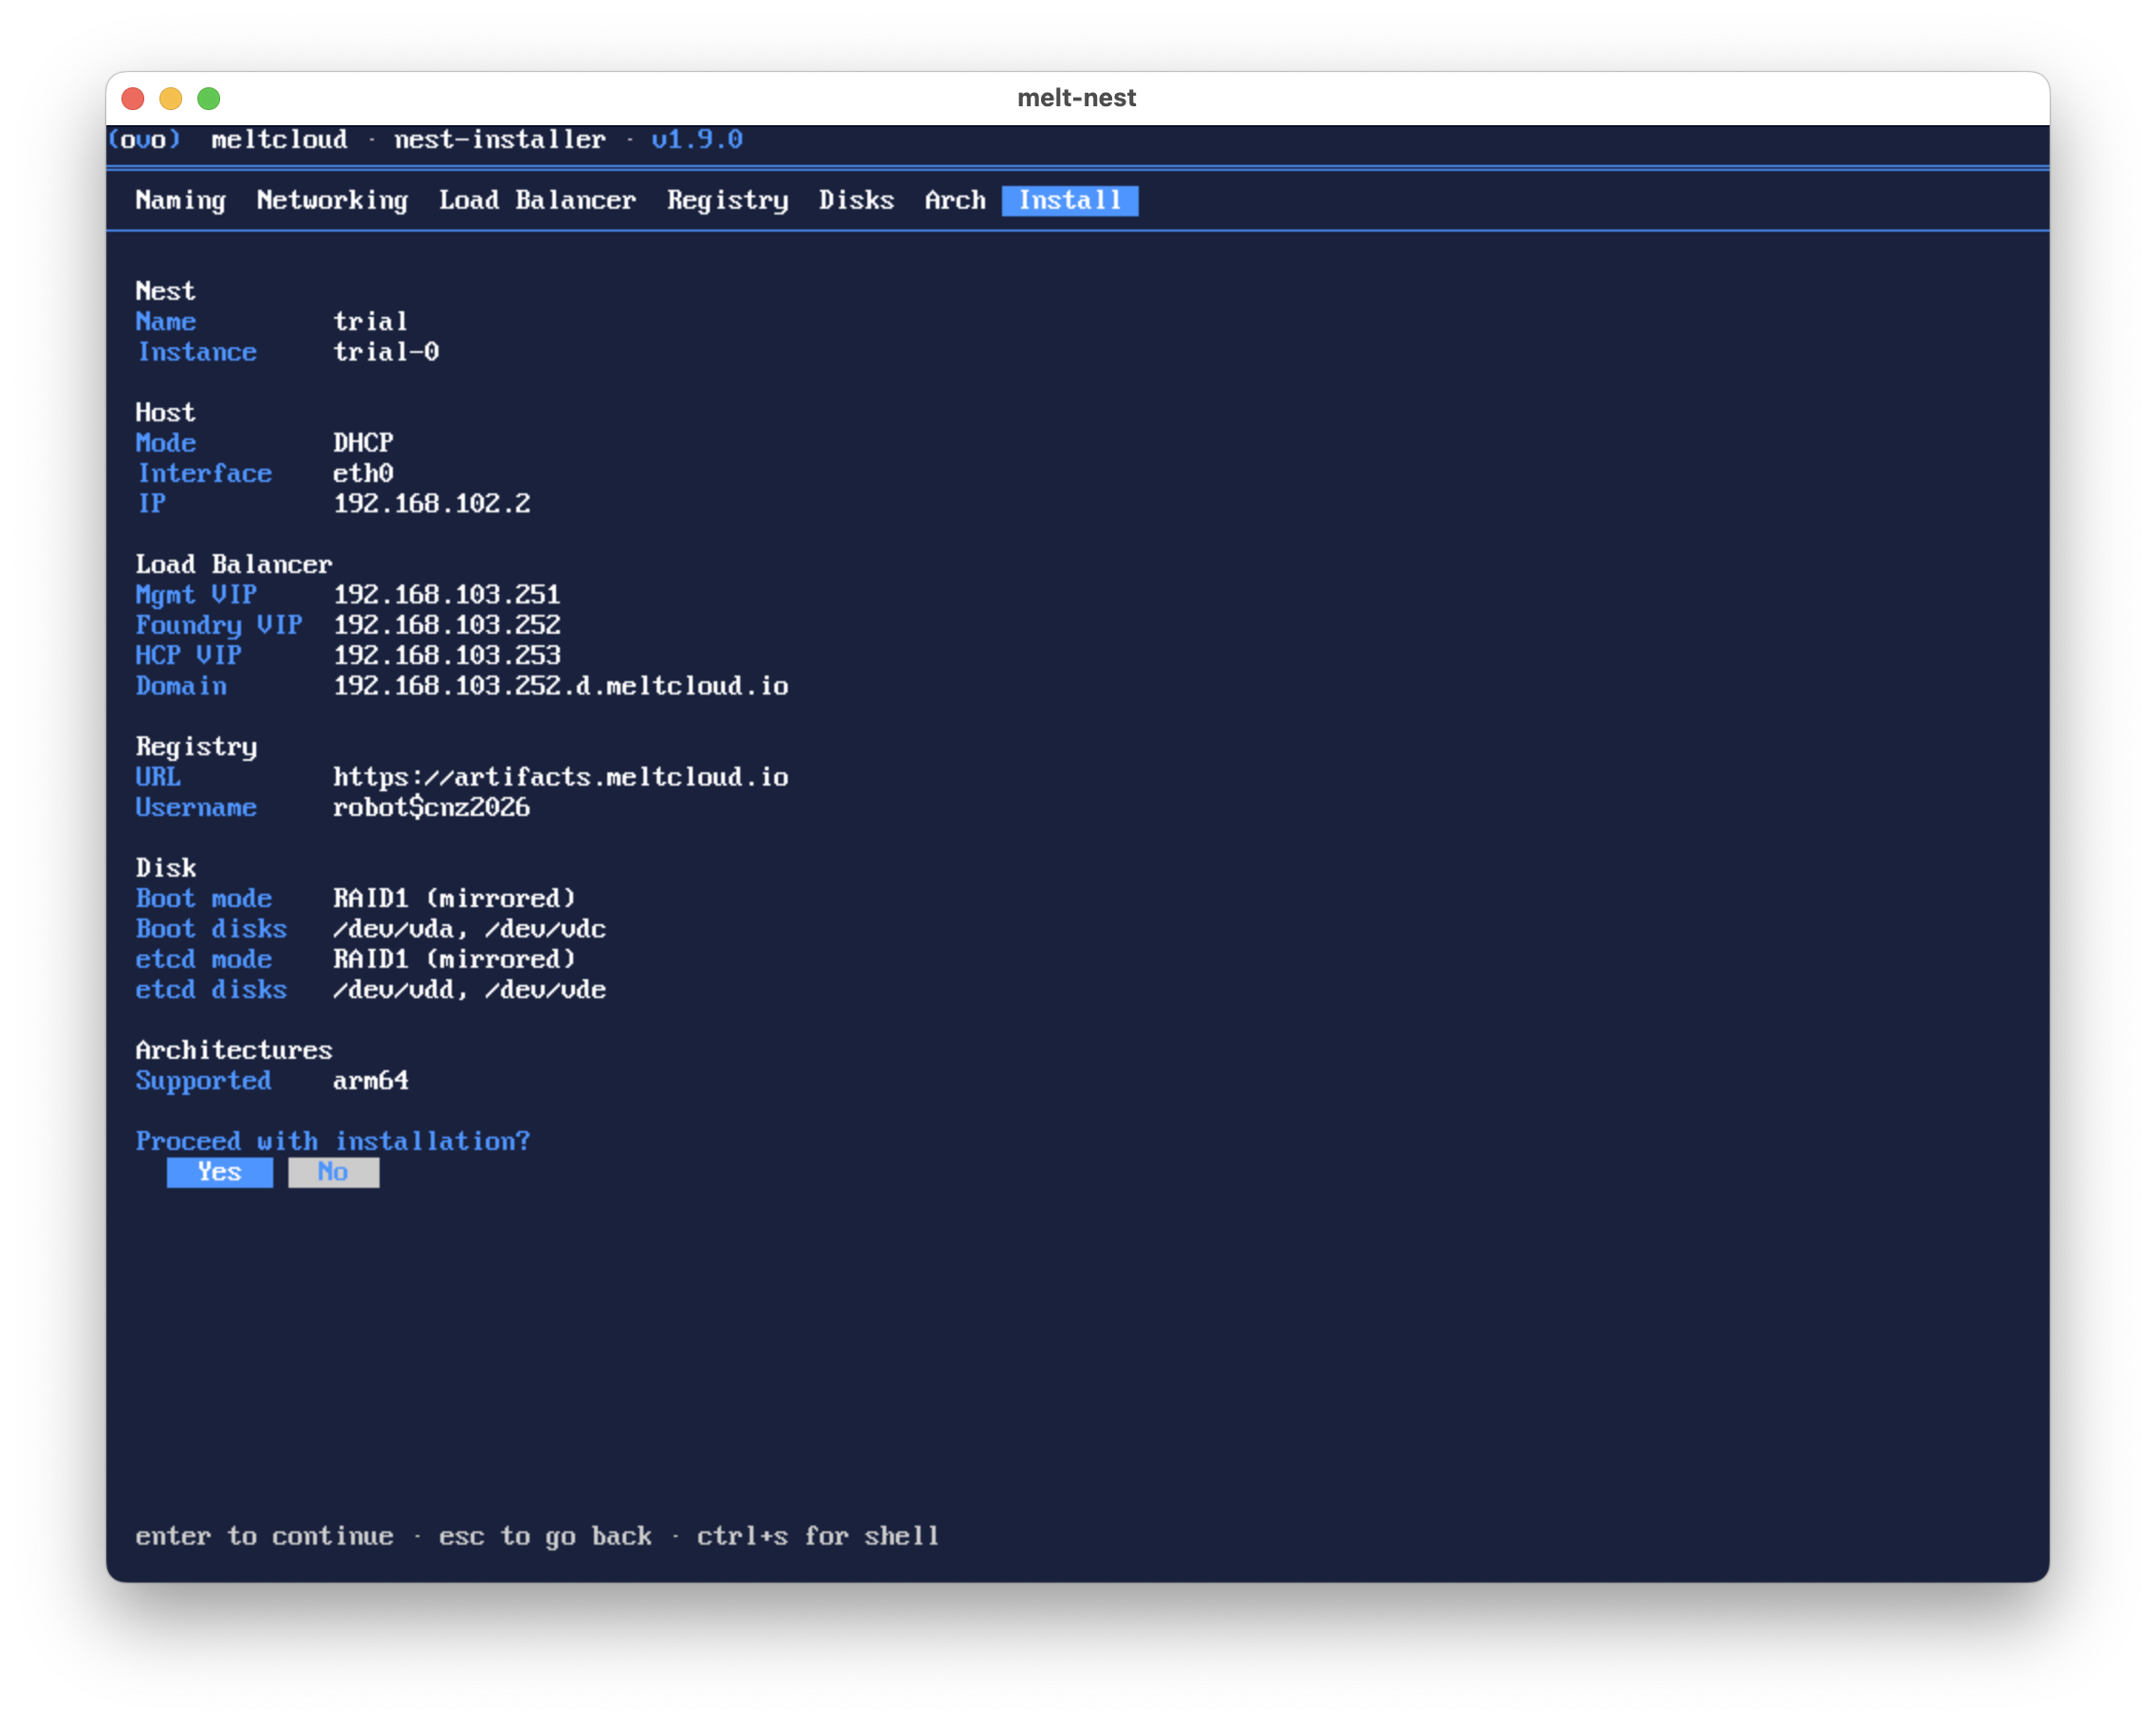
The summary shows all configured values grouped by section (Nest, Host, Load Balancer, Registry, Disk, Architectures).
WARNING
Once the installation starts, it cannot be aborted as disk writes are in progress.
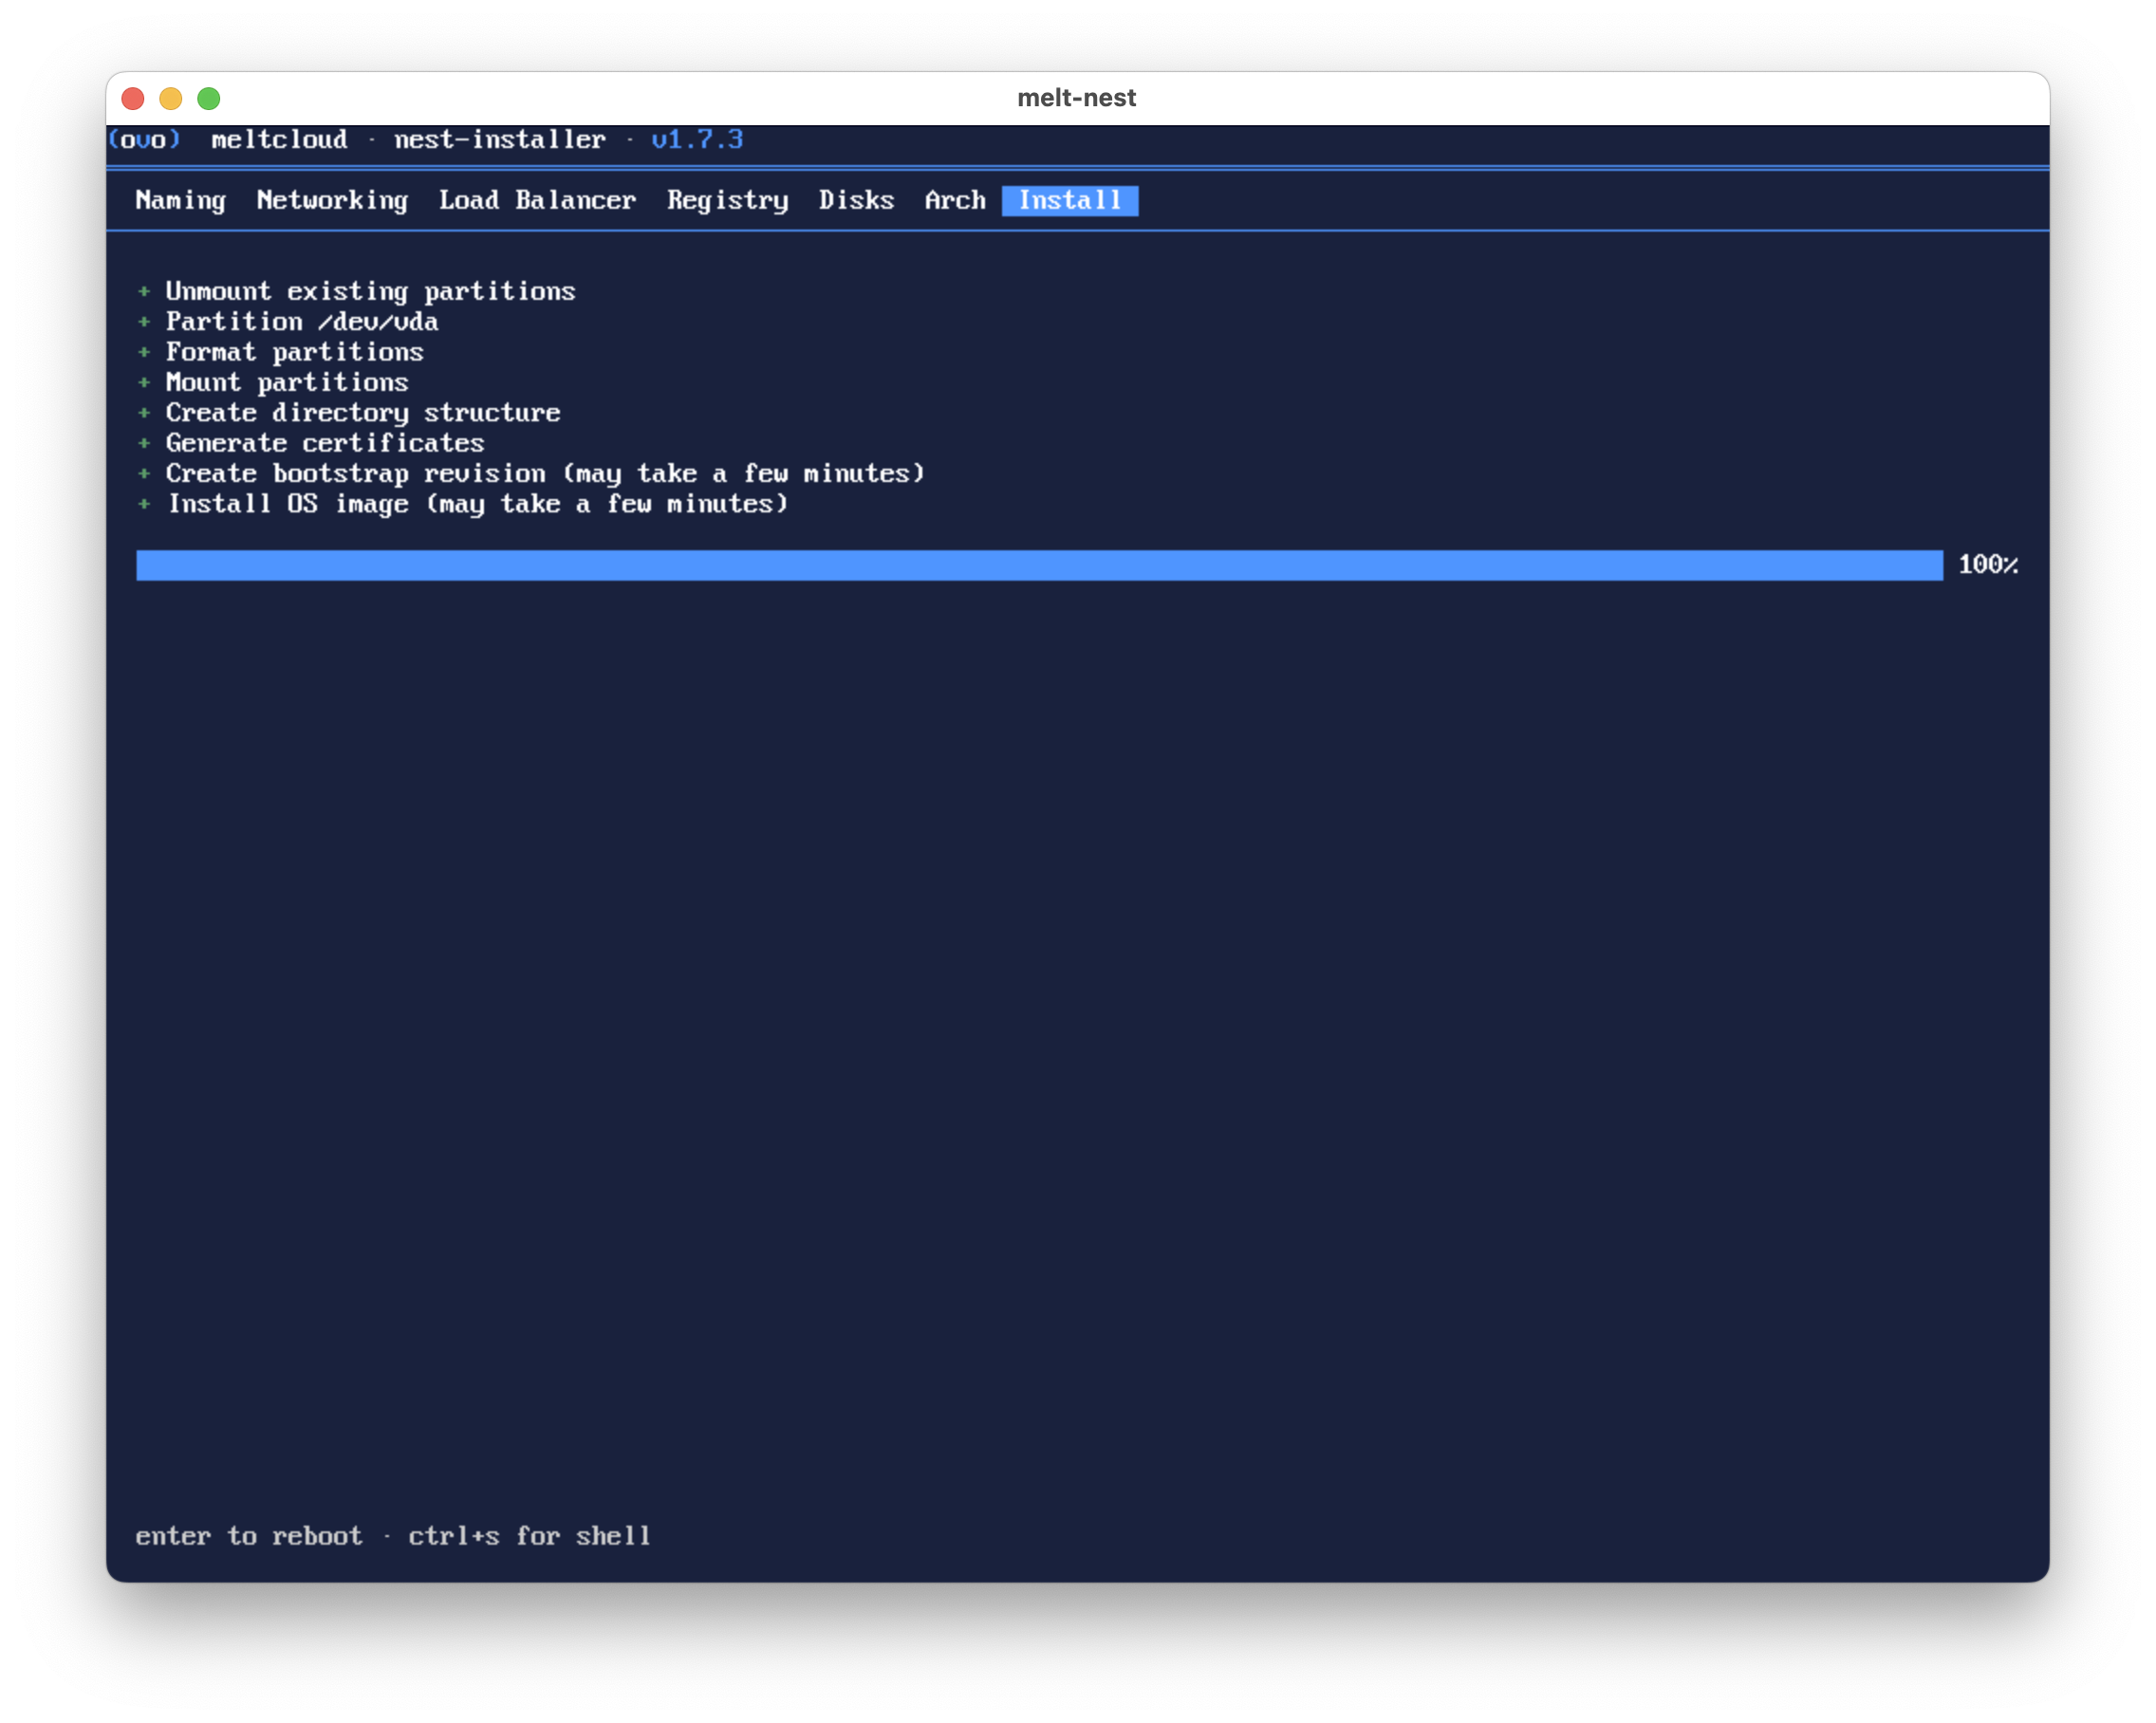
After confirmation, the installer partitions the disk, installs Nest and reboots the machine. After reboot, the Foundry (the web UI and API) is bootstrapped automatically.
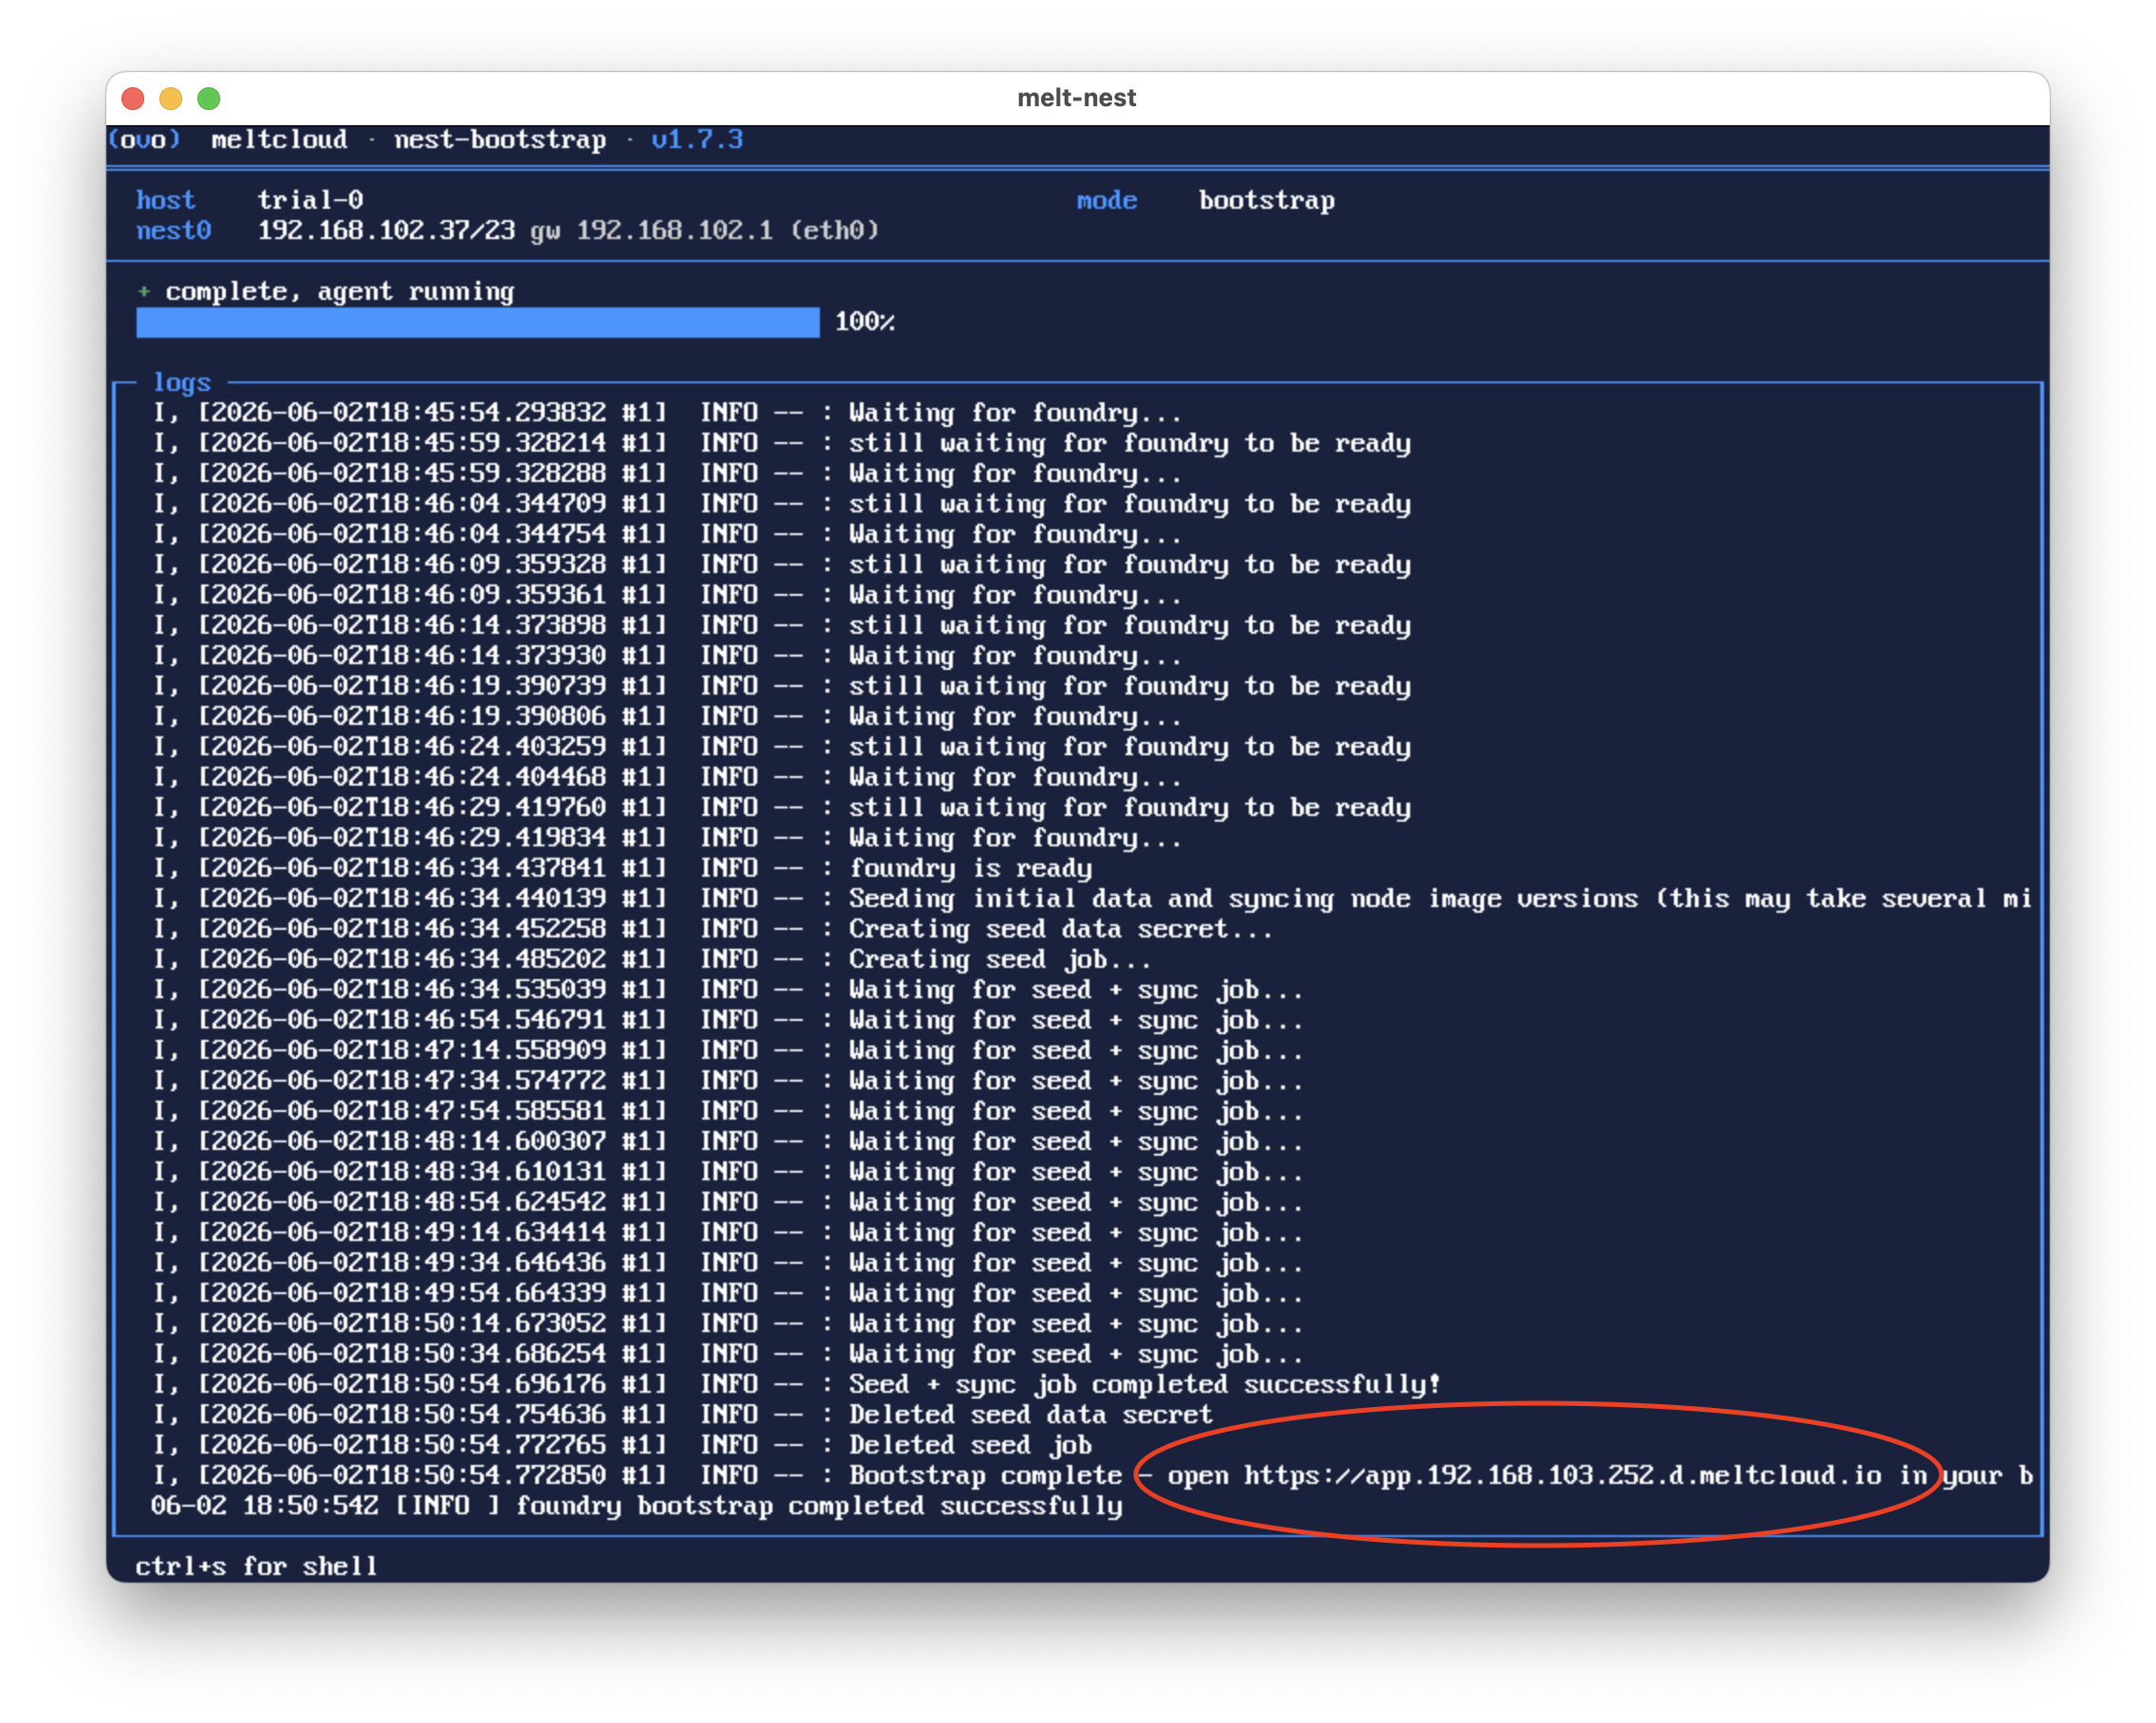
Once bootstrapping is complete, the Foundry URL is printed on screen. Open it in your browser to access the Foundry.
Keyboard Shortcuts
These shortcuts are available throughout the installer:
| Shortcut | Action |
|---|---|
| Ctrl+S | Drop to a console (for debugging) |
| Ctrl+L | Force terminal repaint |
| Esc | Go back to the previous step (not available during installation) |
Troubleshooting
Console Access
Press Ctrl+S during the installer to drop to a console. Log in with user core and password meltcloud.
To investigate the system state:
# check Nest service logs
journalctl -u nest-*

# check Kubernetes pod status
sudo -i
kubectl get pods -A
Cannot Resolve *.d.meltcloud.io
Some routers (e.g. Sunrise, Orange) block public domains like d.meltcloud.io from resolving to private IP addresses. This is called DNS rebinding protection. The Nest installer's DNS validation will fail with an error like "Your ISP may block public domains resolving to private IPs". Go back to the Foundry Domain screen and enable Write static DNS entries on all hosts. This makes the Nest and all enrolled Machines resolve the required subdomains internally via /etc/hosts or CoreDNS, bypassing the ISP's DNS entirely.
Your browser (and tools like Terraform) will also be unable to resolve the Foundry URL unless you use DNS-over-HTTPS. Access Foundry directly via its VIP address (e.g. https://192.168.1.252) or add a local /etc/hosts entry for app.<domain> pointing to the Foundry VIP.
Kubeadm Fails to Reach Its Own IP After Reboot
If the Foundry won't start after Nest has rebooted because kubeadm cannot reach its own IP, the hypervisor's virtual network likely moved it to a different subnet. See the platform-specific troubleshooting for workarounds:
Accessing Foundry from a Cloud VM
If you're running the Nest inside a cloud VM (e.g. Azure, AWS, GCP), the Foundry URL resolves to a private IP that isn't reachable from your local machine. Use an SSH SOCKS proxy to access it through the VM:
ssh -D 1080 user@<cloud-vm-public-ip>Then configure a browser to use localhost:1080 as a SOCKS v5 proxy. To avoid changing your default browser's settings, use a separate browser profile:
- Firefox (recommended): go to
about:profiles, click Create a New Profile, and launch it. In that profile, go to Settings → General → Proxy settings, select Manual proxy configuration, set SOCKS Host tolocalhost, Port to1080, select SOCKS v5, and check Proxy DNS when using SOCKS v5. Firefox has its own proxy settings, so this won't affect your other browsing.
TIP
Chrome and Edge delegate proxy configuration to the operating system on both macOS and Windows, so they cannot be configured per-profile. Use Firefox for the SOCKS proxy approach.
Navigate to the Foundry URL in the proxied browser profile. The traffic is tunneled through the cloud VM and reaches the private IP.